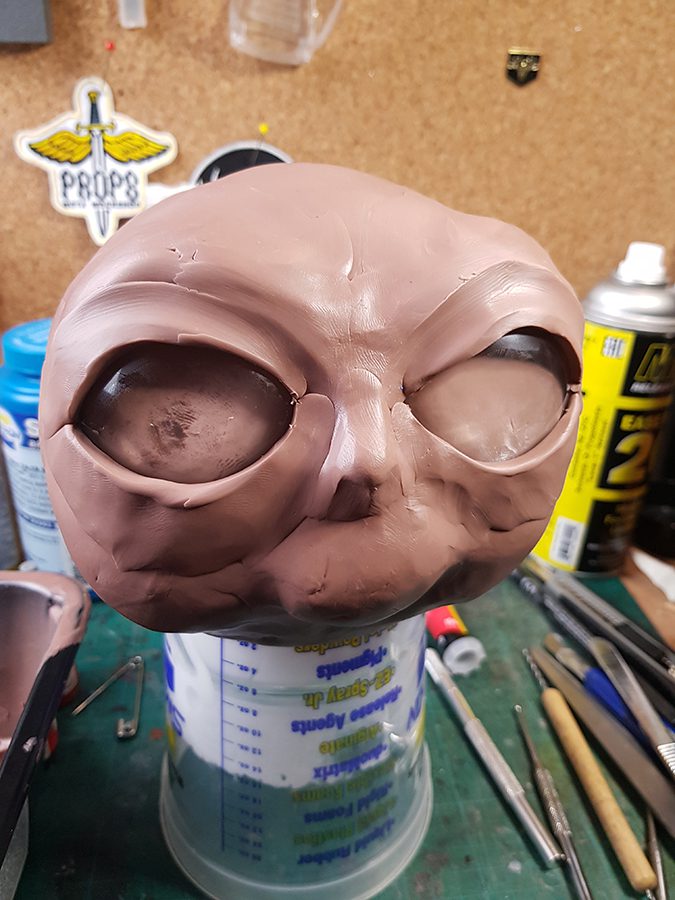
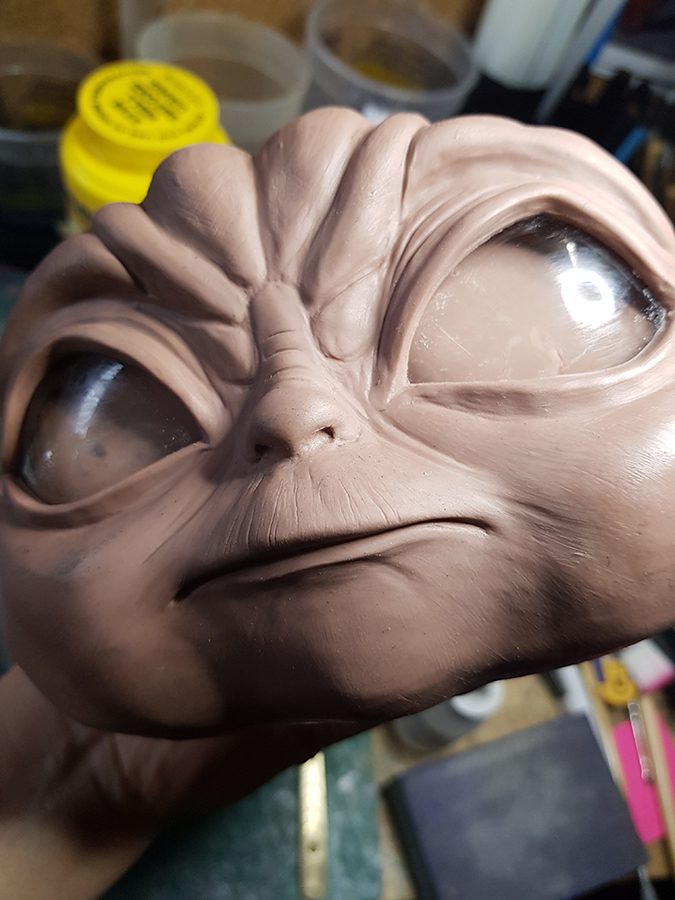
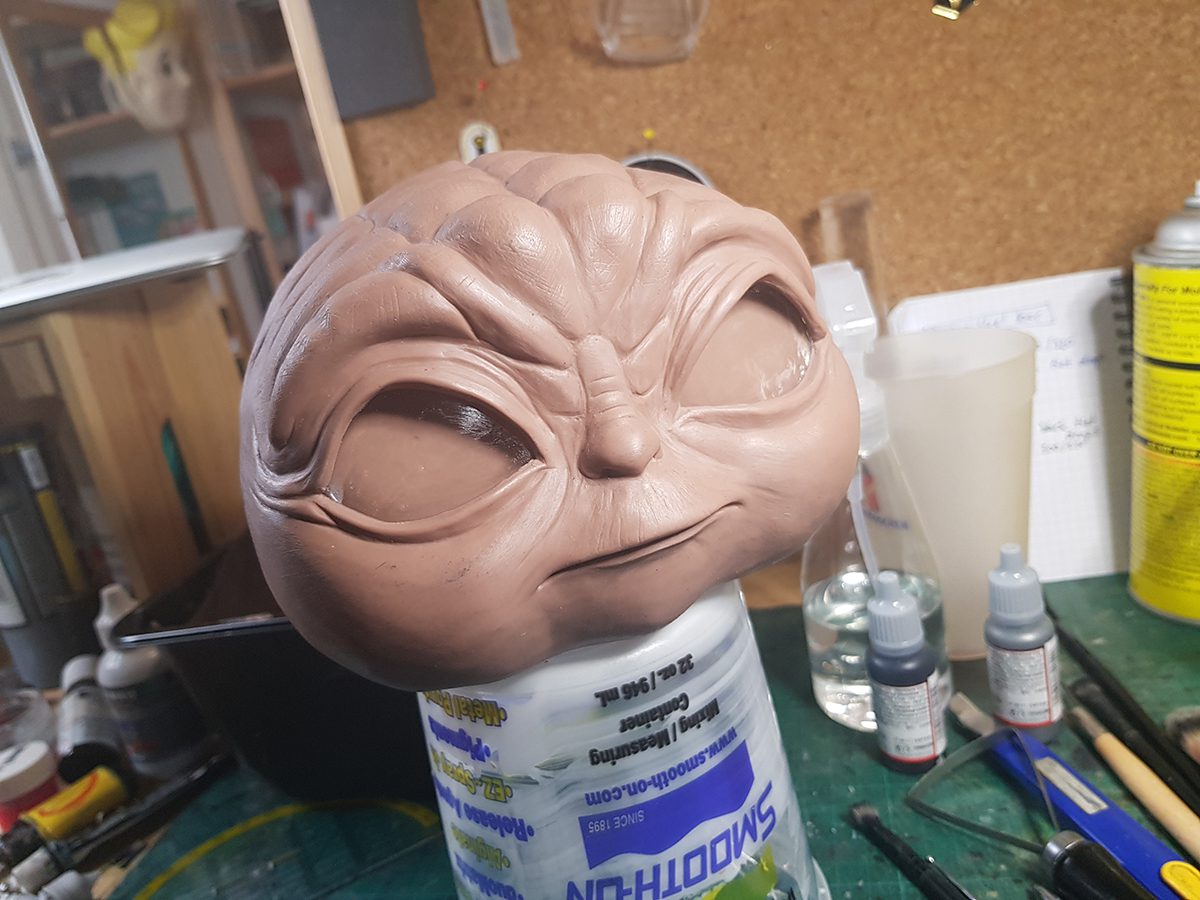
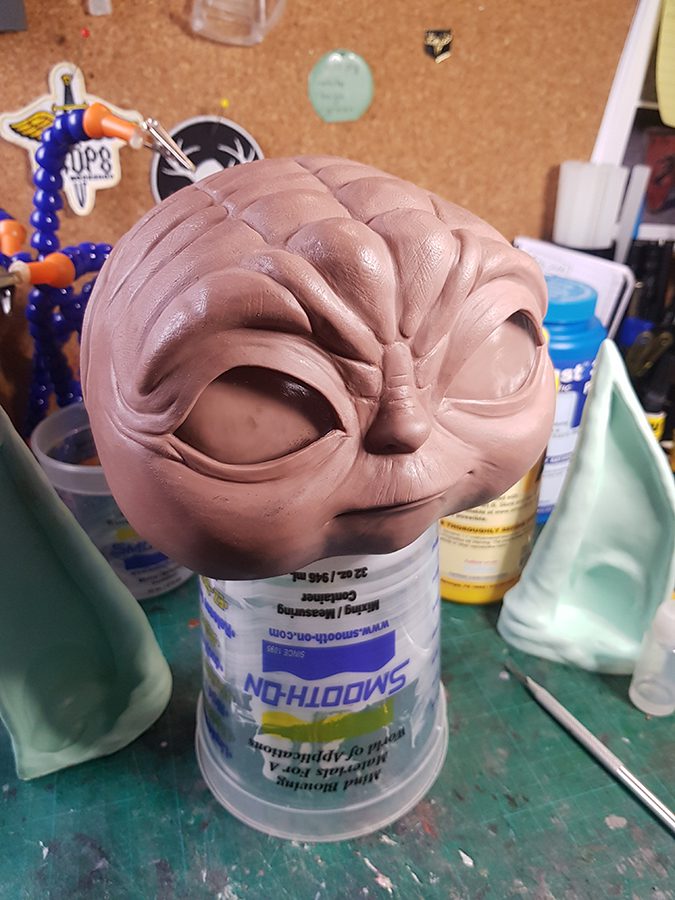
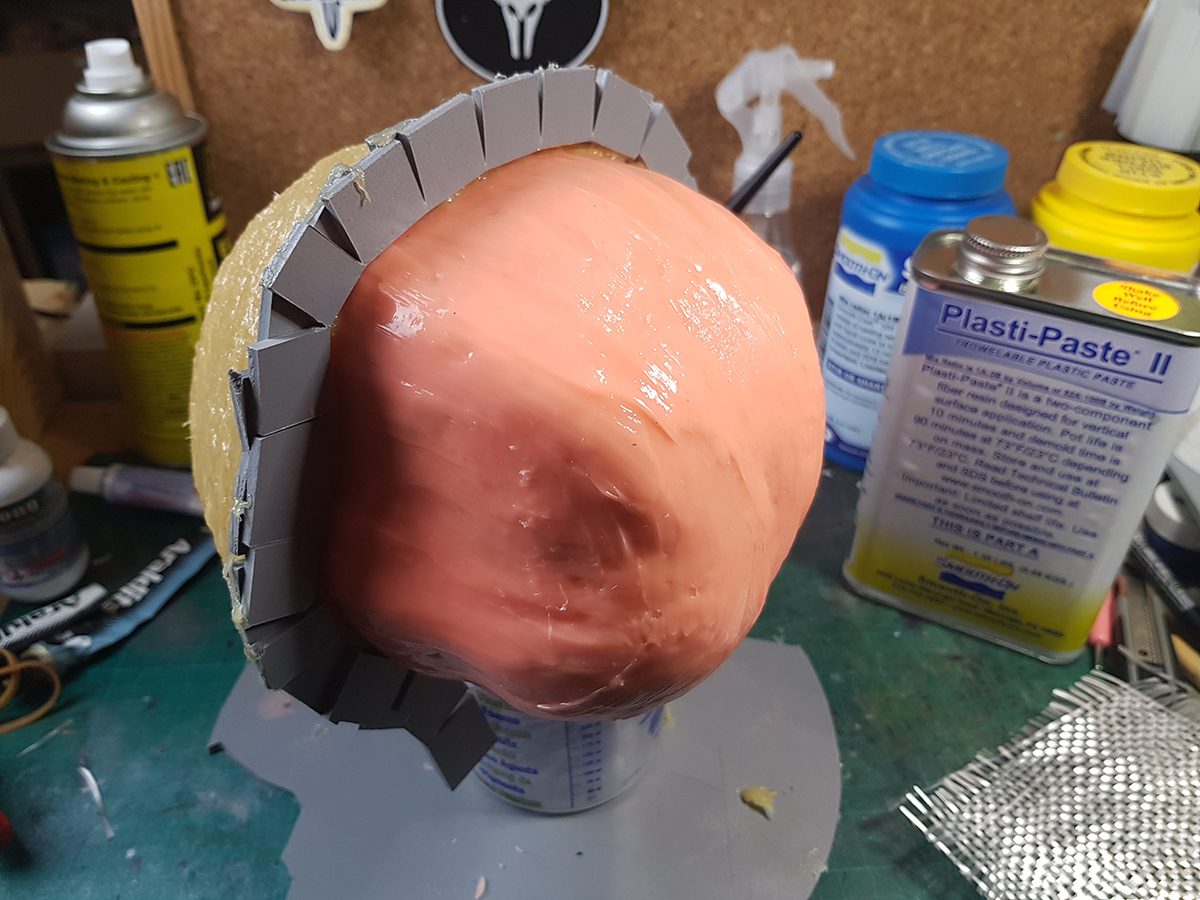
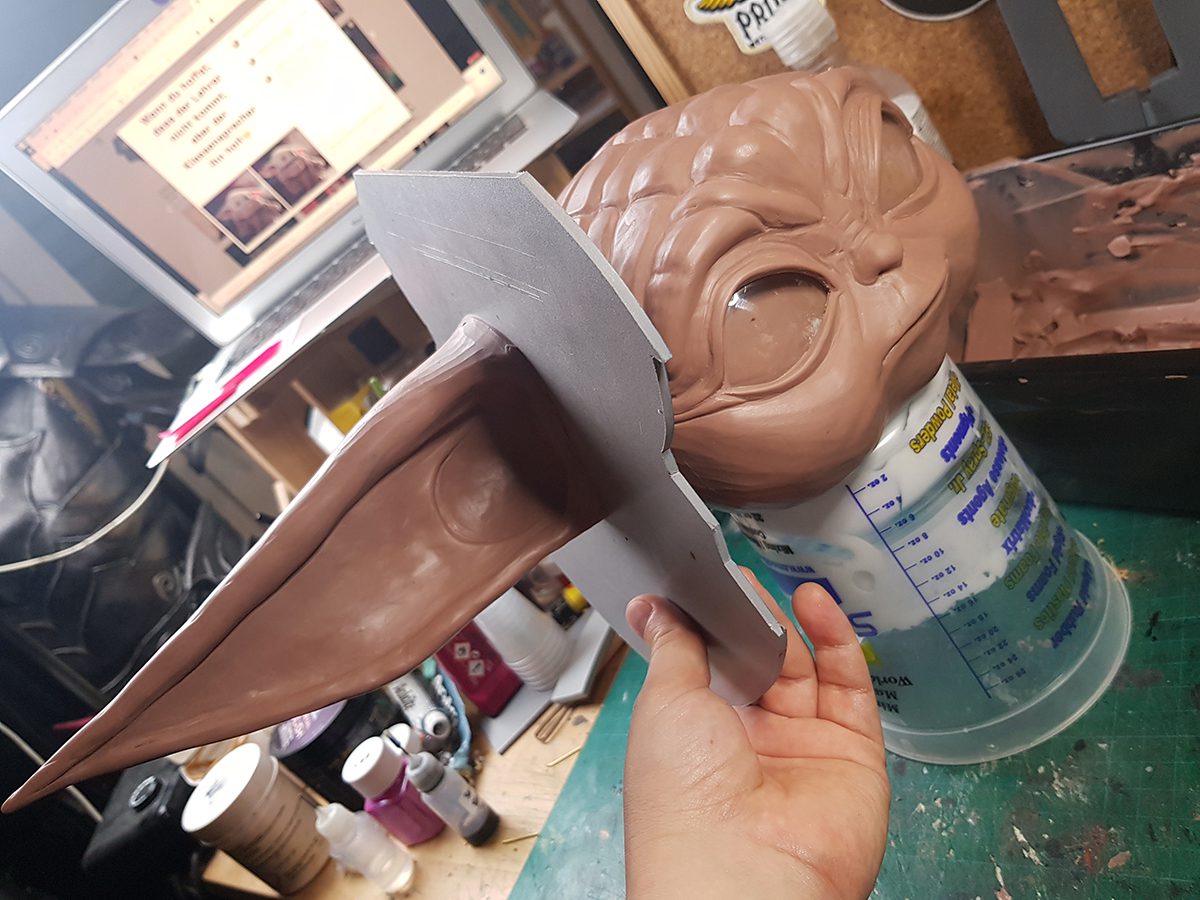
The head, arms, and ears have been sculpted with Monster Clay. The molds have been made with Rebound 25 from Smooth-On Inc. and the jackets to support them with Plasti-Paste II.
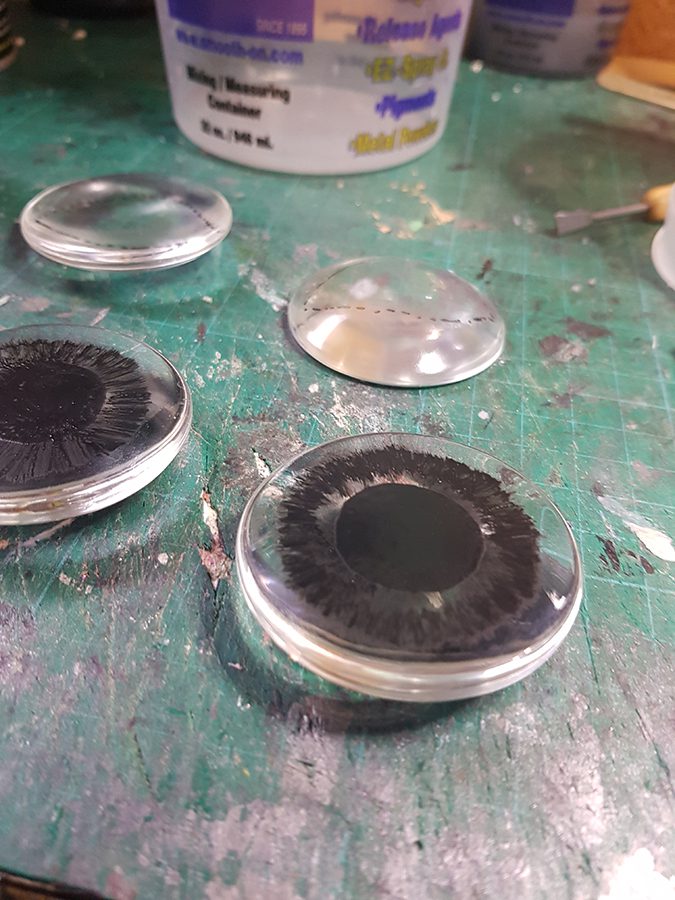
Glass domes have been inserted in the sculpt to get a pocket for the later hand-painted glass eyes.


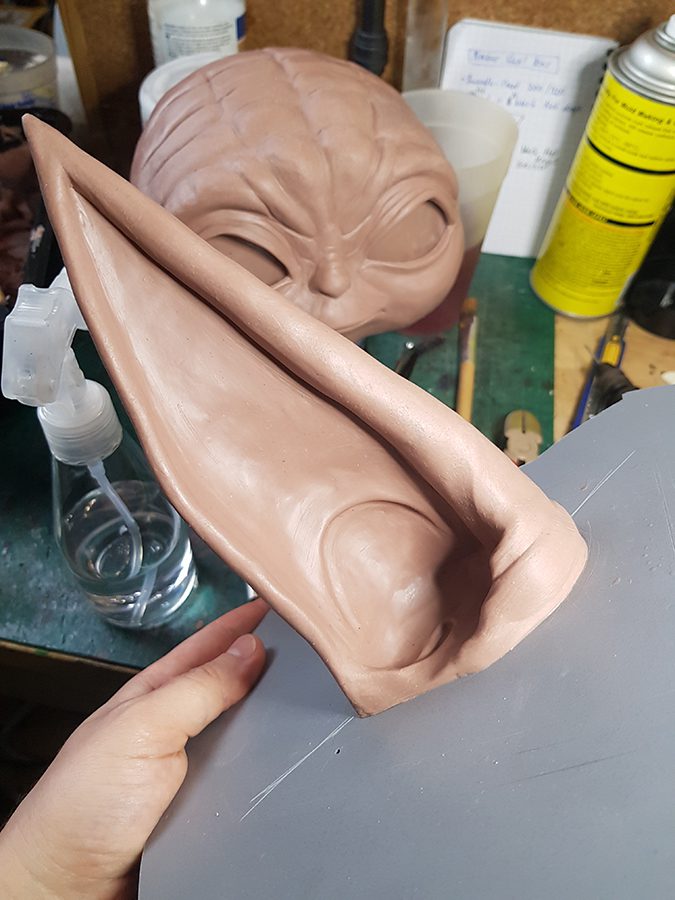
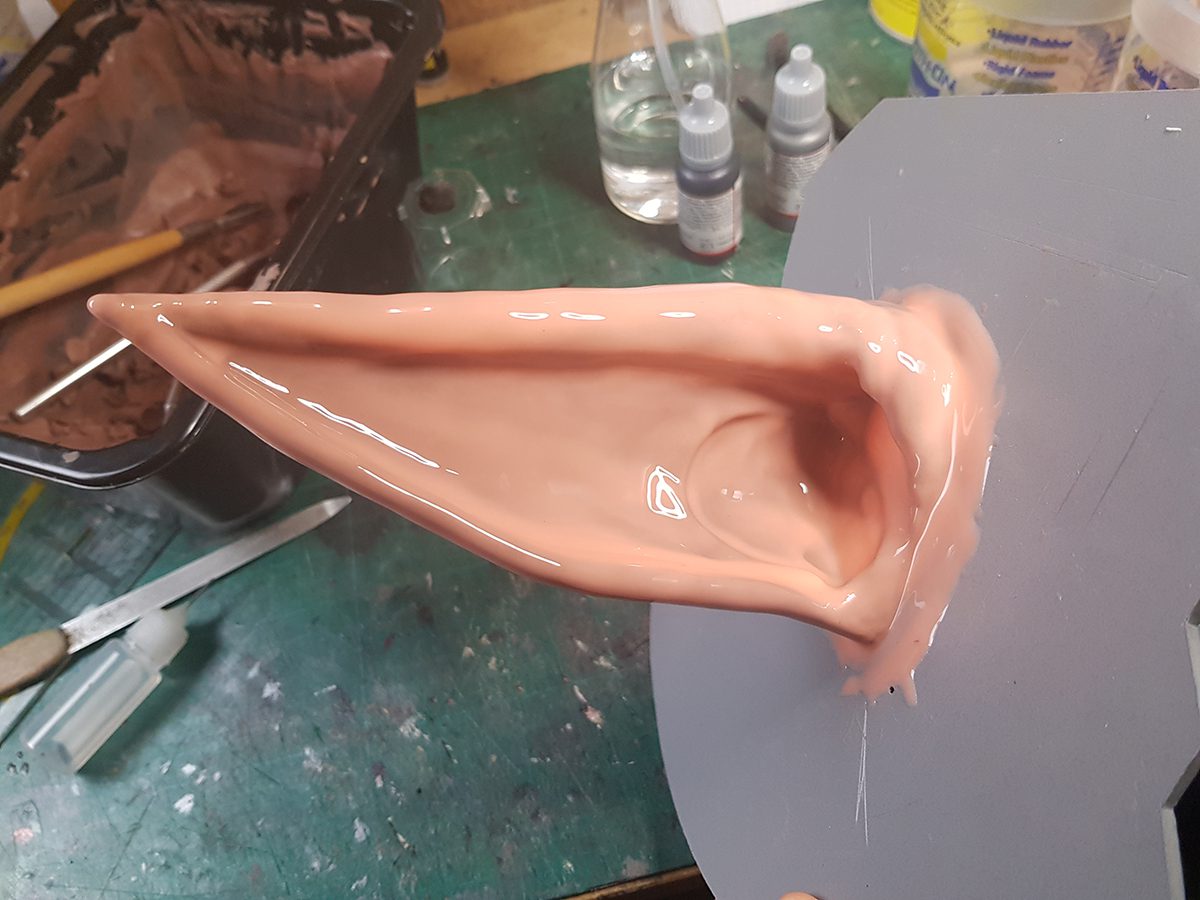
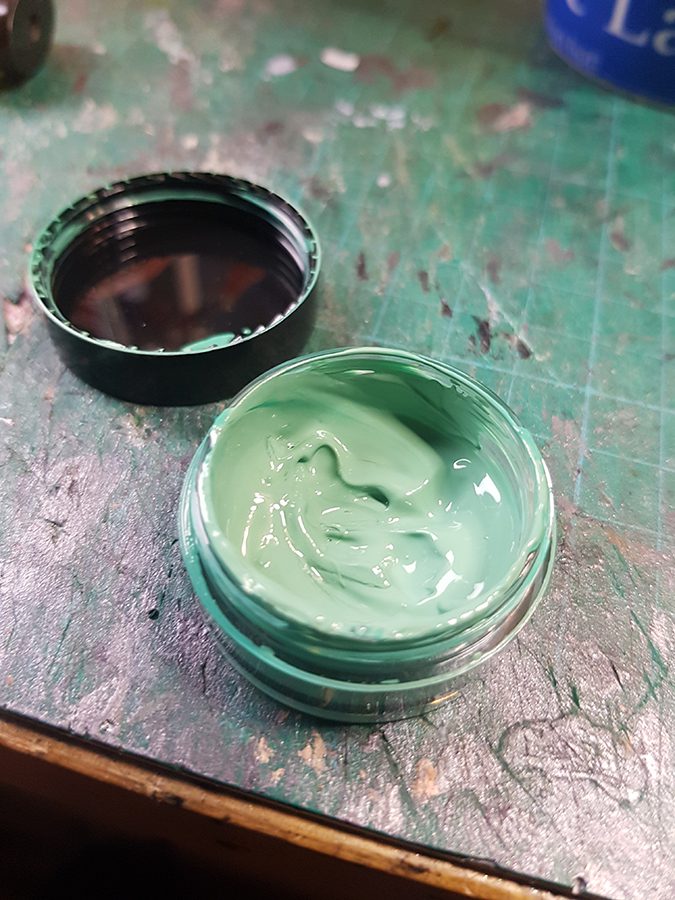
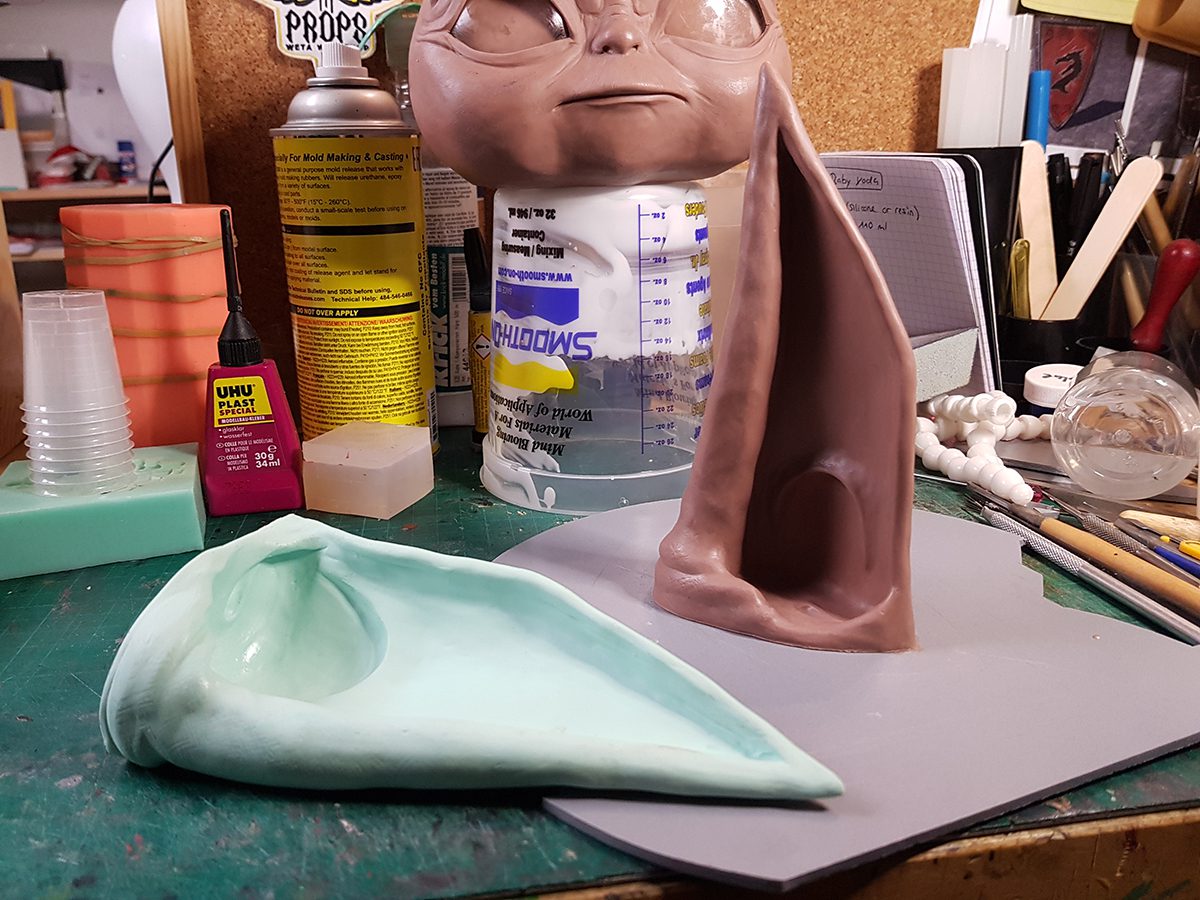
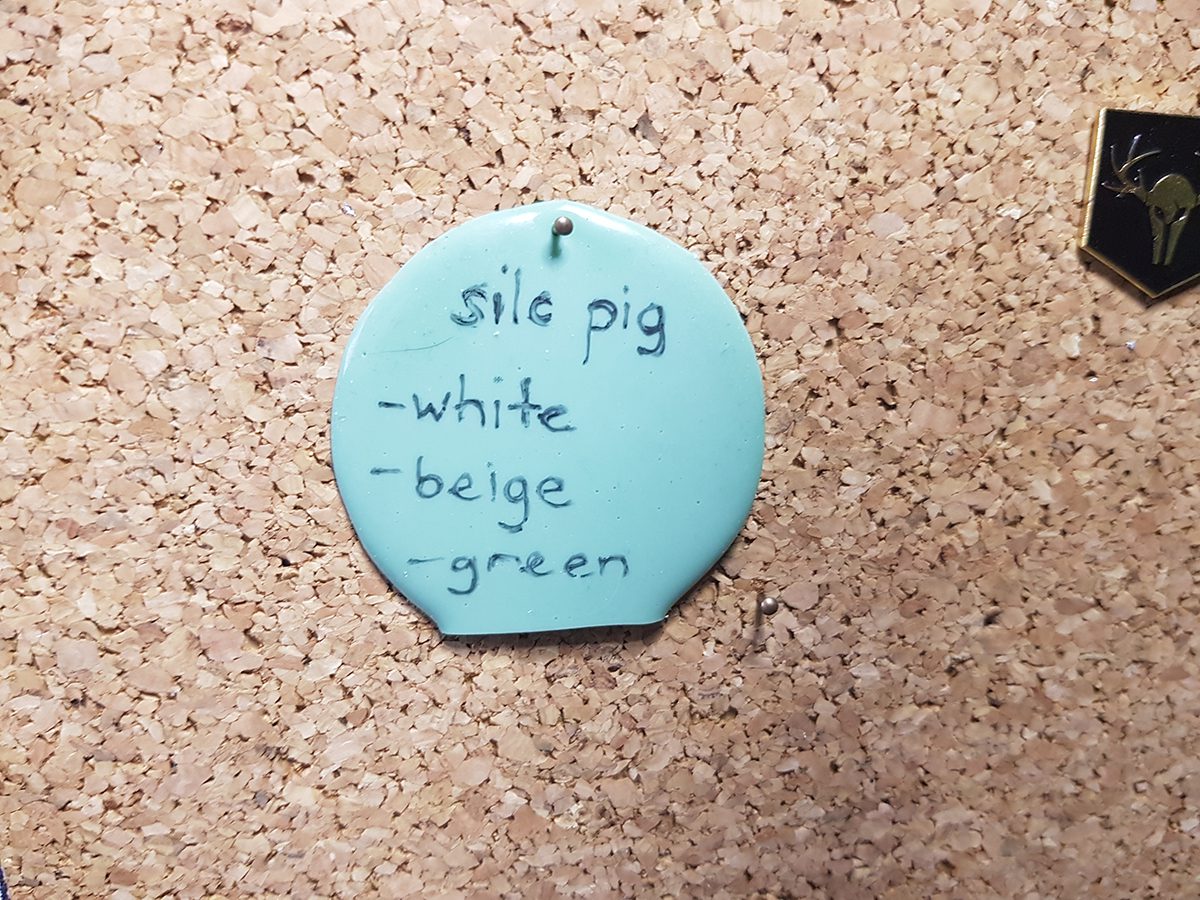
The ears are sculpted on a wire construct mounted to a pvc board. Mixing the colors for the baby’s skin consists of silicone pigments from Smooth-On as well. I pre-mixed a bigger batch in case I had to re-cast a couple of parts for the first version.
If I want to make another baby I can adjust the colors instead of mixing everything from scratch again.
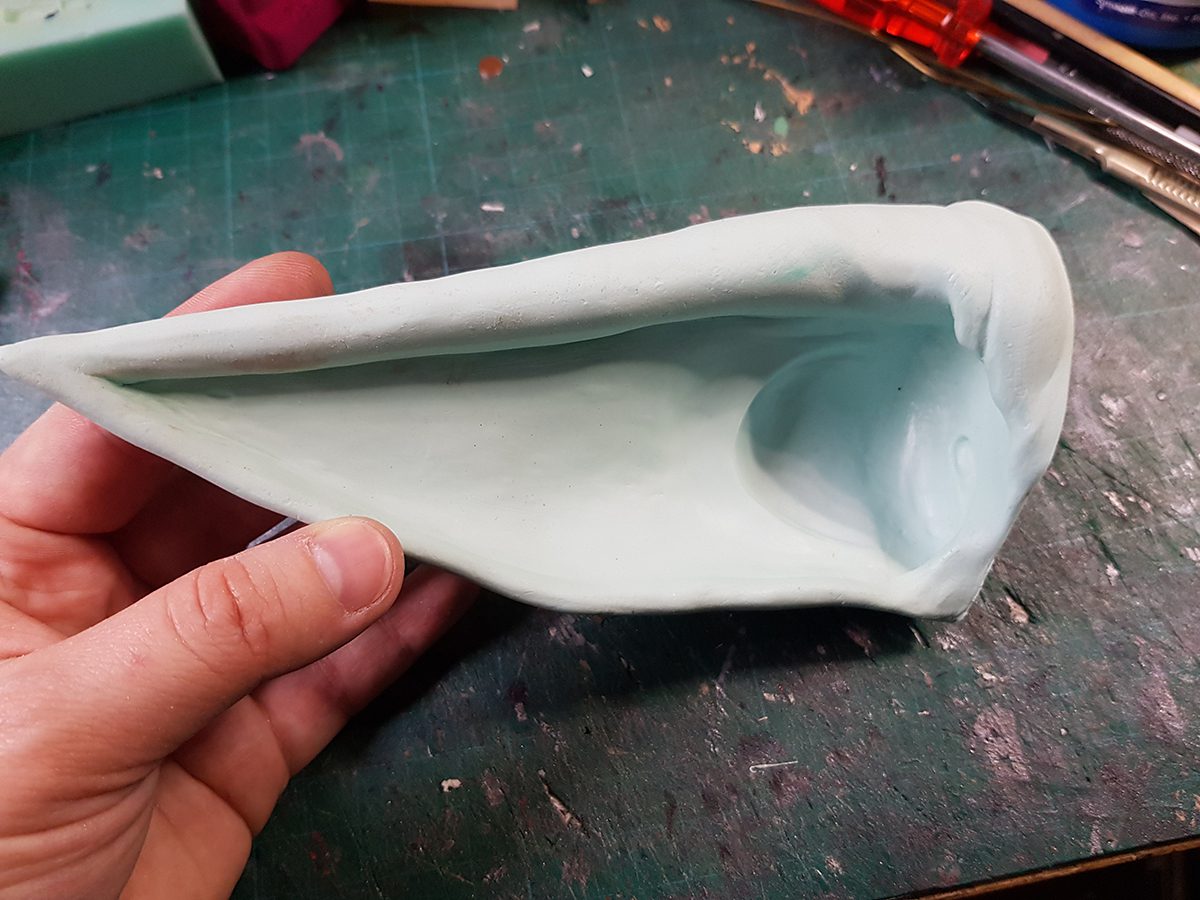
Each part will be cast in resin first to have a backup copy in case the silicone mold gets damaged or something else happens that could set my work back. Better be safe than sorry.
Each ear has a thick wire placed inside it, because I wasn’t sure how floppy the ears will get.


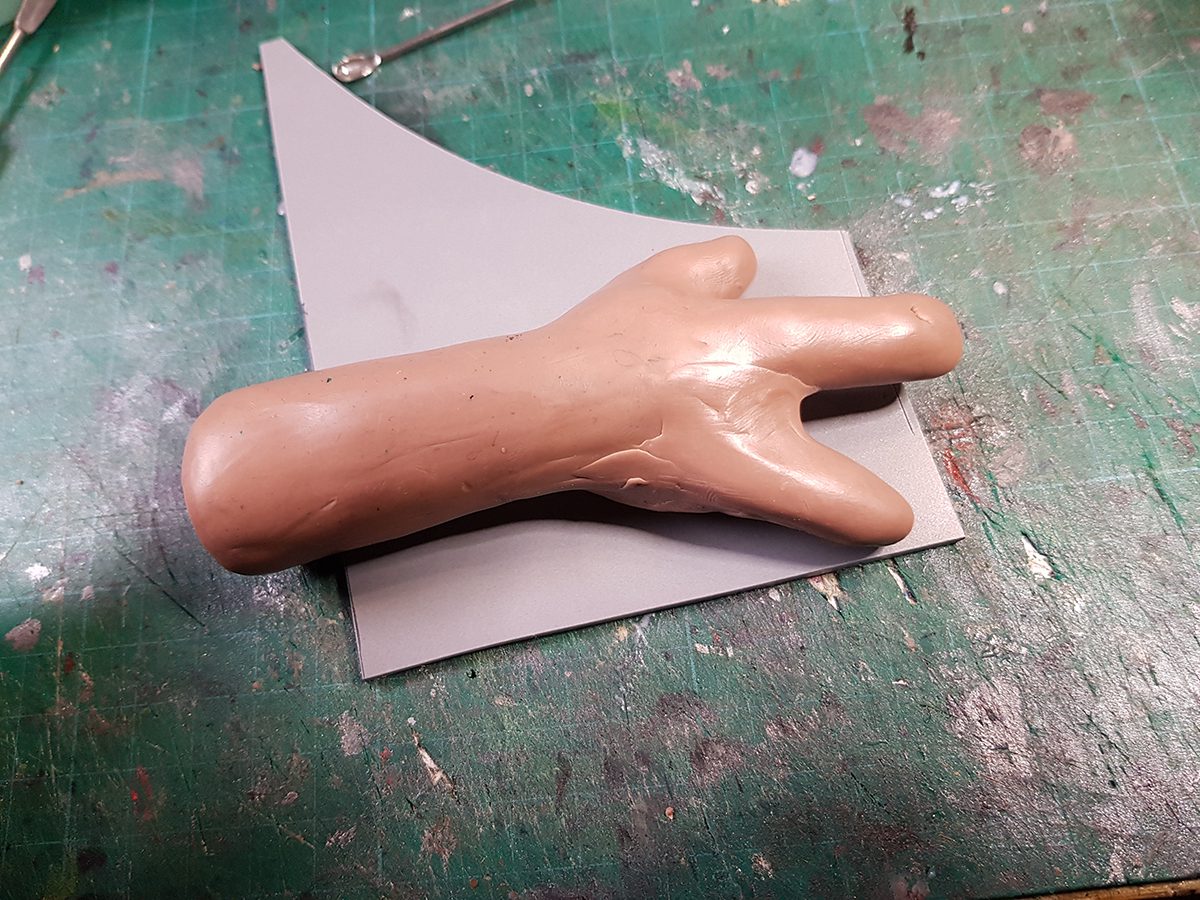
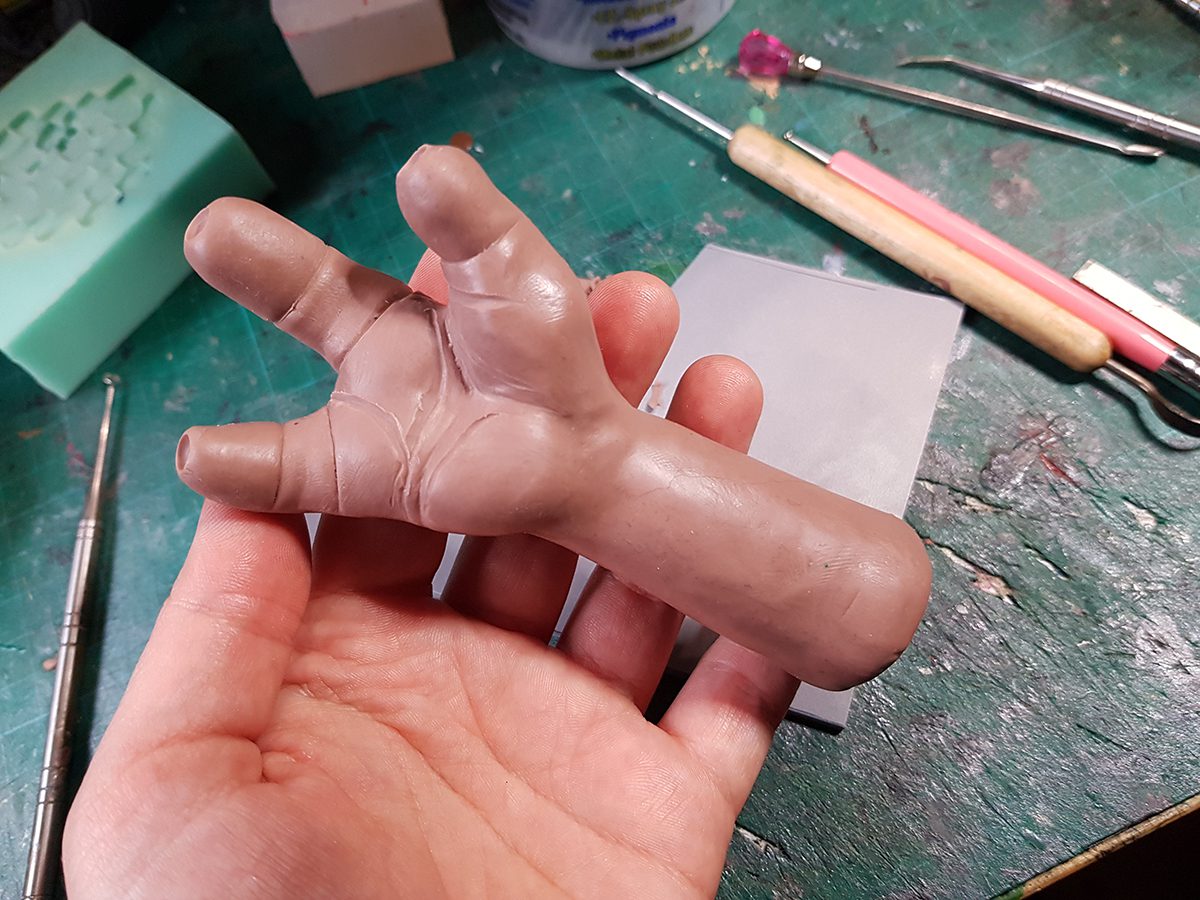
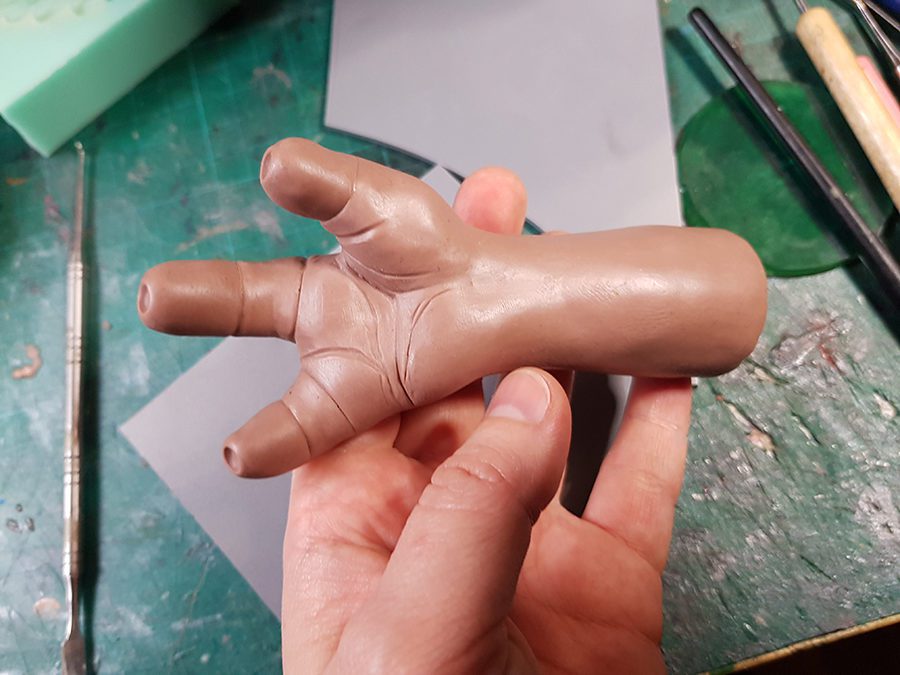
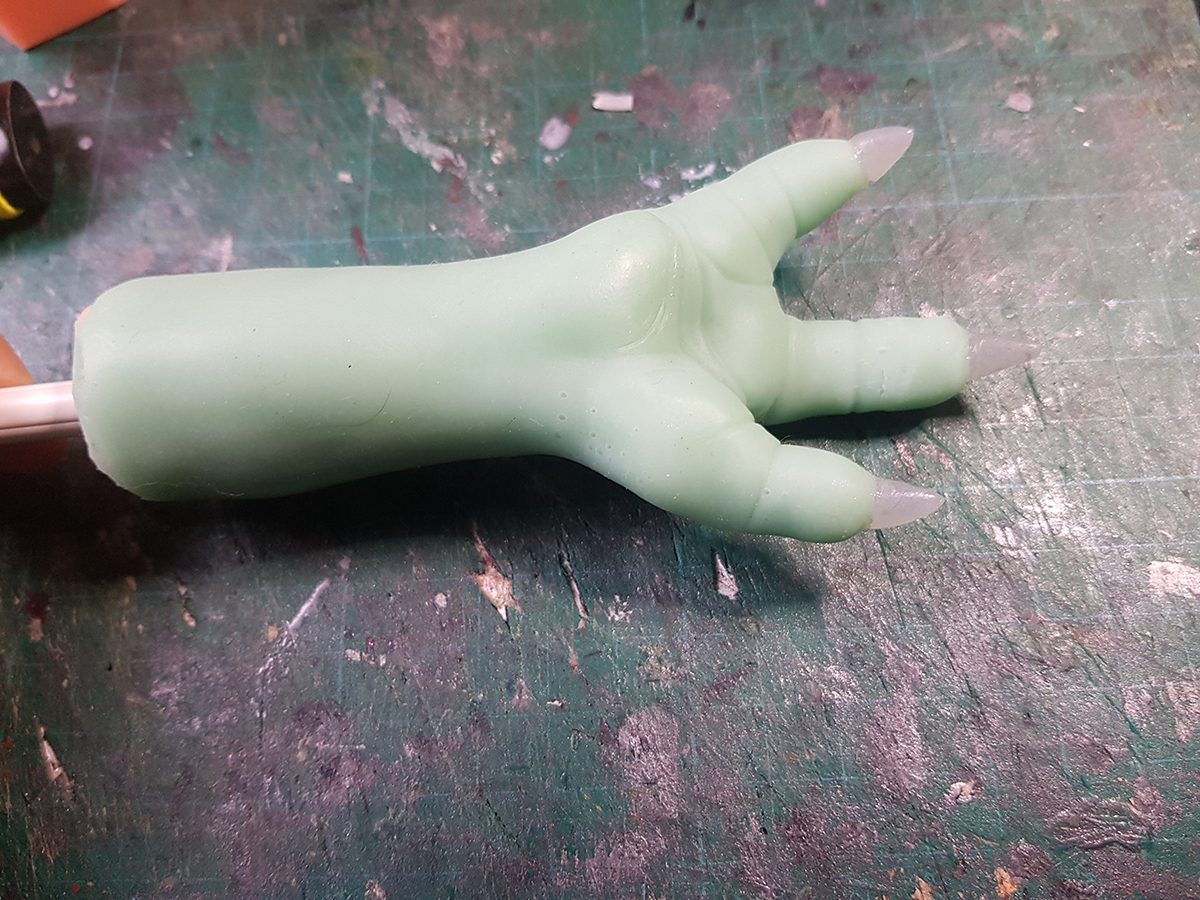
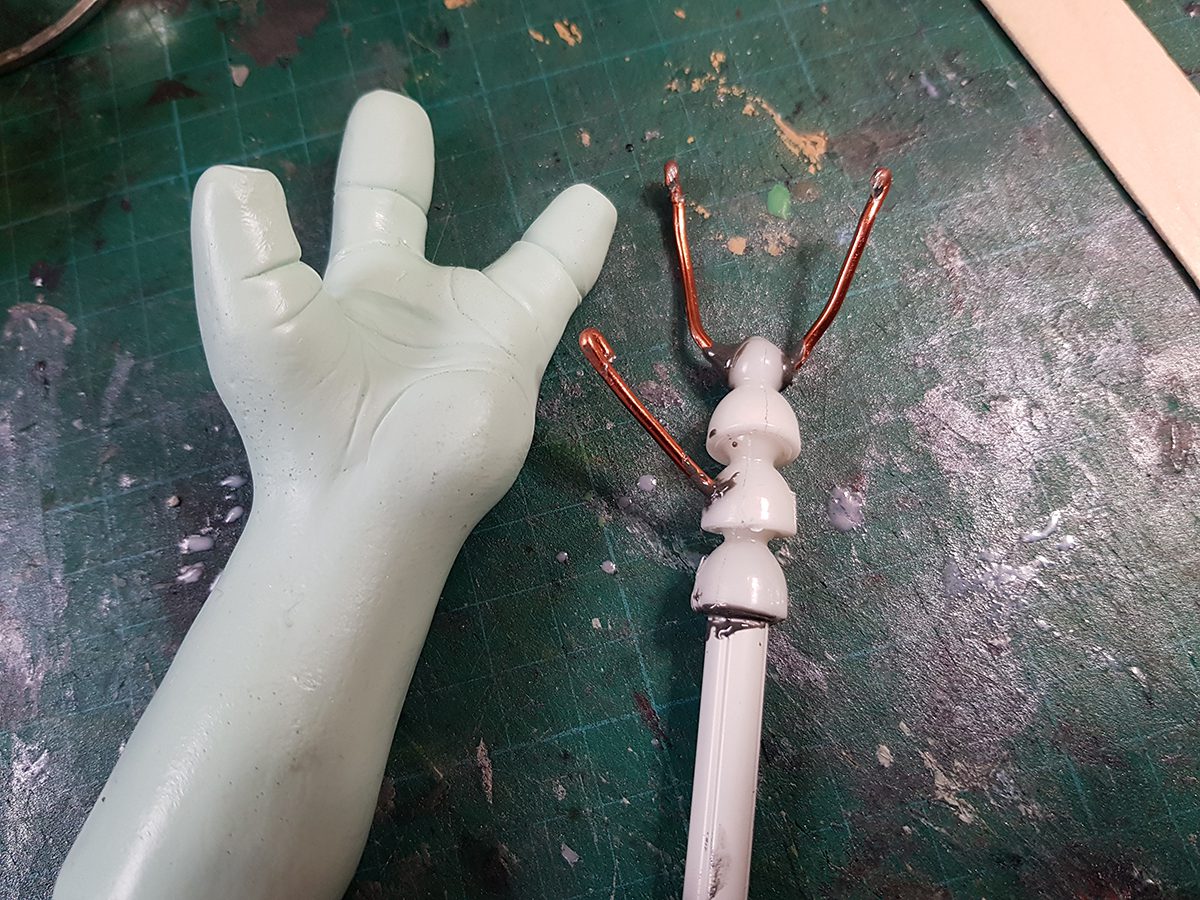
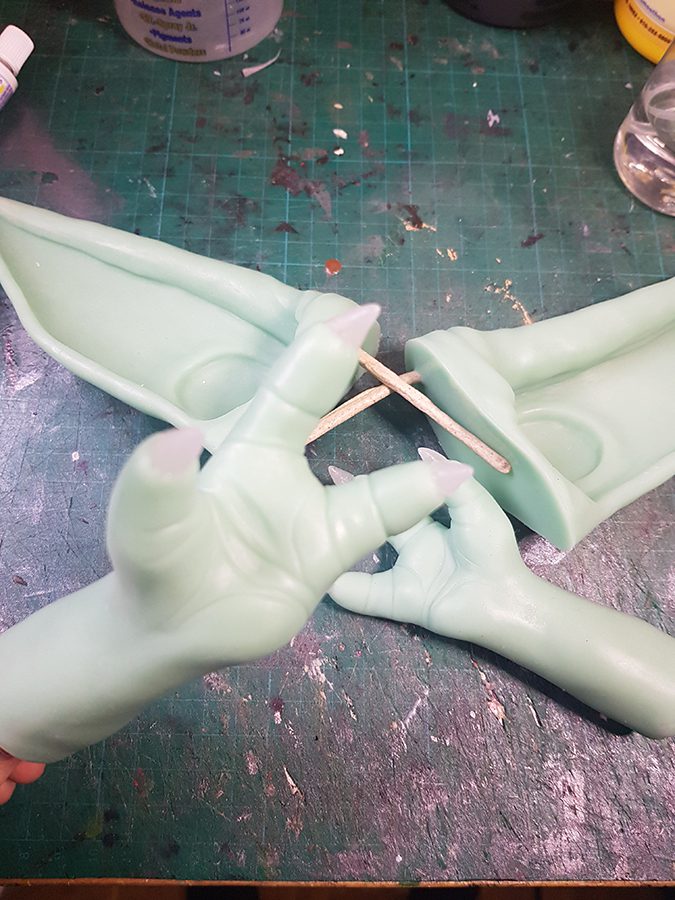
The arms are done the same way like the ears, only here I placed a pvc pipe in the mold for have some sort of skeleton for the wobbly silicone. Another option was to add wire fingers and a plastic skeleton so the baby is able to hold something in its hands.
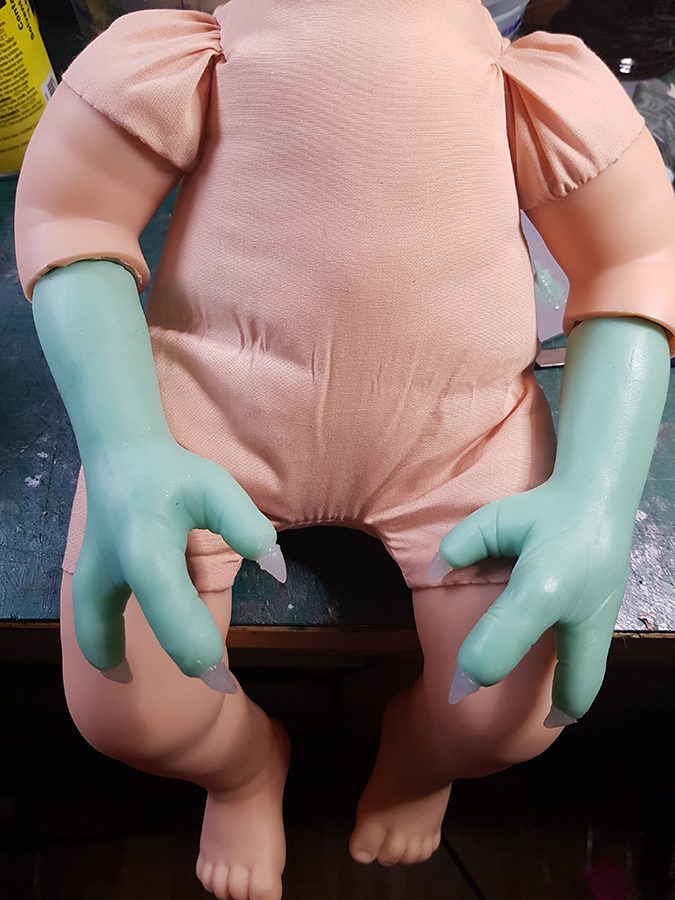
For the body I got a random doll and prepared it to be turned into a baby yoda body.


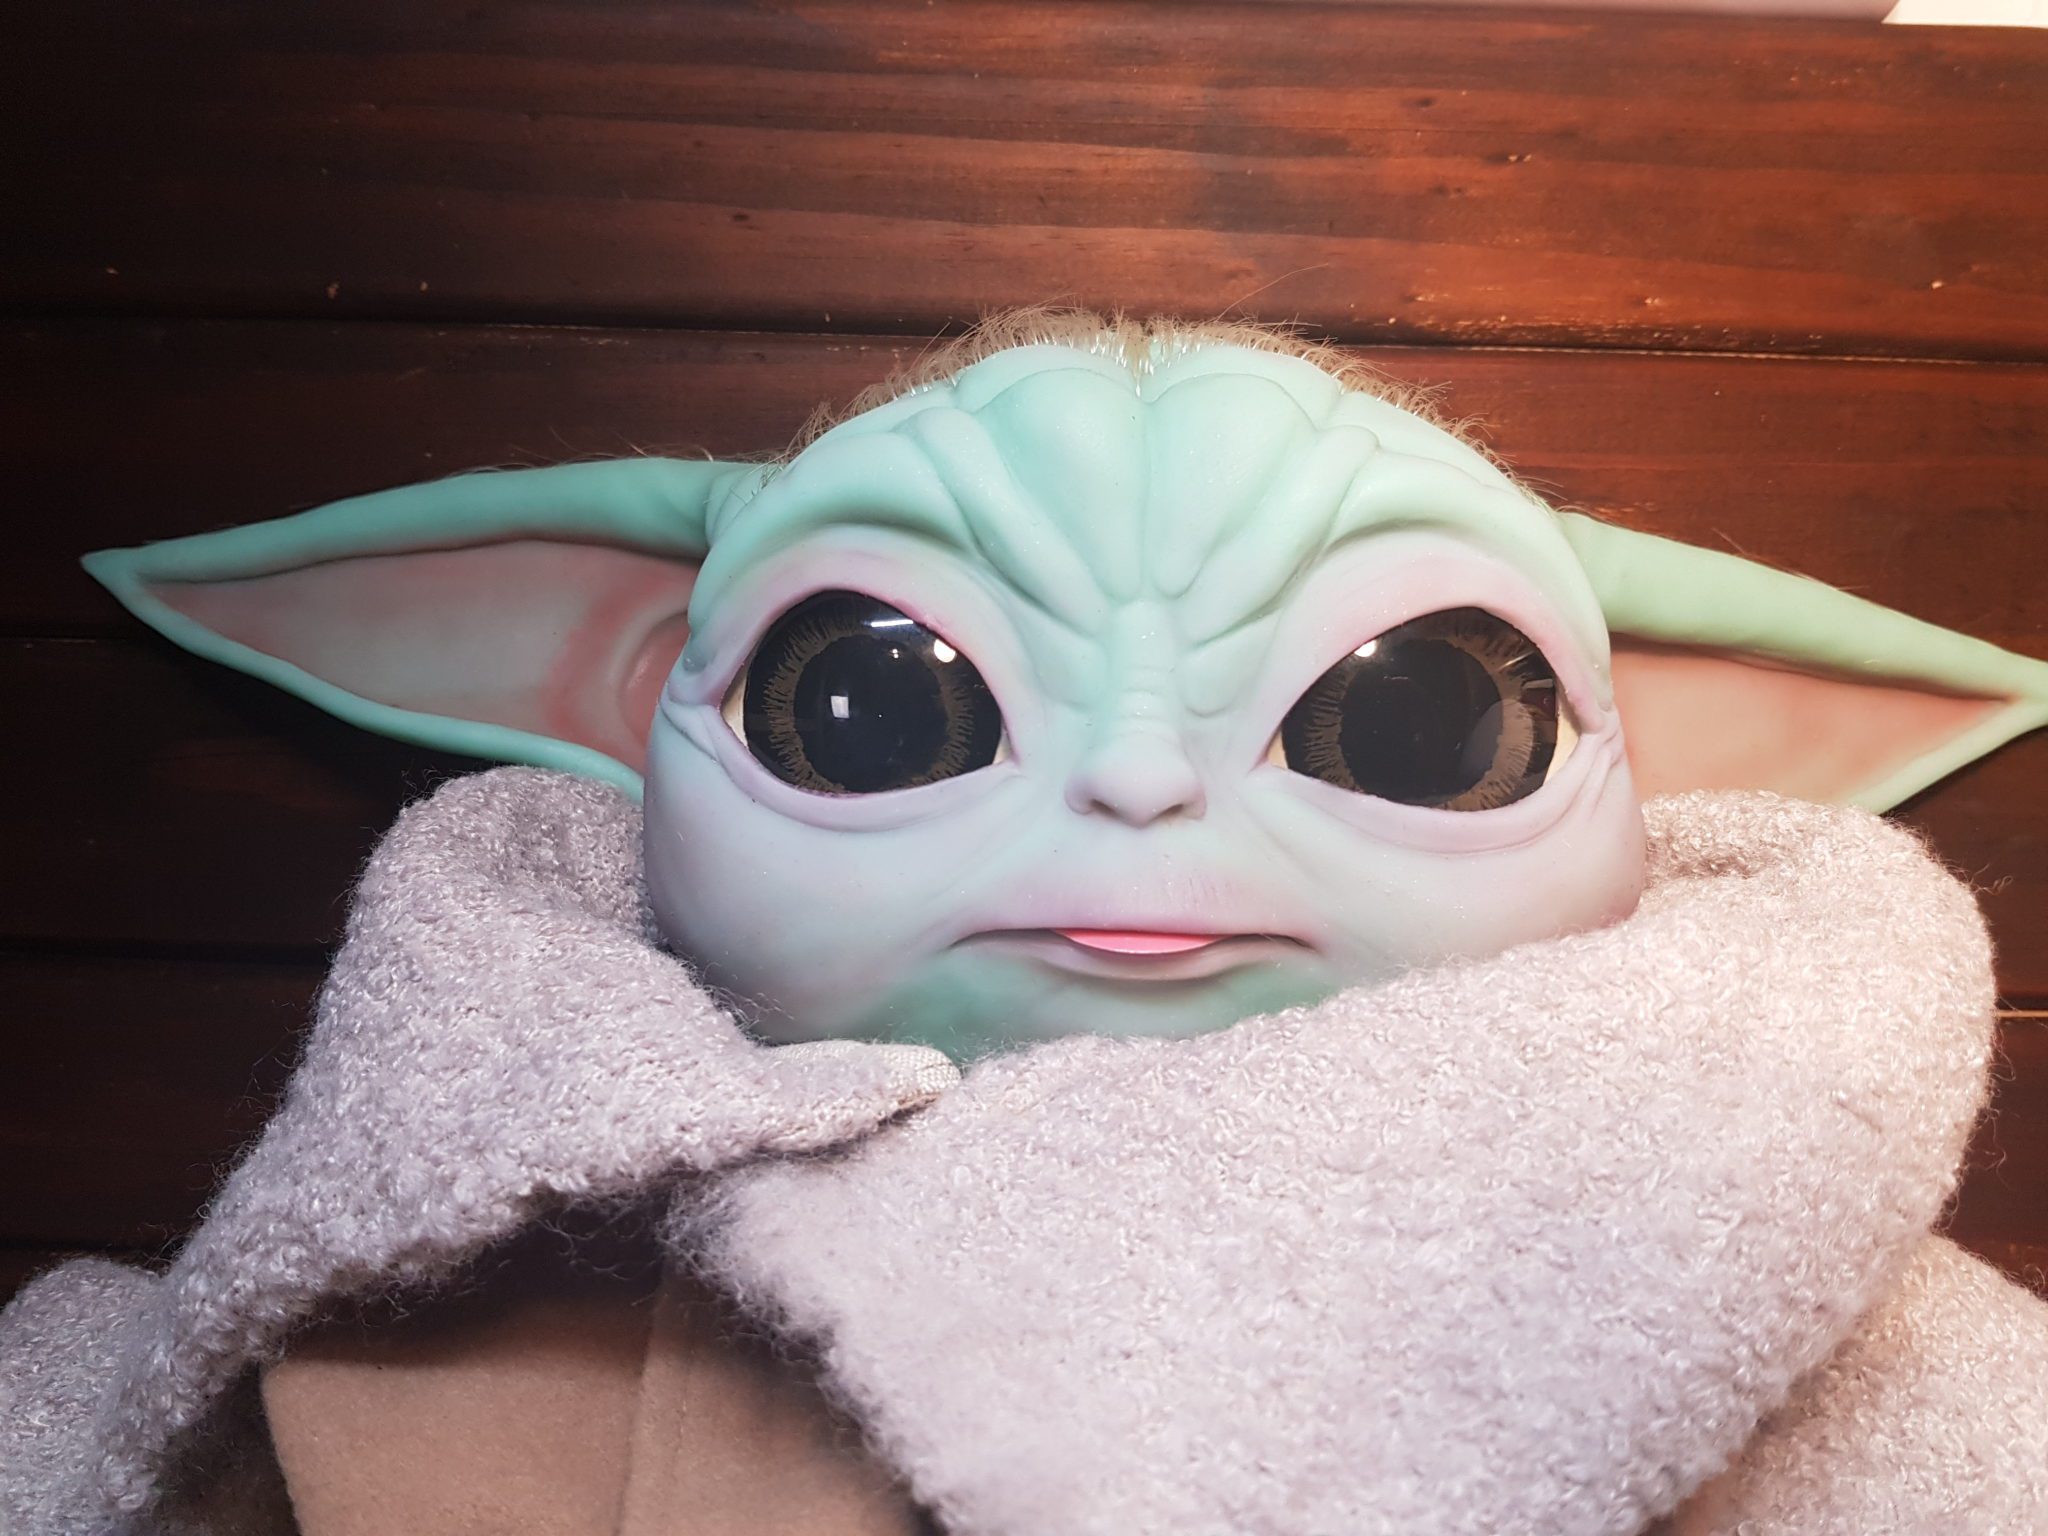
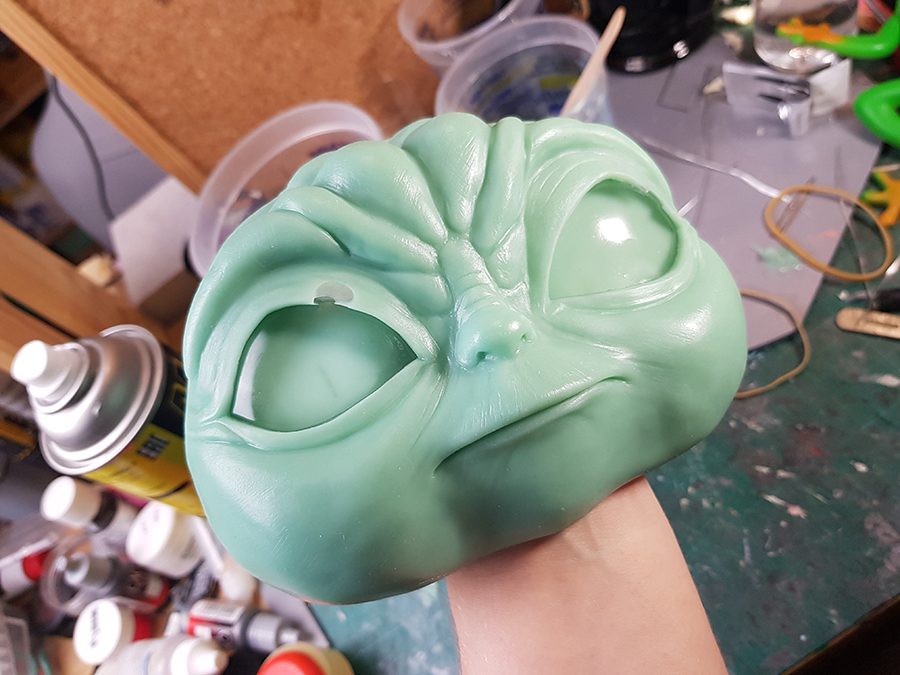
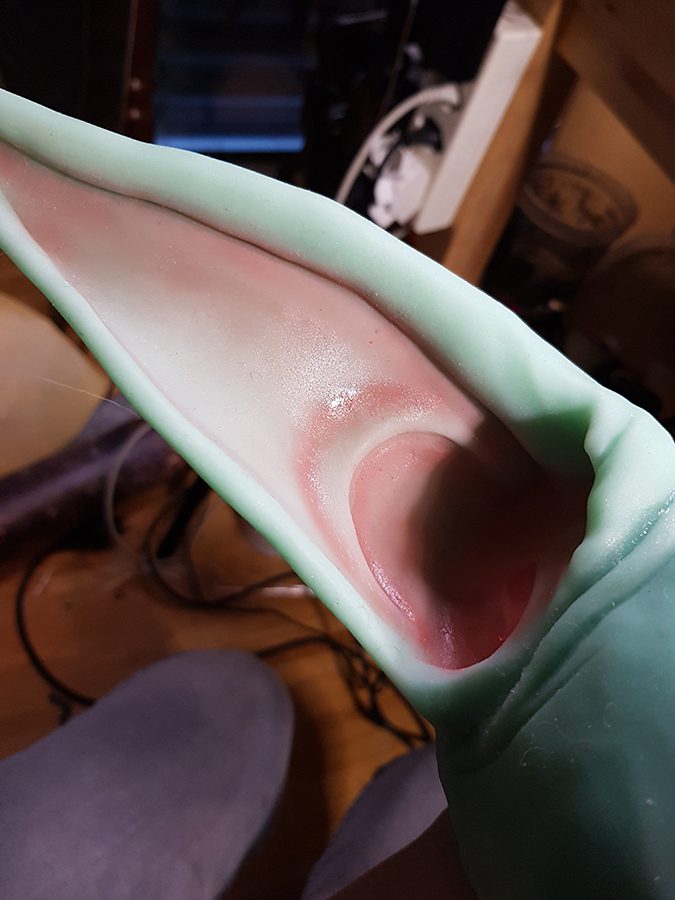
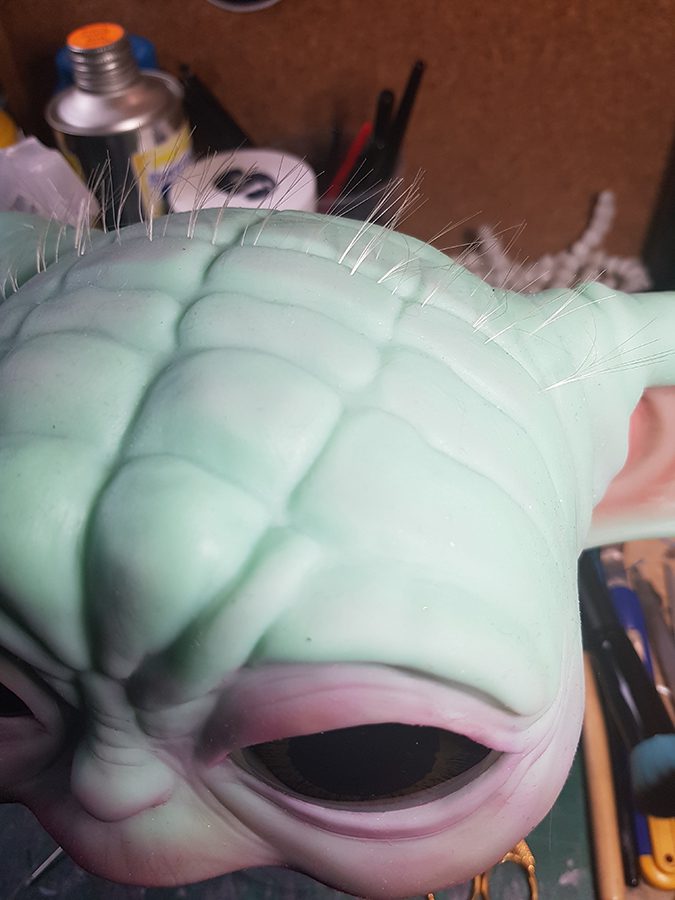
Airbrushing the details on all parts with Psycho Paint from Smooth-On and tinted with Silc Pig. I only worked with the red pigment here as any other color would look weird in my eyes. But my experience with painting dolls is limited as this was my first doll I made.
Mixed the Psycho Paint mix with NOVOCS, a thinner made for airbrush use. I only mixed up a small cup of approximately 20 ml for one session so I could get used to working with it. Tried airbrushing and silicone miscast of an ear so if anything goes south I don’t destroy the good casts.
So after 10 minutes I was confident enough to go and airbrush the face and ears. Just didn’t use a lot of paint for the first layer to avoid dripping. I had around 5 sessions of these until I was happy with the result.
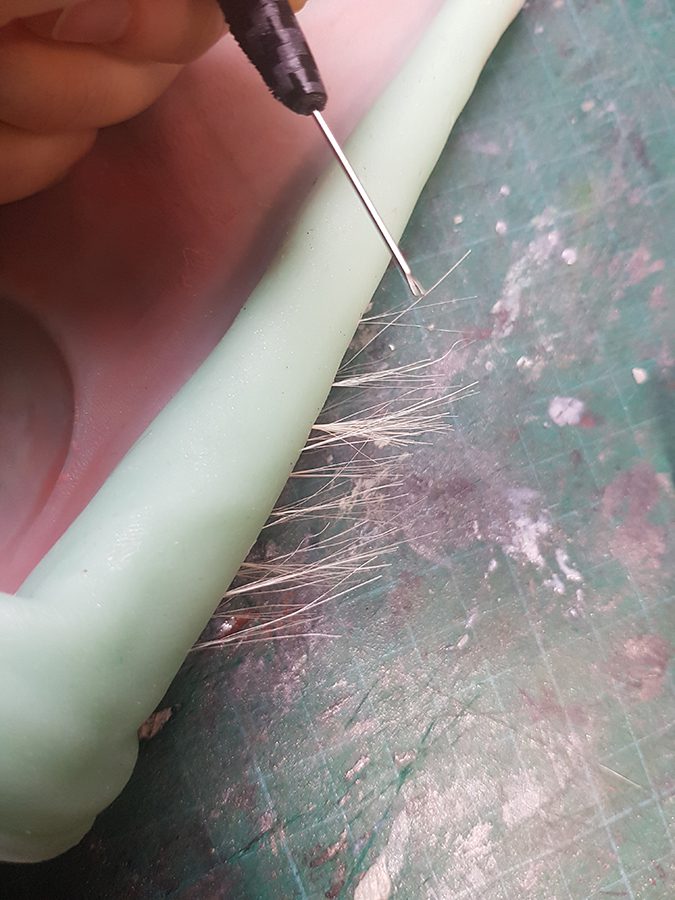
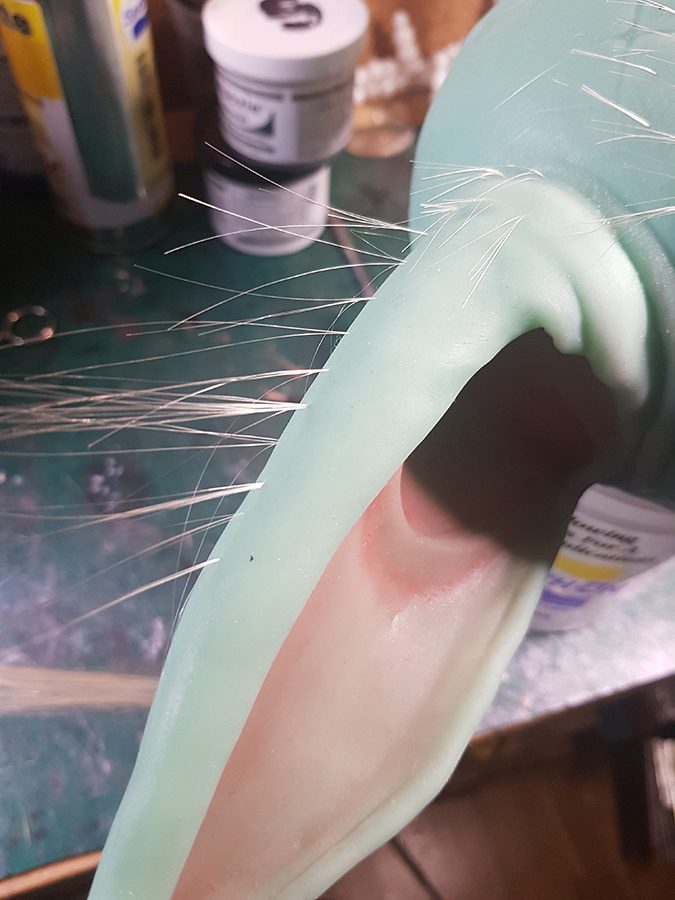
To know how to punch the hair I searched for “punching silicone doll hair” on youtube and clicked one of the more detailed videos. After that I cut the loop of a needle open to get this fork shaped piece. Made a small handle, grabbed a white wig and cut a few strands off and punched the hair like seen in the video.
It just took a lot of time as I only punched 1-2 strands at once. When all was done I just had to trim the hair a bit with scissors.


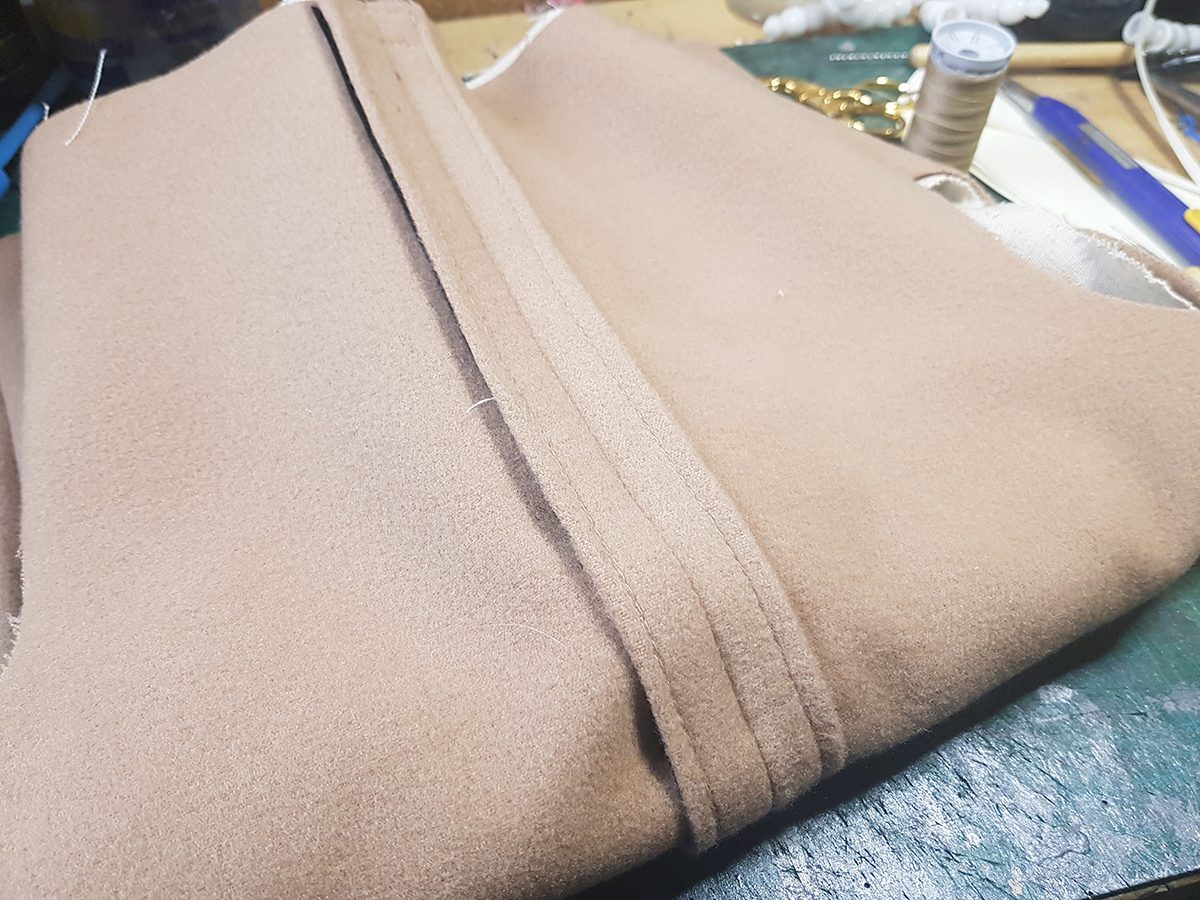
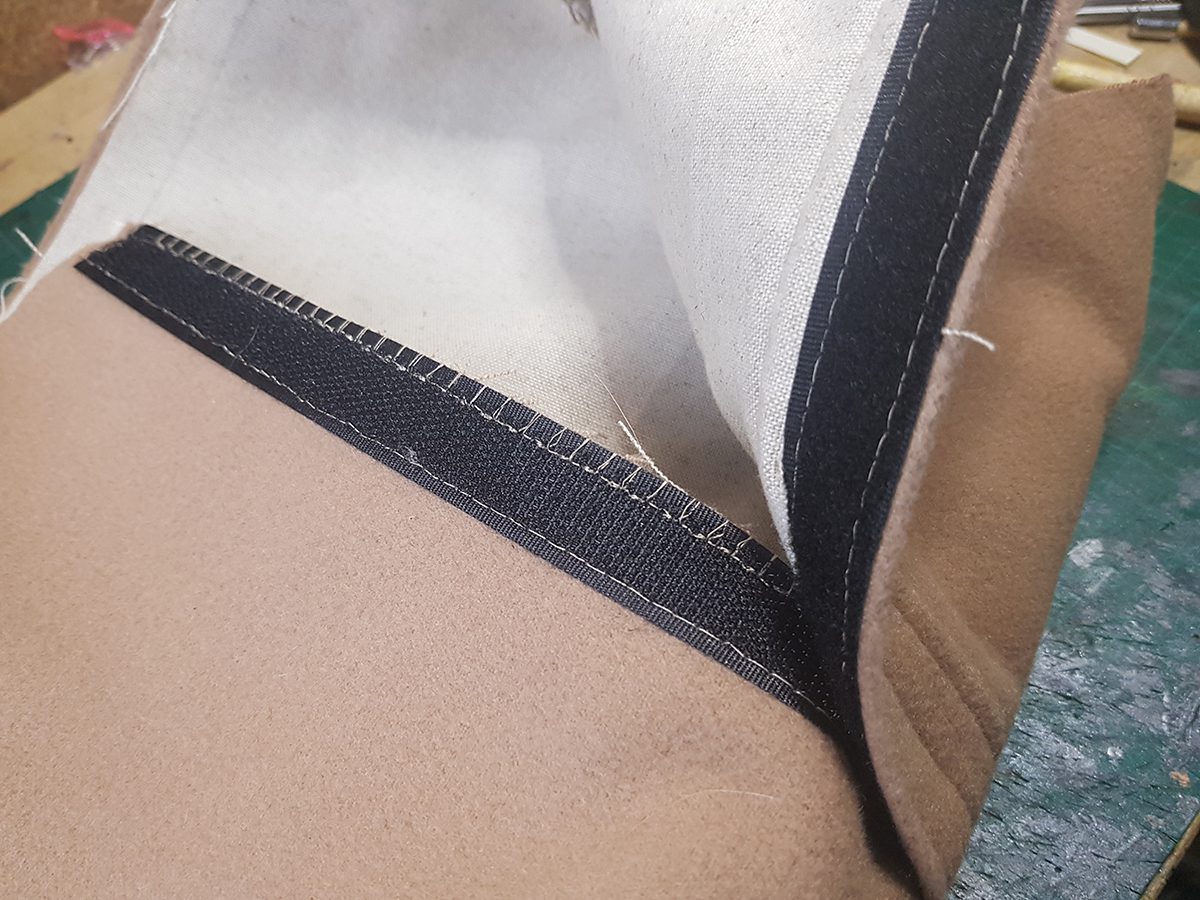
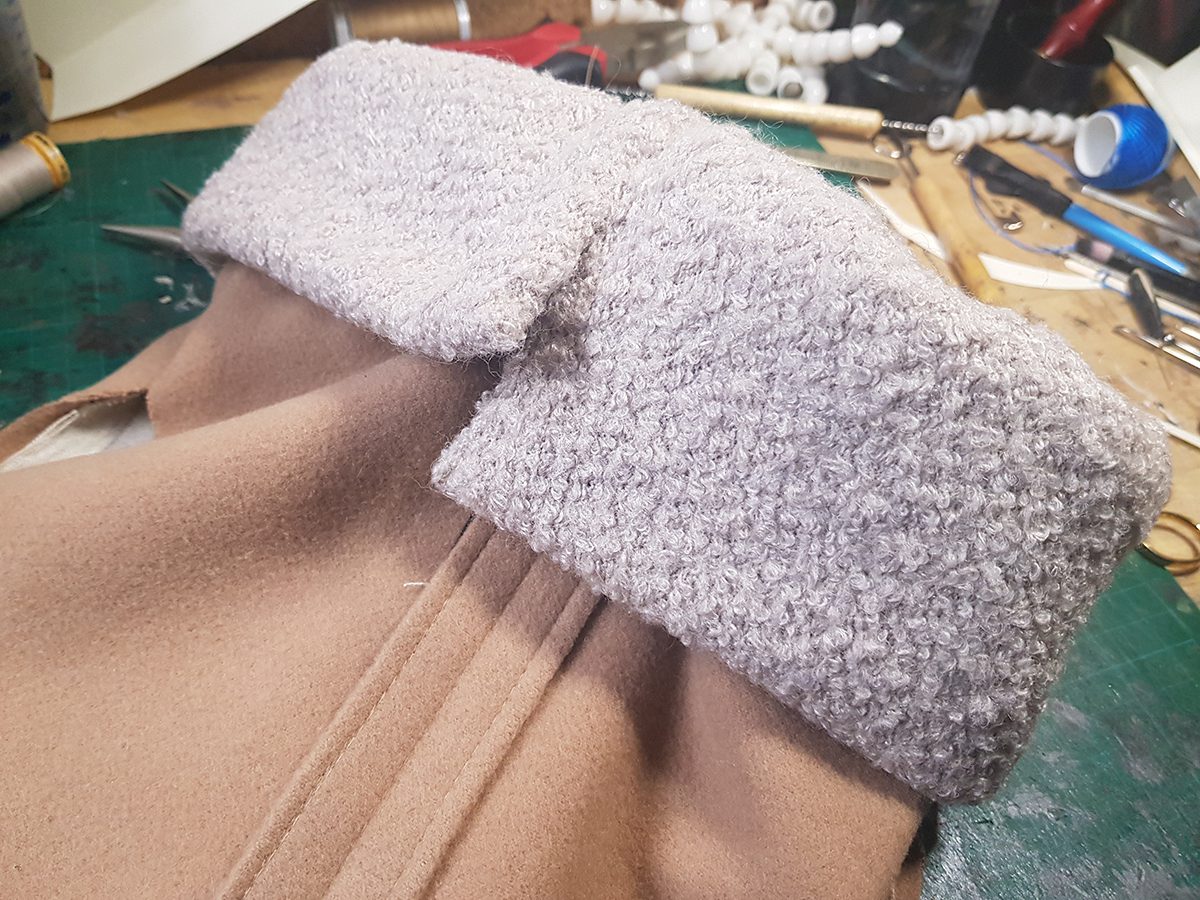
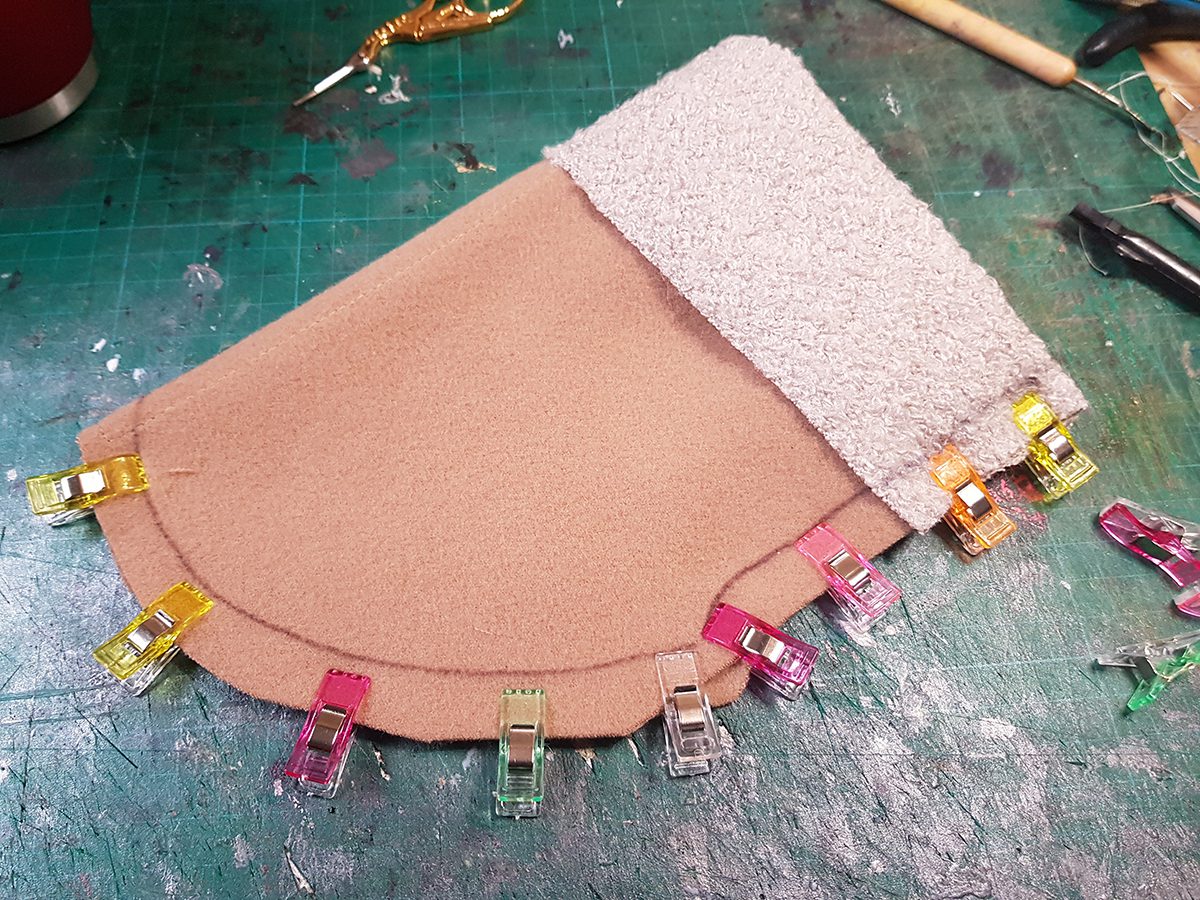
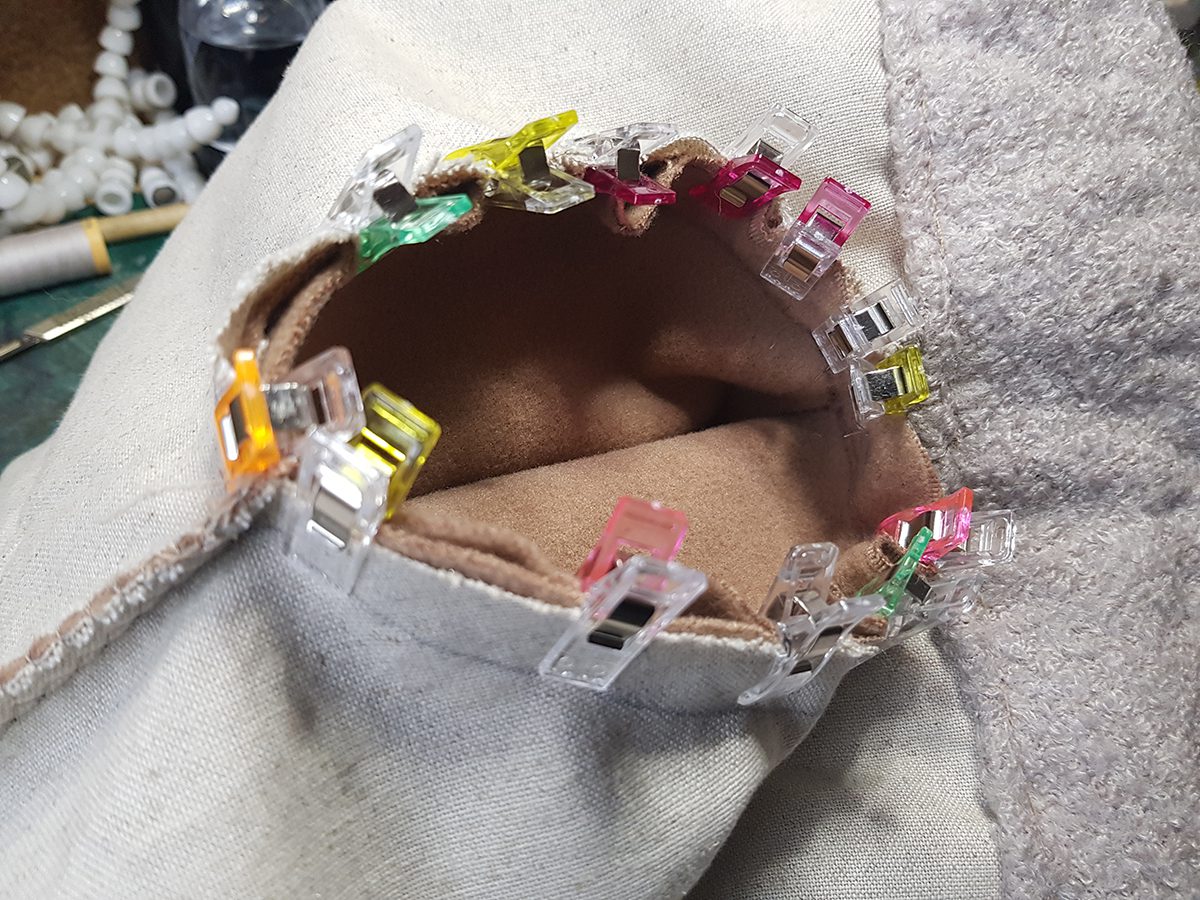
For the robe I made my own patterns and got the best matching fabric from a store near my place instead of ordering something online. A velcro was added so the robe could be taken off for adjustments anytime.


