
First of all print out the blade in the size you need.Then cut it out roughly. Glue it onto your polypropylene sheet. Use water based glue, will explain later why.
 Like this you can cut our the image and the polypropylene sheet at the same time.

 I also draw or press along the design of the blade. Since my pen is empty, I only press along the lines. A pen is easier to work with, would’nt recommend to use a knife here.
 A rough sketch of the design is seen here after the pen pressure trick.Now remove the image, cut out the rest of it, and what left is the plastic sheet you are going to work with. Clean the cutout from the glue or you’ll have a sticky base.
 Shaping the edges here, because the blade is going to be sharp and pointy.So we can’t have bold edges here.

Done, now up we go to the sculpting.
Alright, and here starts the sculpting process. Here’s what I needed for this.
- Knife
- small screwdriver
- small soft brush
- cup of water
- Apoxie Sculpt
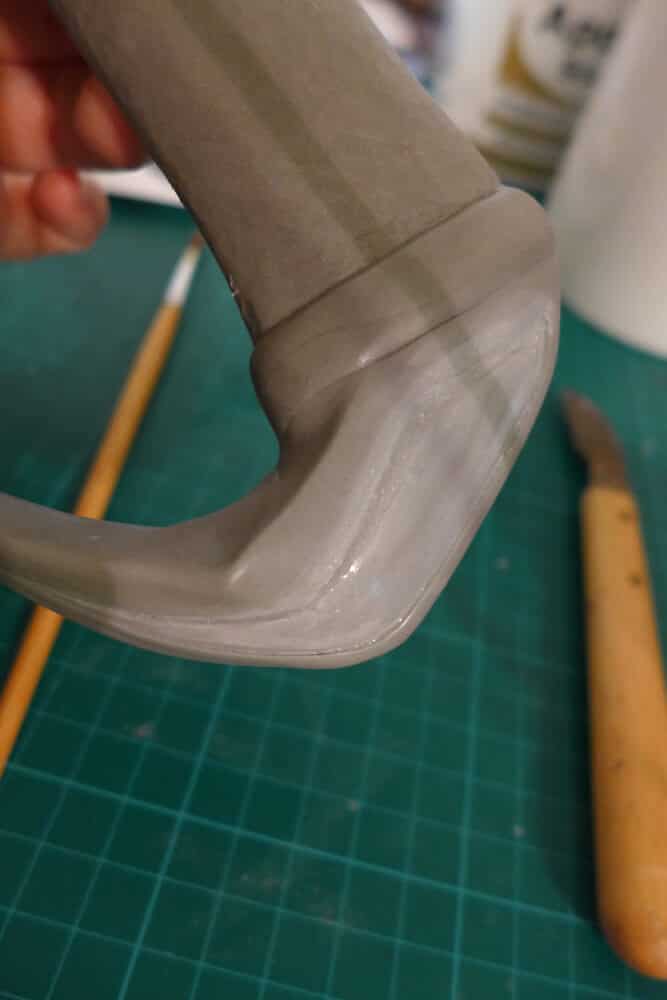
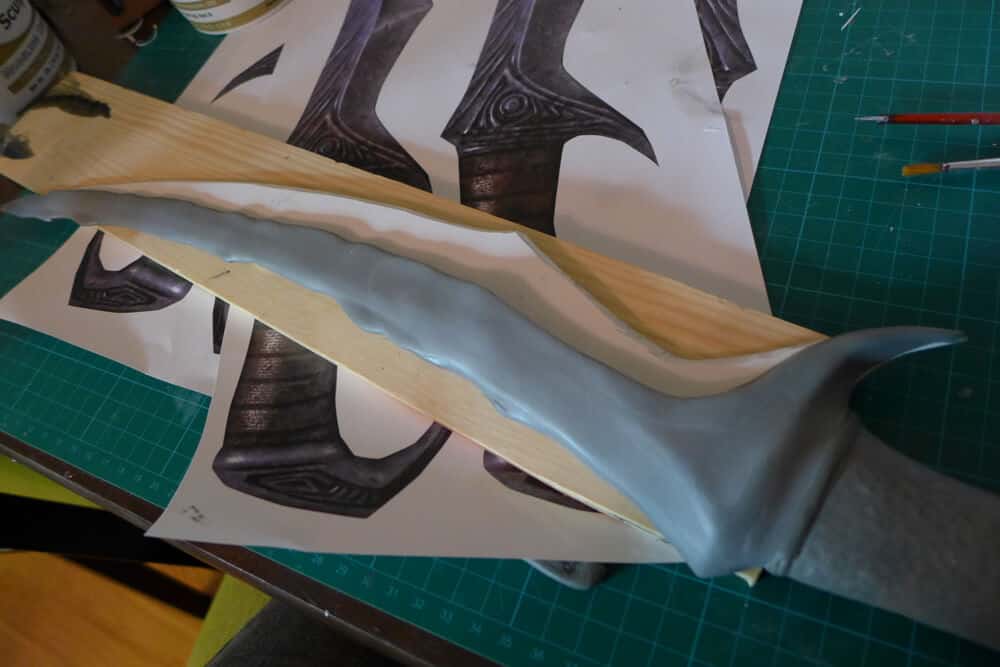
Alright, before I start with sculpting at all, I need to decide where to start first.I decided to start with the handle. With this I can either do the pommel next, or do the blade. The thought of it is, to finish the blade of woe step by step, since Apoxie Sculpt cures fast and I don\’t have the time to work in the whole blade for too long.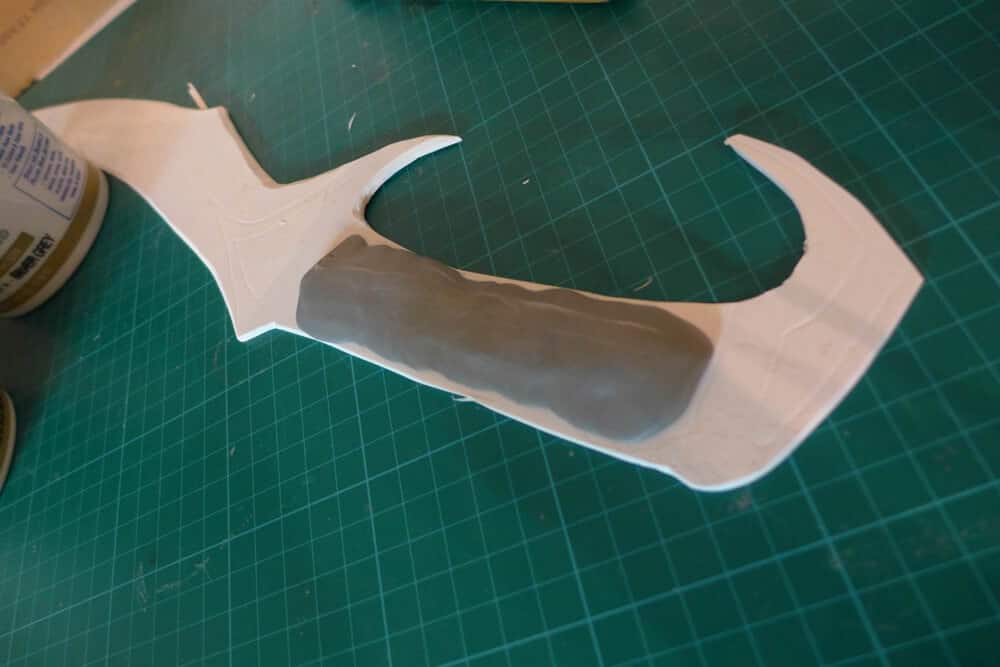 Starting with the handle, I compare the handle with the ingame model on my TV screen. It’s easier to figure out how thick this needs to be.
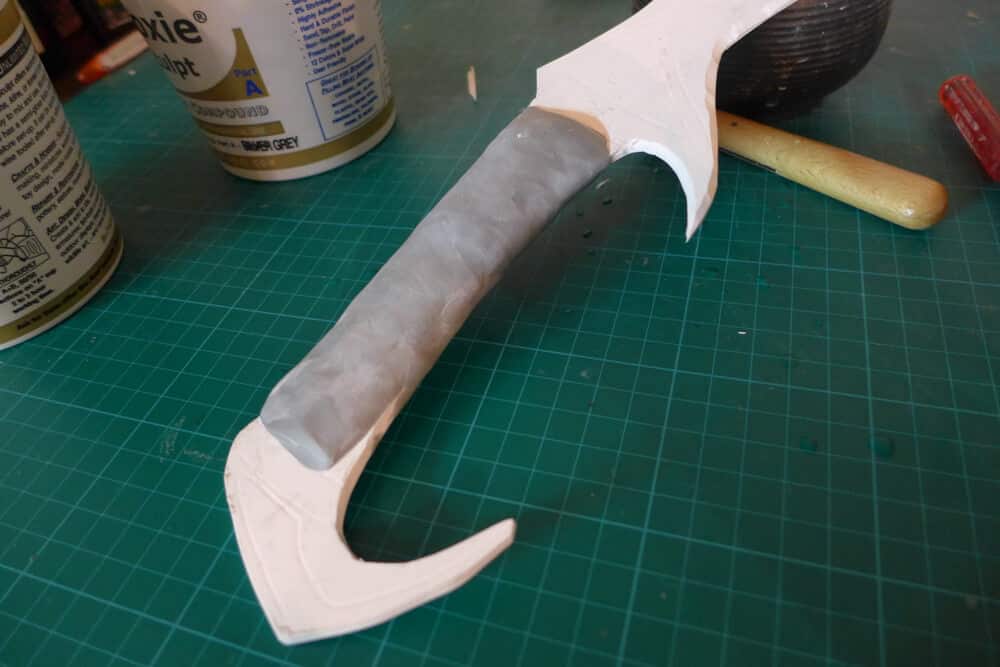 And with the pattern I have carved into the polypropylene sheet, I can’t miss the place where I need to stop adding Apoxie.
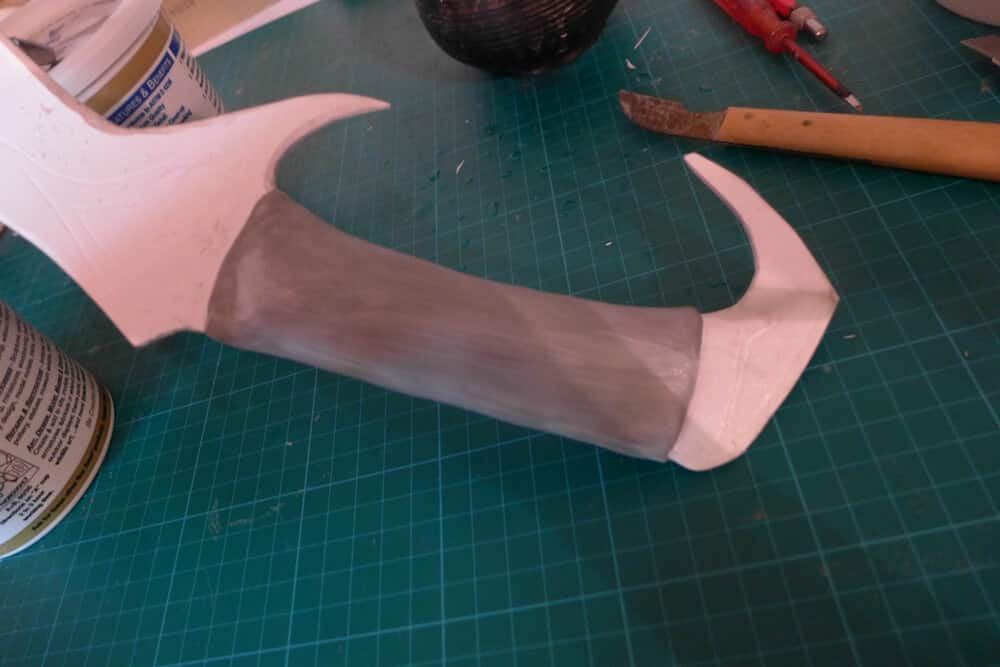 The handle will of course be wrapped with leather.
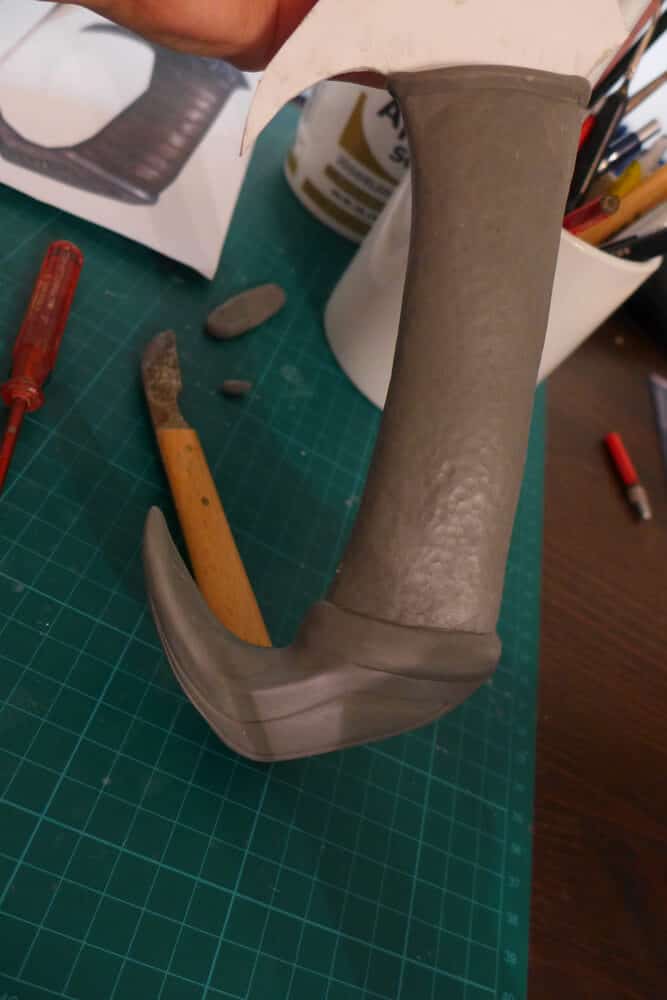
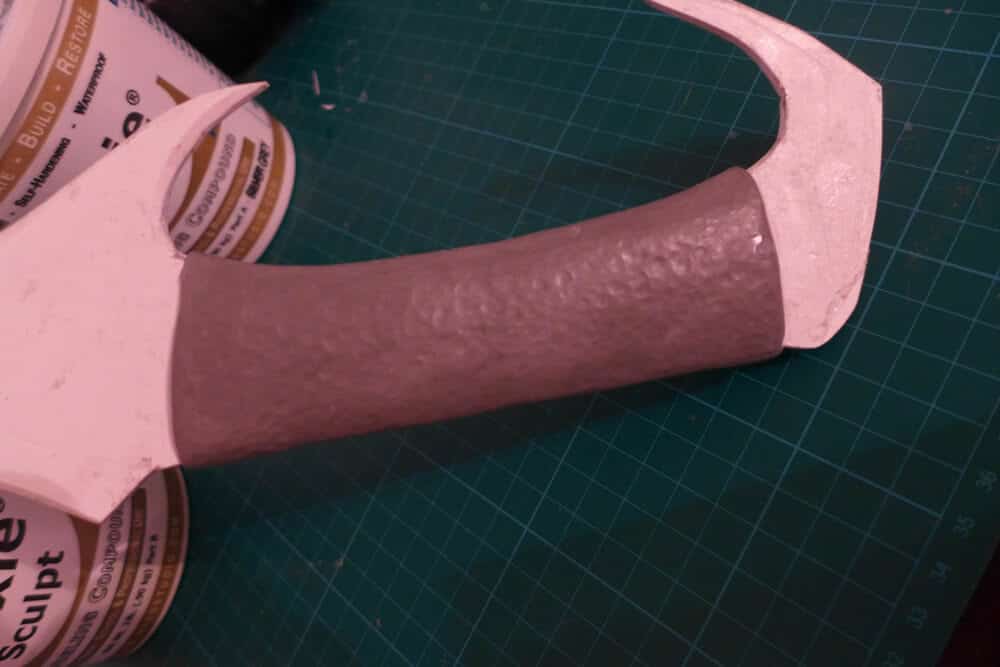 Usually, I let the Apoxie Sculpt cure about 8h, one night max before starting with a new layer. When not in mood to wait for too long, I work with it as soon as it’s in a “sandable” state.
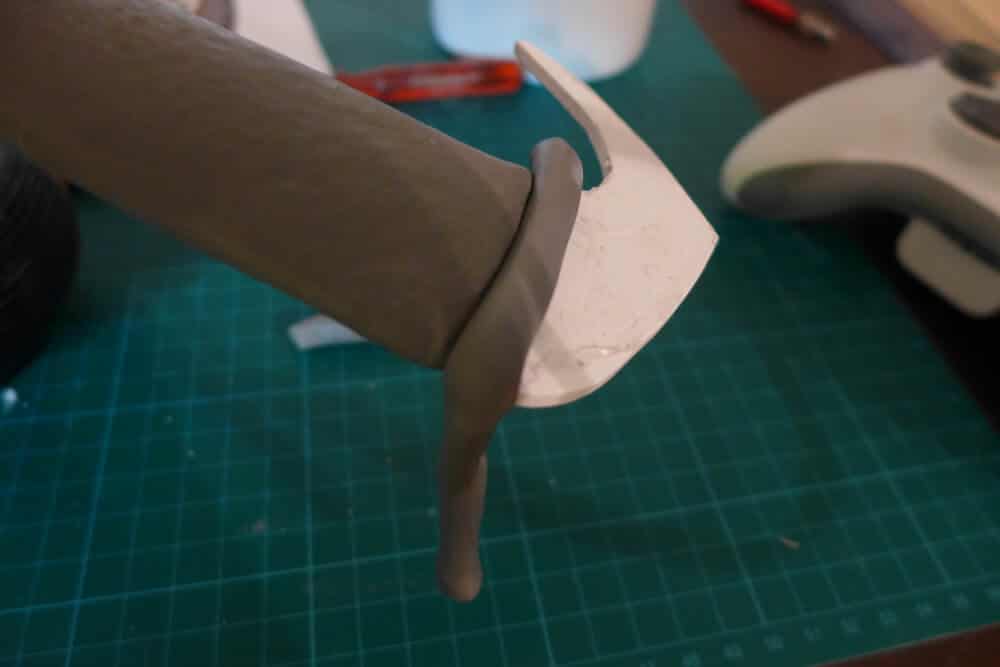
 I can always add Apoxie later, when everything fails.Or sand it to remove.
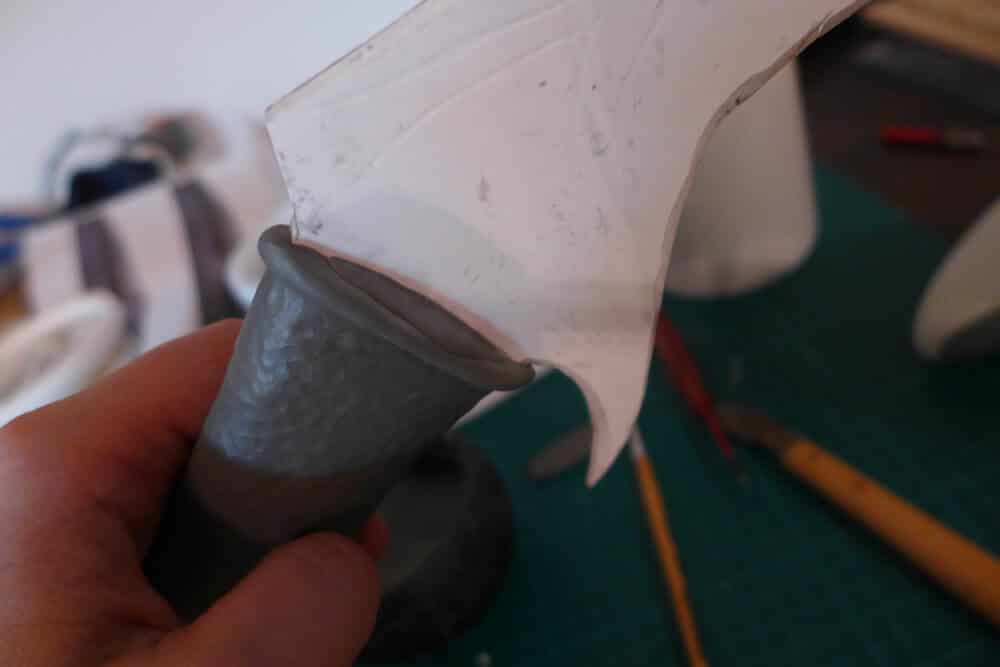
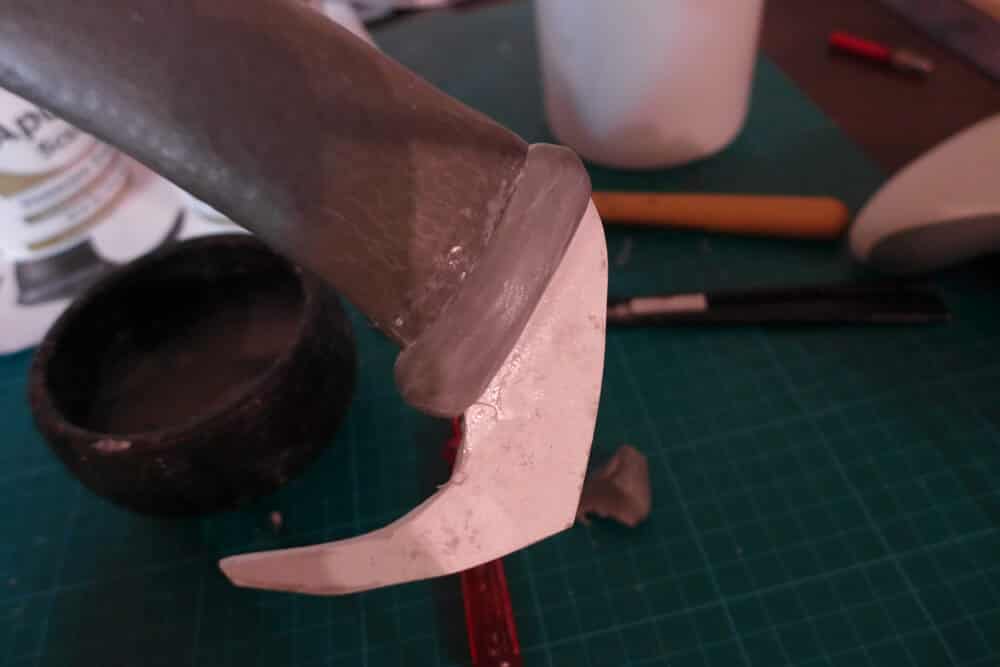
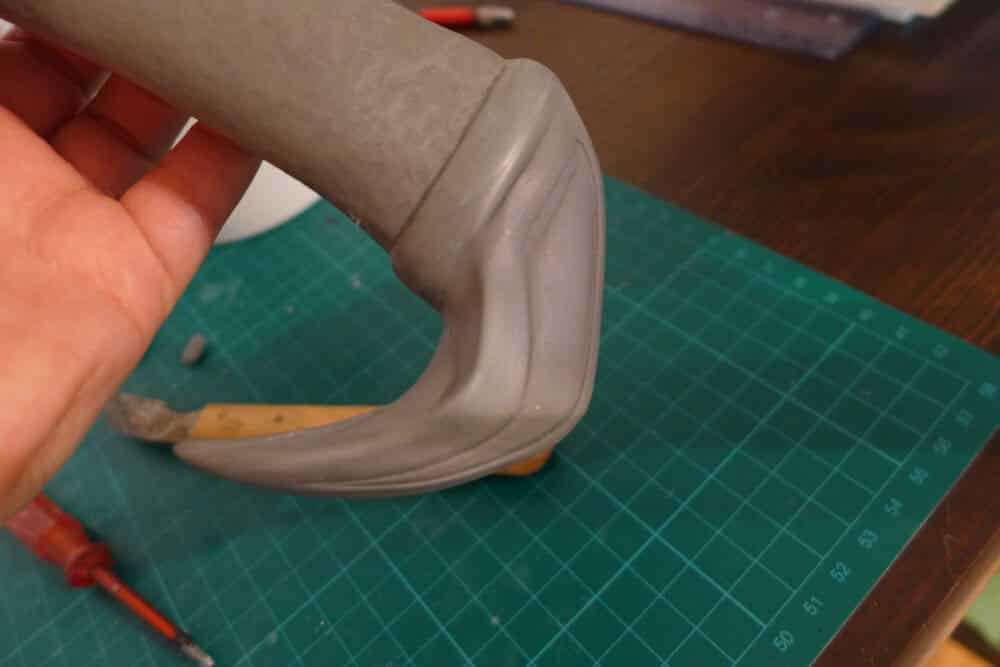
 Shaping the pommel was a bit difficult. I needed a few attempts to get it right.
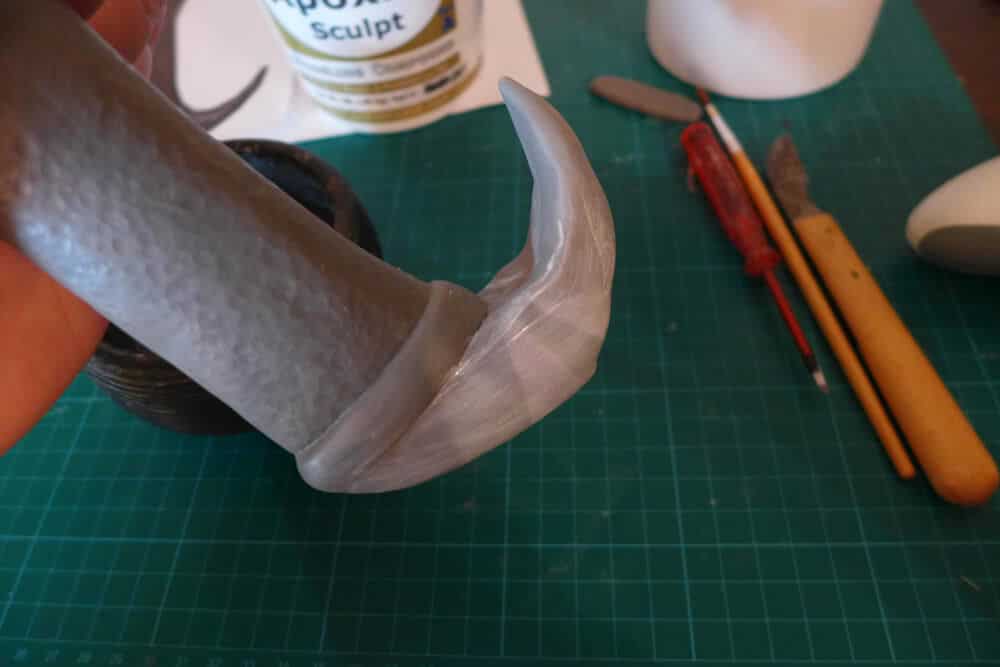 And carving the details here with my trusty screwdriver.
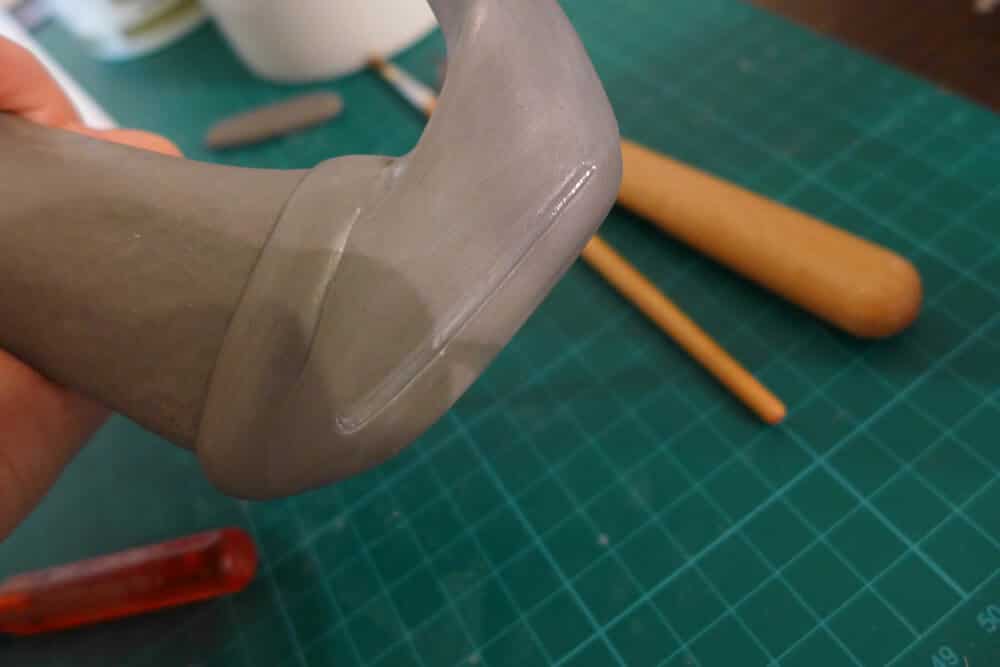
 Is it too much? Could always cover it with Apoxie…
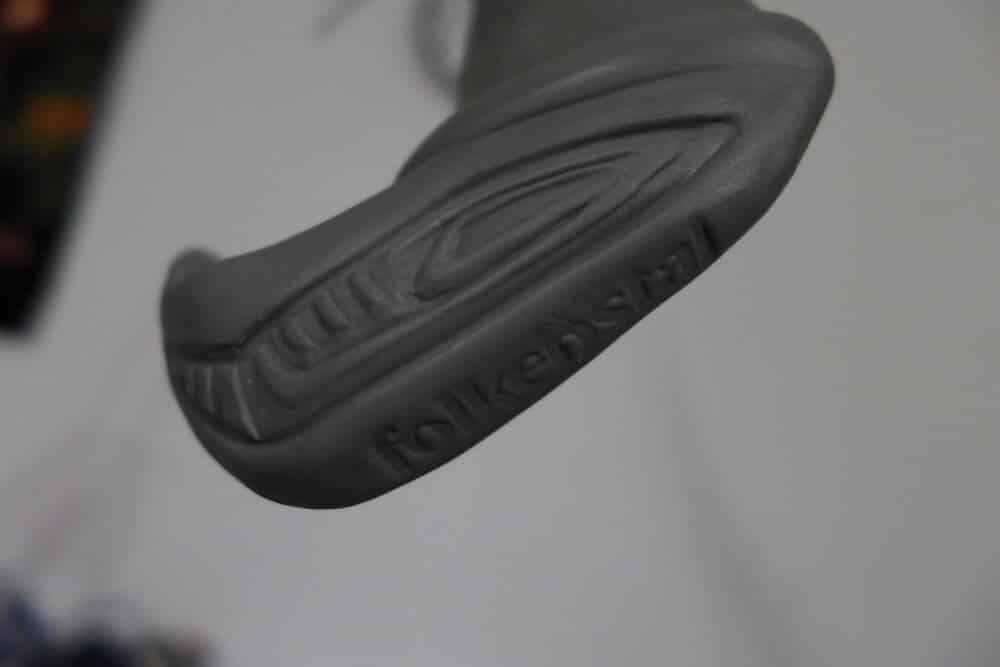 This is done and now I wait until it\’s fully cured.
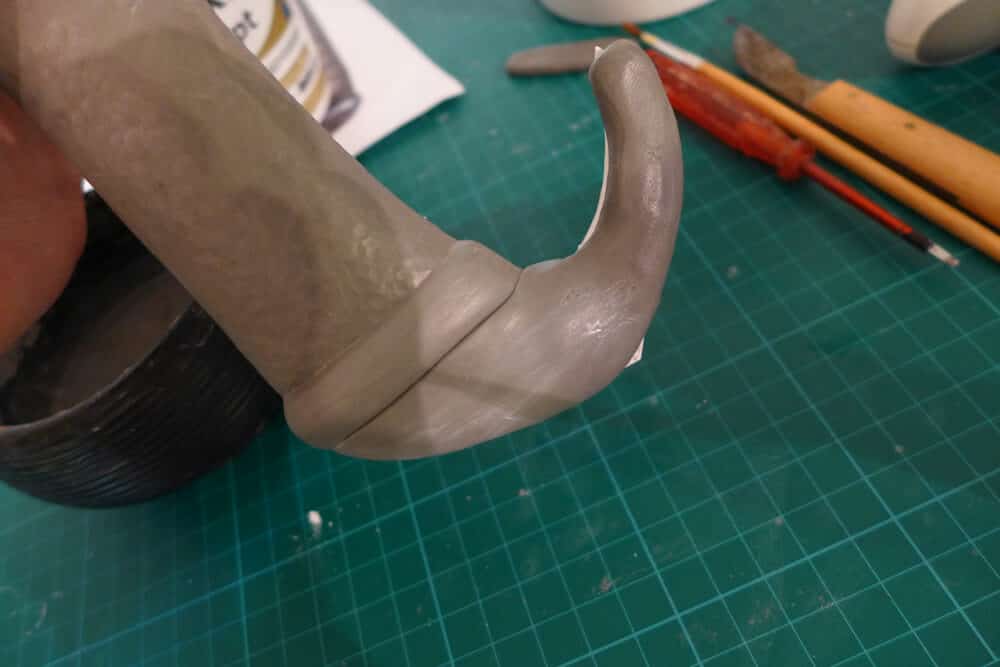
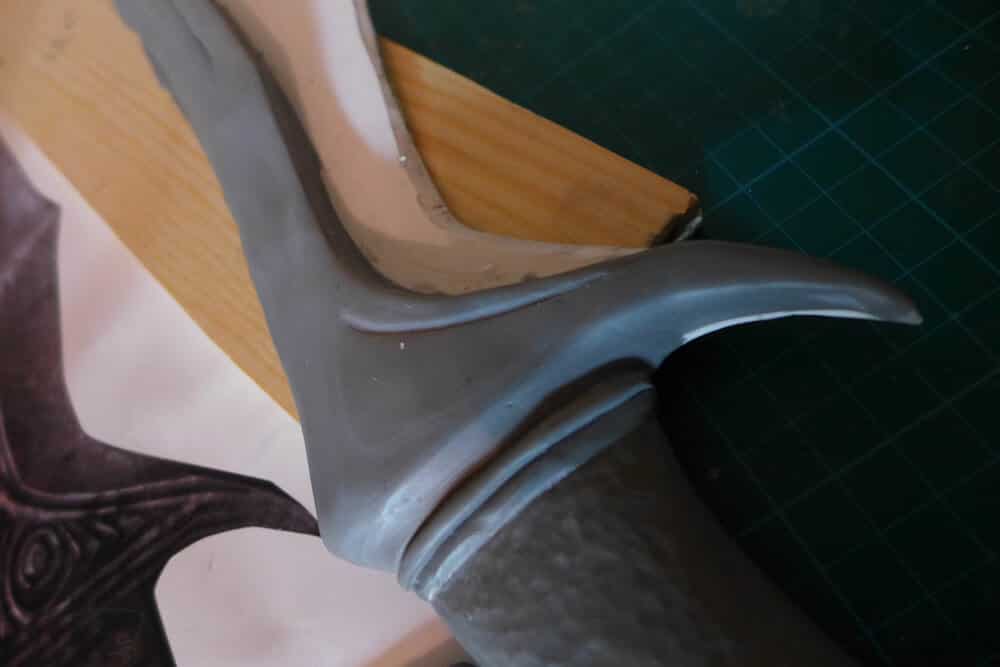
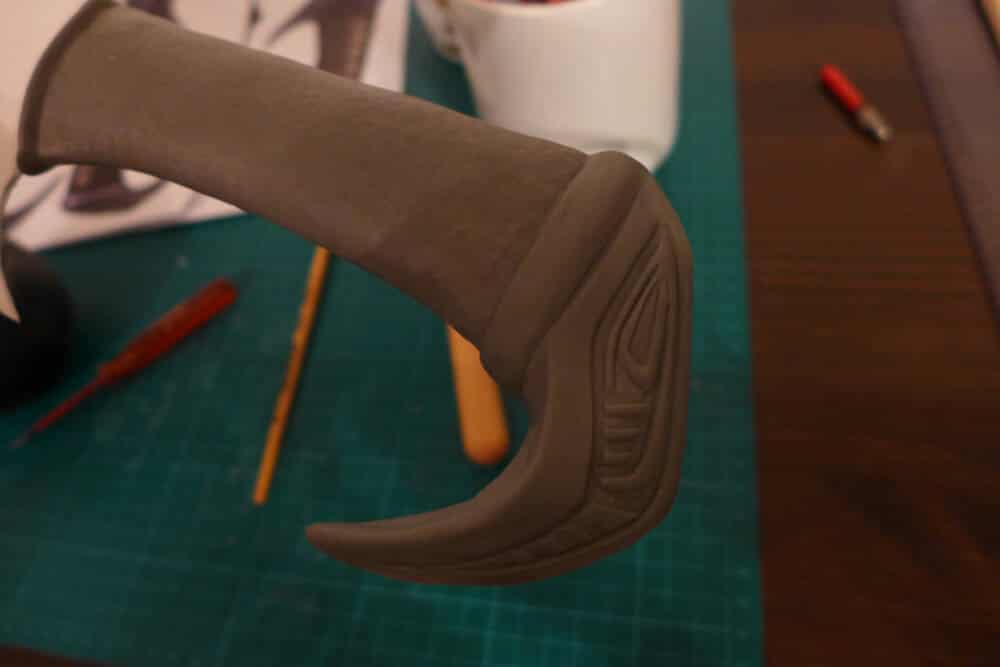 Now onto the blade itself.How and where to start?
 I decide to start with the “back” of the blade, and then shaping the sharp part later.
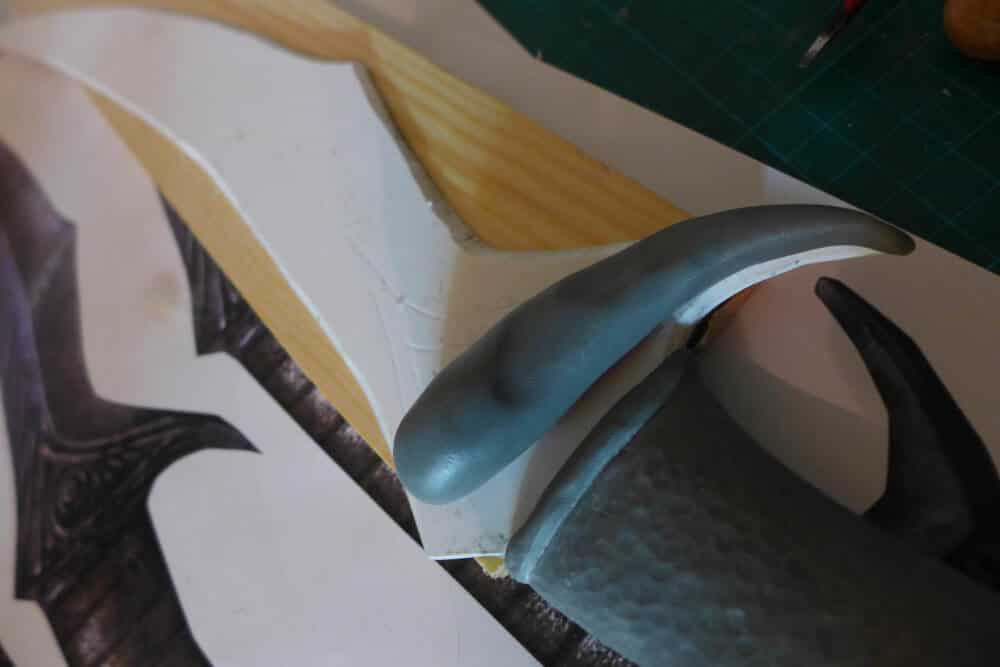
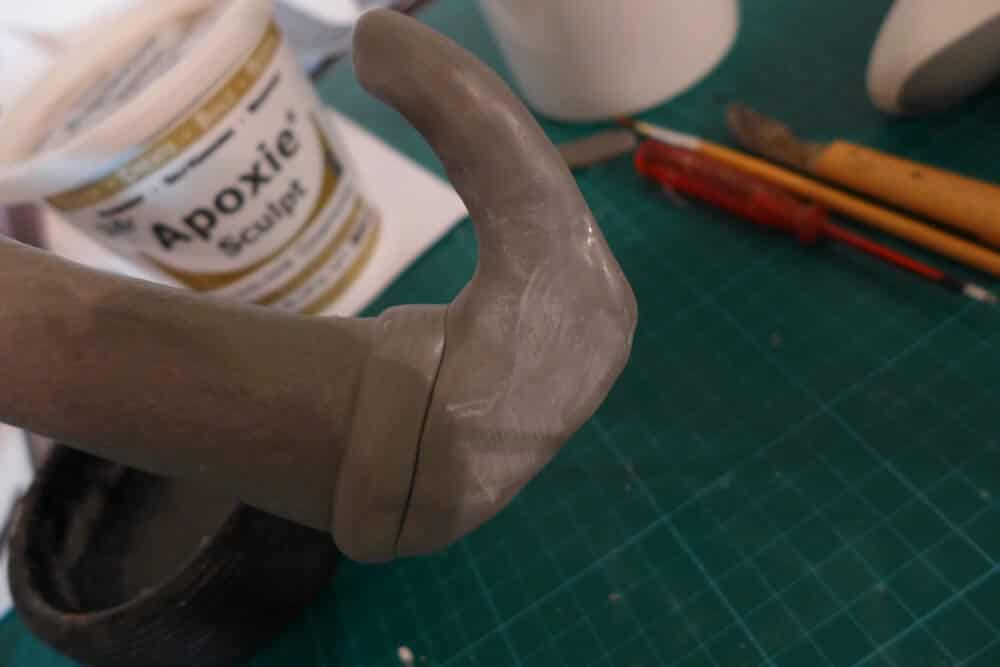
 Smoothing the surface out with water.
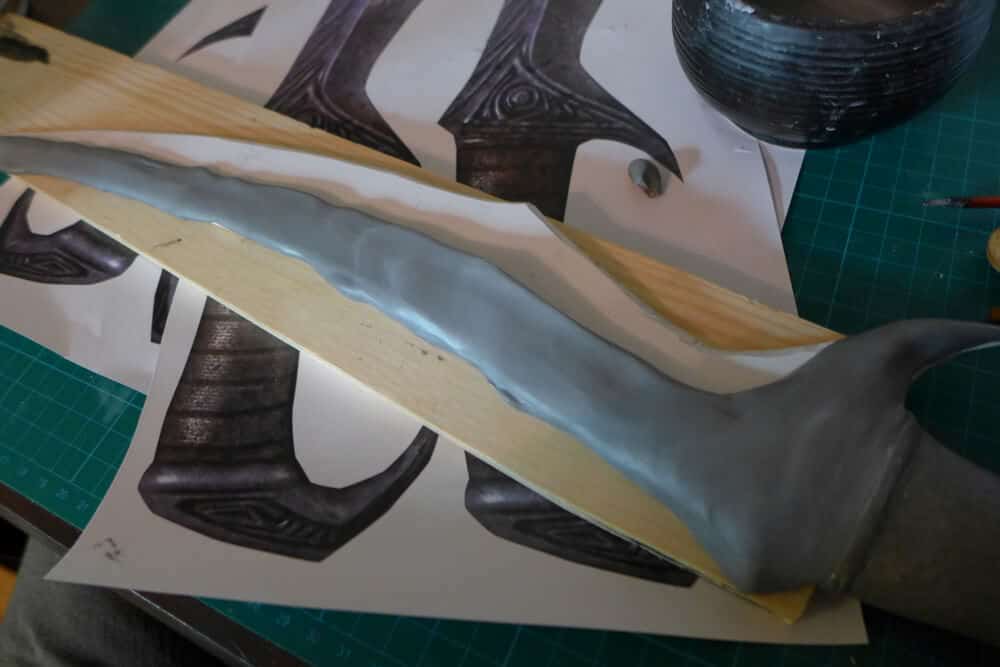
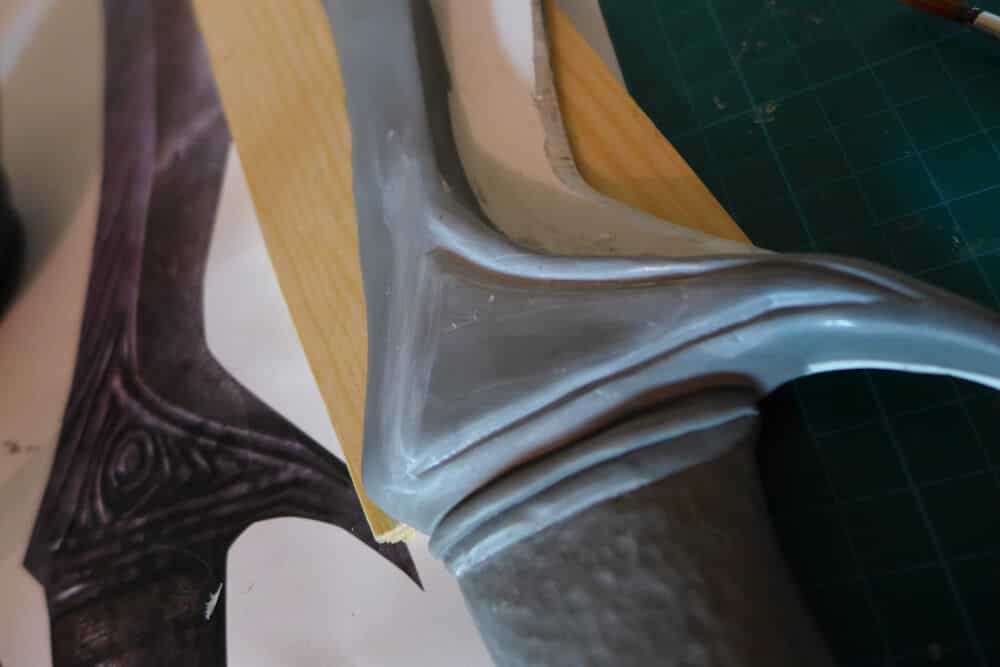
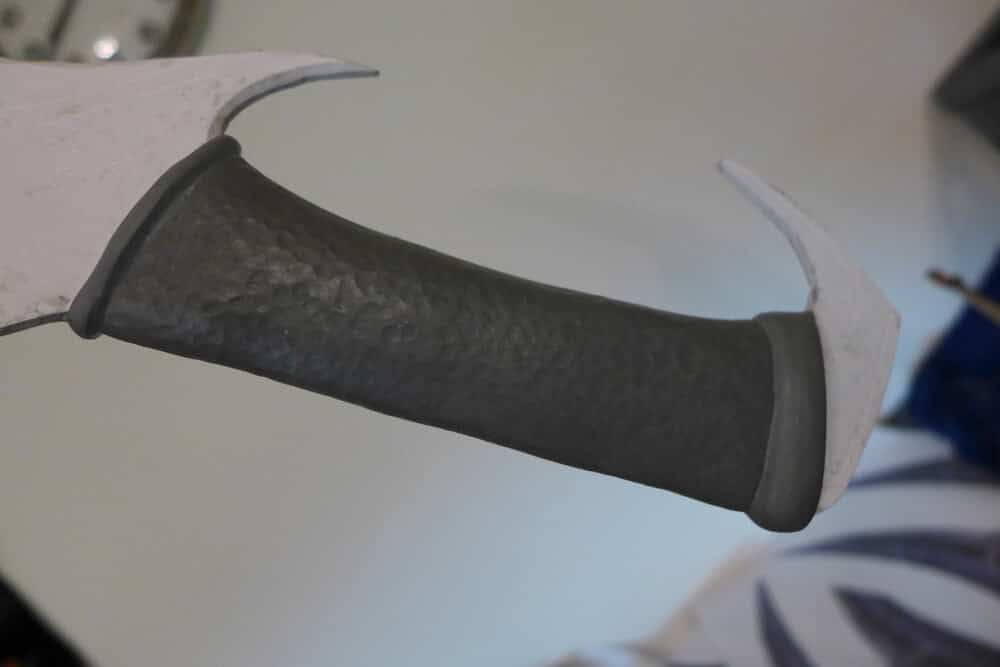
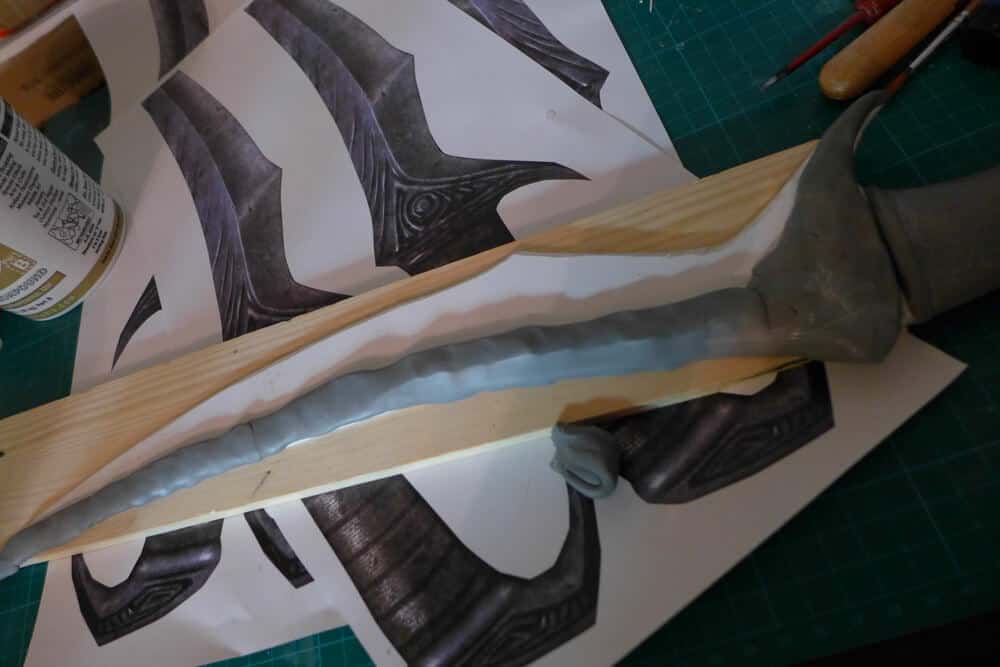
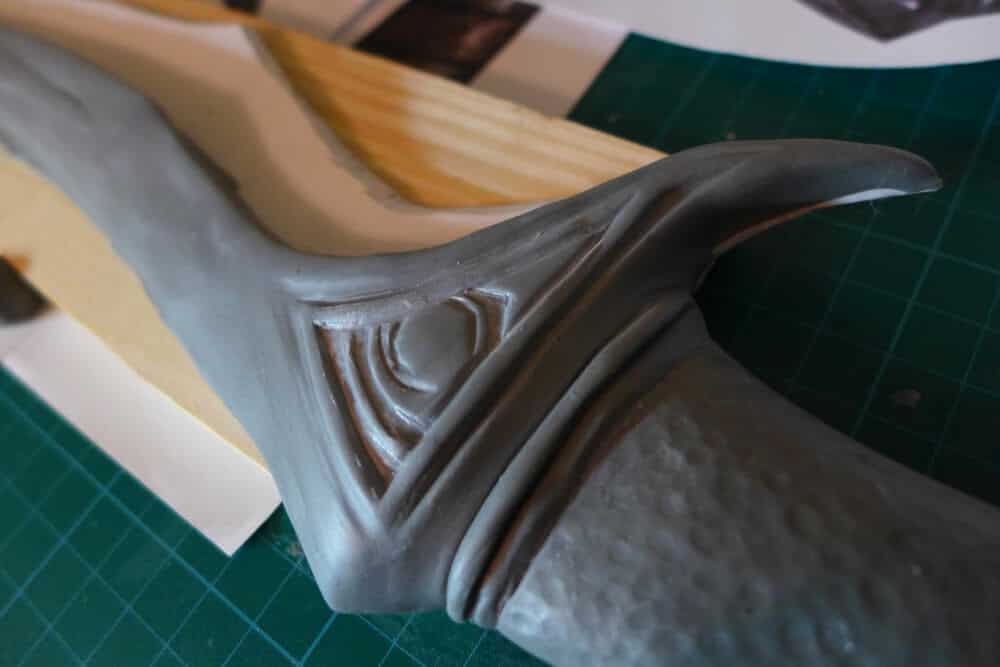 Here are the details done and before working on tha sharp side, I let it cure.
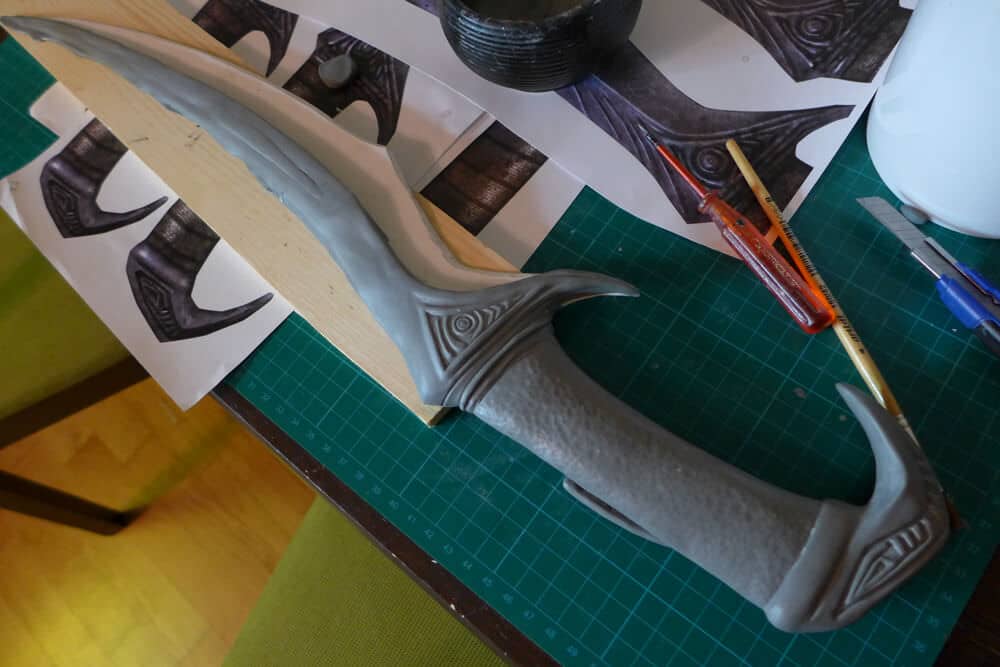 The blade needs sanding. It\’s too uneven to really use this as base.
 not done yet…
 And fixing a few parts.
 Finally starting with the deadly side of the blade.


 Only one side is ready, still the other side of the blade to go.This needs sanding, but I won’t show the process here, it can be seen in previous pictures. It’s just all about sanding ;)
 Oh god, now goes the other side…
 Same process, just working with a mirrored image.
 Carving here the first lines of the pattern.
 Actually screwed up the pattern on this side, so I decided to let everything cure.Then sanded the base.
 What did happen here?Well, I did wait for too long before starting with the carving. As Apoxie cures slow, I took to much time to work on the blade and almost forgot about the “eye” pattern.When I started with the carving it already was too hard to shape it.
 Ok, since I screwed up the pattern, I just sculpt the pattern on top of the cured base later.
 Fixing here a few spots.

 After the well known sanding process, this is the last big part of work now.
 And done!
 Before sculpting the notches, I sanded the whole blade until I was satisfied.
 Sanding here the blade and give it a used look.
 Abused the blade a bit more, it\’s not called Blade of Woe without reason.
 And this is what the blade looks so far.
 Next goes the mold box making.
with the materials I need:
- polypropylene sheet
- knife
- cup of water
- sulfur free clay
I create a mold box for my blade.Cut the polypropylene sheet in a proper size. It needs enough space around the whole blade. Especially on the bottom. If there’s too little silicone there, the liquids might find a way out later… and that’s not what we want, right? So give extra space to the bottom. The bottom here would be the tip of the blade, when casting. You’ll see later what I mean if you don’t get it now, don’t worry. Use sulfur free clay here and work around the whole model.Why sulfur free? As far as I know clay with sulfur prevents the silicone from curing.So be sure it it 100% sulfur free, not just low sulfur clay.
 Shaping the clay at the edges with a small scerwdriver can help sometimes to get the details.
 Getting there soon…
 Can\’t believe it, I ran out of clay…
 Alright found clay and the build can go on.I cut the clay block here into a proper size and build up the walls of the box around.
Using hot glue here for it. Sure the egdes of the clay block are not done here. Will finish this when the box is ready.
 When I have a big and especially long box as seen here, I need to add a support for the walls.
Otherwise the huge amount of silicone will bend the walls. That doesn’t look good nor will this save me any silicone, and that box might burst.
It’s similar to huge fish tanks, they also have a support like these, it prevents them from breaking. I prefer to have a burst mold box over a burst fish tank, though.

 The box is ready, now I can fill the gaps around the clay block.
  The mold box is almost ready.
 Registration keys. These are essential for two-part molds.
With them I can easily put together both mold parts for the cast.I’m using the cap of a pen here to make the keys.
 carving a vent and the pour spout.
 The box is ready, the silicone can come now!
 Next for you: mold making.
What you need is:
- silicone
- measuring cups, modelling sticks
- disposable gloves, respirator, safety goggles
Wear safety garnments for mold making and casting.
You don\’t want to have these liquids on your skin!
I won’t explain you the whole process of mold making, since there are a lot of videos and tutorials out there, which clrearly show you how to do it :)
So this is only a short summary of the process.Gathering here all the tools I need. Pouring part A of the bucket into the cup.
 Calculating the amount of part B (green liquid) here.
 Mixing both together.
 Mix it very well.
 Then pouring it into the mold box.
 On the next day I can remove the clay I used.
 Cleaning here the mold from the leftover clay and some silicone that went under the blade.
 The mold is almost ready for the second part.
 Covering the whole first half of the mold.
 And adding of course the support for the mold again.
 Here is the second half done.
 And here are both halfs together.
What you need here for the cast is:
- polyurethane resin
- measuring cups, modelling sticks
- disposable gloves, respirator, safety goggles
Dusting the mold with iron powder here to ge the metallic effect for the blade. Preparing the mold box for the cast.
 And here’s the first pull of the blade. On the floor is the master, the one I sculpted.
 Buffing out the surface with steel wool.
 Looking much shinier now.
 Weathering the leather before I put everything together.
 Comparison with the master and the first cast. With ‘blood’ on it.
 Project done :)

