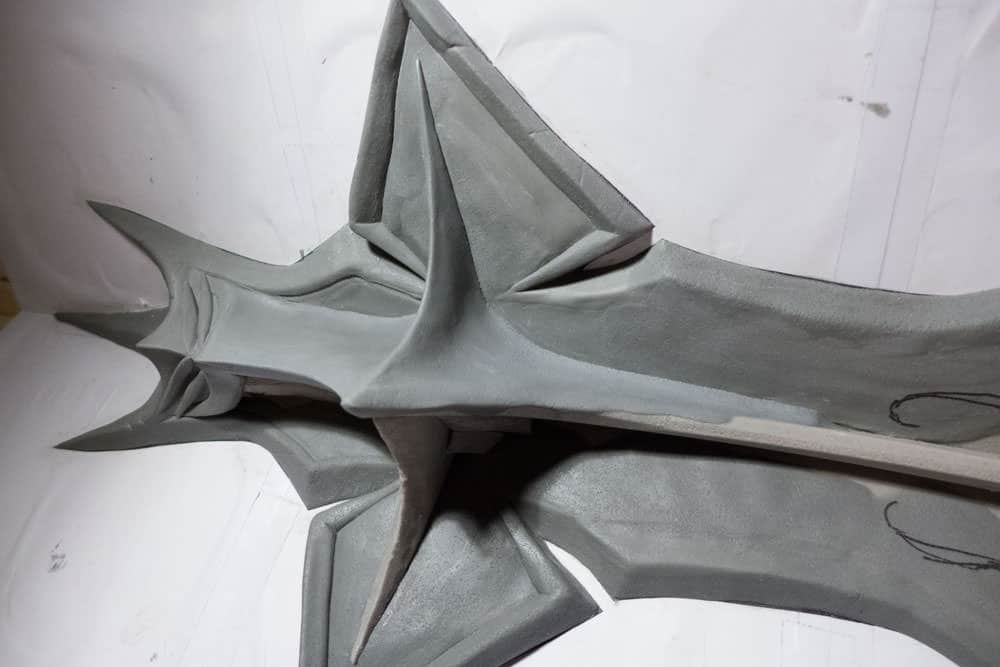
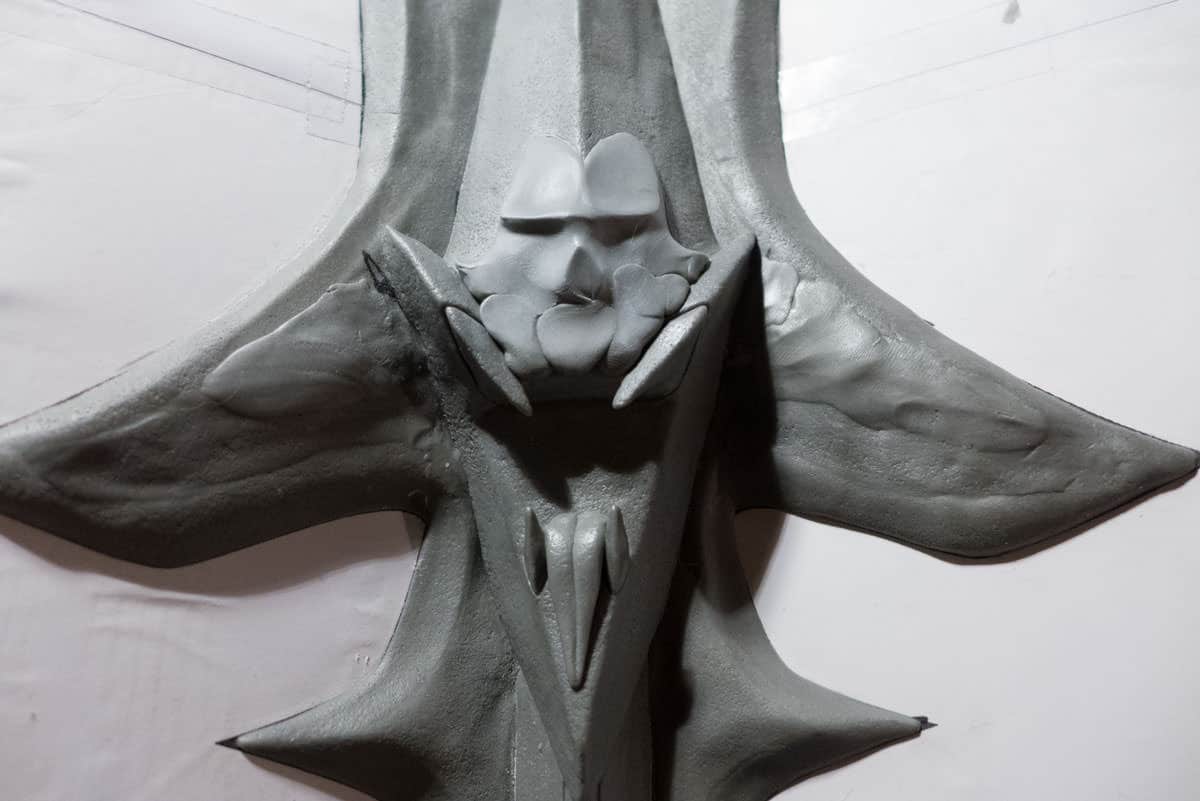
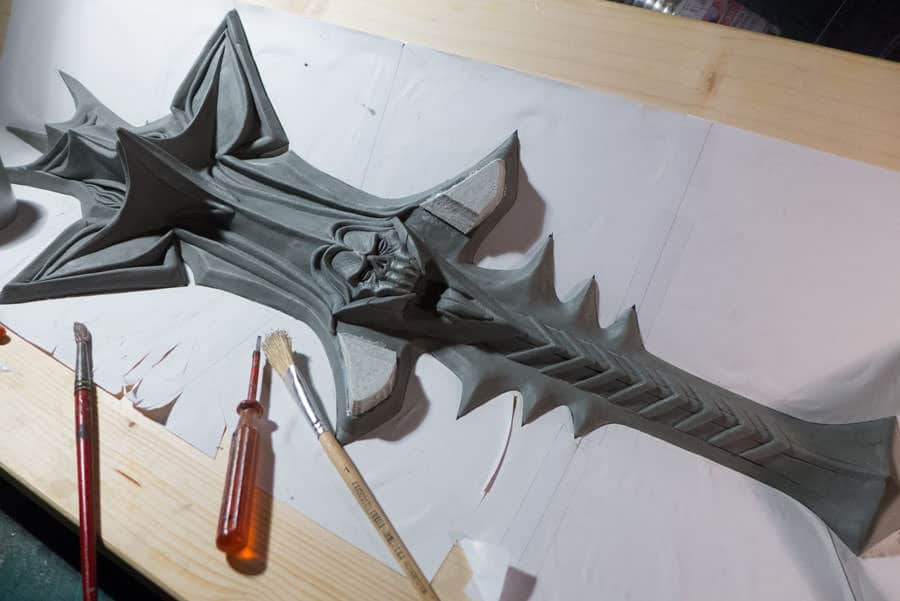
The Mace of Molag Bal is made of 3 sides, which feature the same pattern.
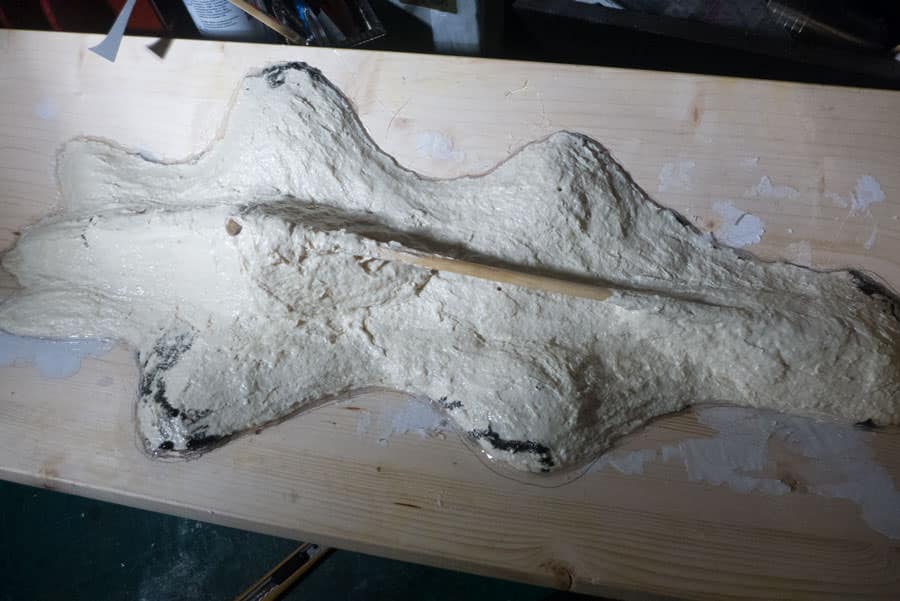
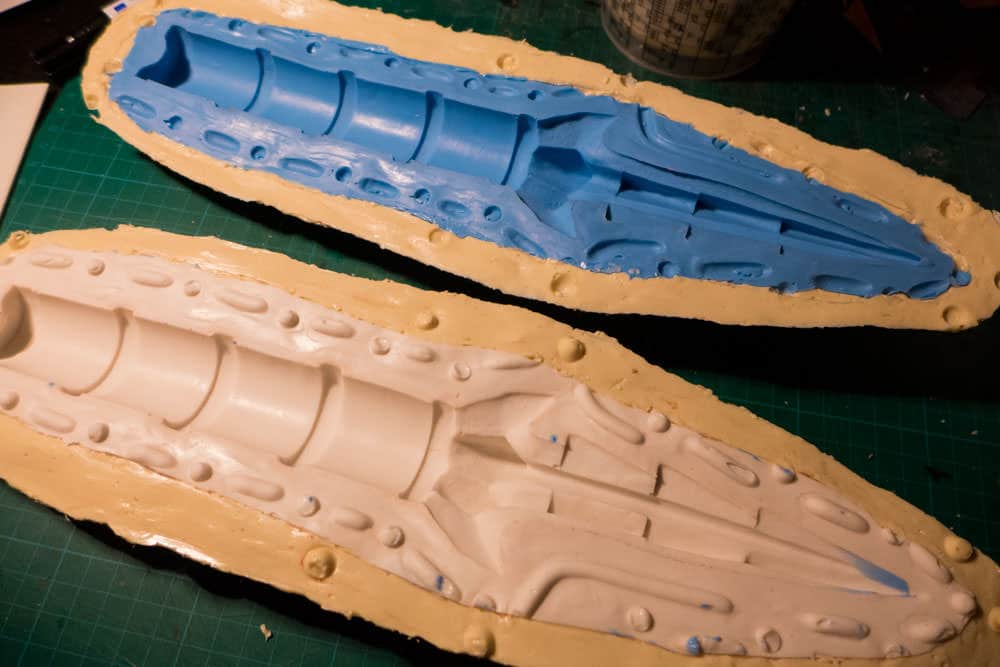
Therefor I have to model one side only, make a mold of it and then make 3 copies with resin.

TESV 2014-09-14 11-50-53-931

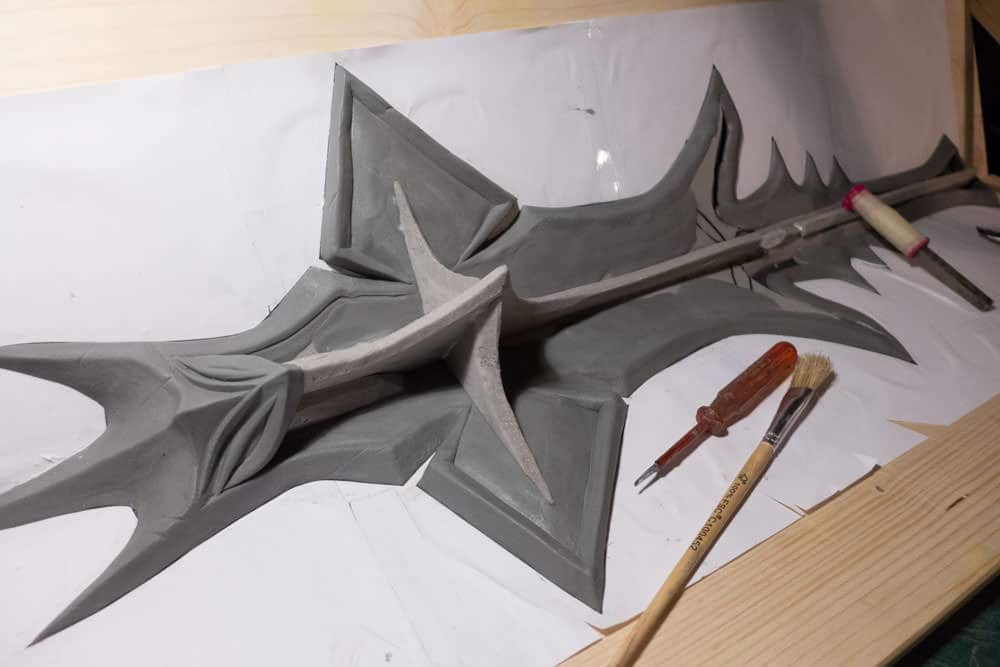
Started out with a base of angled panels, glued the print with the outlines on them, and put a foam base on top.P1030933
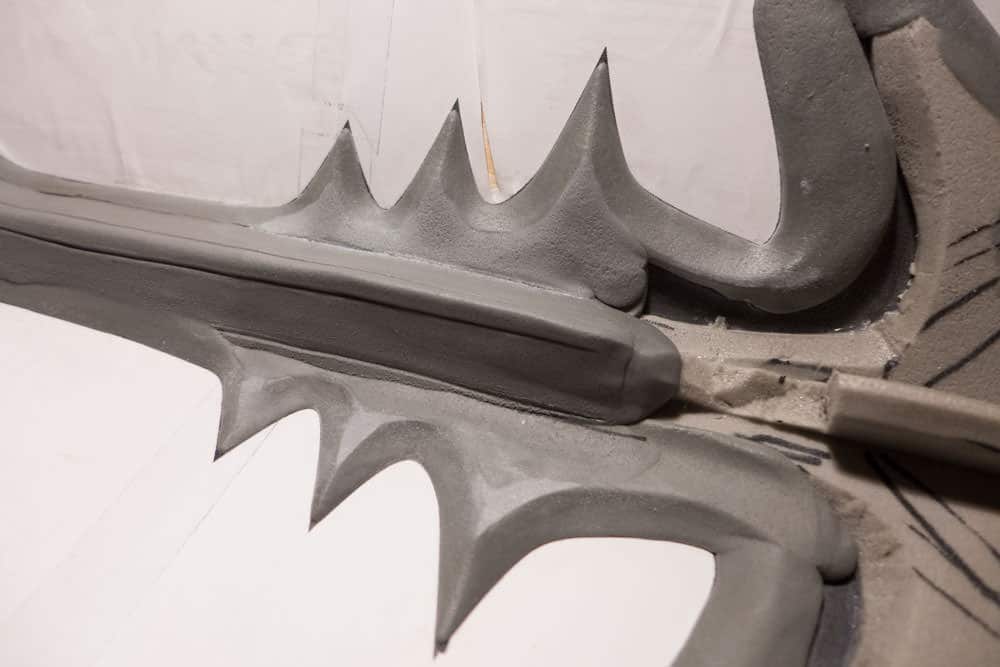
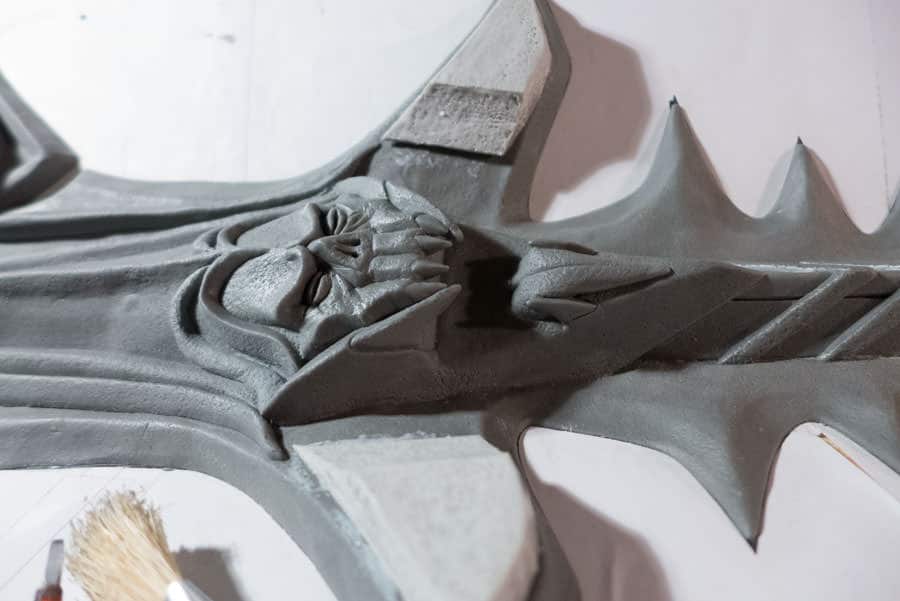
Apoxie Sculpt is used here to sculpt the details of the mace.
P1030936 P1030937 P1030938 P1030939
With a brush I add a structure to the surface. The client wanted a rough look, not a smooth finish.
So sanding the mistakes away after sculpting was no option here. I had to sculpt as precise as possible to mantain the rough look.
P1030941 P1030943
Each step was well planned here.
Where to start? Where to go next? When to apply a second layer and so on.
P1030945 P1030950 P1030951 P1030952 P1030954 P1030955 P1030956 P1030960

P1030962 P1030967 P1030972
P1030974 P1030975 P1030976
P1030984 P1030982
P1040035 P1040036
P1040044 P1040069 P1040078

Mold making was a mess this time. After I made my brush-on silicone and made a snug jacket, the silicone would’t come off the sculpt.
Mold Max Stroke says it doesn’t need any release agent, because there is no sticking to surfaces. So, I didn’t use one (worked before).
Huge mistake, so I had to tear off the first silicone mold, clean the sculpt, and re-apply a few layers of the brush-on silicone.

P1030987

Making a matrix mold was a first for me, so I had my trouble.
Made a ton of holes into the jacket, but the silicone wouldn’t flow in fast. Used Mold Max 30 for this. Is there a “matrix mold silicone”?
I ended up crafting makeshift syringes out of paper to squeeze the silicone into the holes before the silicone starts to cure.

P1040002
P1040004

After the mold was ready, I applied brush-on resin (EpoxAcoat) to the mold and let it cure. Then filling the voids with some leftover Plasti Paste II to make the walls thicker.
Next time I should probably use some foam for the inside or something else.P1040029 P1040019
It turned out well enough, though!

P1040021

Molag Bal’s horns get a mold box, too.
P1040039 P1040041
P1040054

Cast in Smooth-On’s Onyx Fast.
P1040056

The handle is another part which was done separately.
Preparing the mold with sulfur-free clay, making registration keys, using a brush-on silicone, and making the jacket with Plasti Paste II.
Doing the last two steps for the next side and voilĂ , we have a mold.

A good amount for mold release keeps the parts from sticking to each other. Also a layer of tinfoil is added decrease the chance for them to stick together in the process.

P1040096 P1040098 P1040099 P1040102 P1040104 P1040107


P1040032

First, I put together 2 parts of the sides together, and then smoothed out the edges with Apoxie Sculpt. The same goes for bubbles and similar spot which will be smooth after a small fix with Apoxie.
P1040037 P1040038
P1040113

And here comes the paint job… which wasn’t documented at all
But it was merely a layer of primer, a few layers of metal spray paint, and more layers of matte clear coat (heat resistant).
After that I had to glue leather piece on the handle and put rivets into the right spots.

P1040149