
I begin with taking the armor apart and trying to figure out what can I use as a base to work with. Will begin with the build as seen in my sketch below. Removed the pauldrons and the tassets on that sketch, and left was only the chestplate. Building all the parts for the base with craftfoam and Worbla.

Making pattern for the armor here. I work with a dummy and dress it instead of myself. It’s much easier. So, cutting out the pieces and cover them in Worbla on one side.

For the base I used 2 pieces of Worbla, because I wanted to have a sturdy base. For all the other part I usually cover one side with Worbla and the other side is still craft foam. Like here:

It saves you a lot of Worbla and it’s still great to build with. After I’ve cut out all pieces, I put them into the right place on my dummy. It needs adjustment everytime, but better check twice if something’s in the right place.

I make my own pattern with the help of the screenshots I got. And then just eyeball it. It’s not something everyone can do as I’ve learned. A lot of people ask me how to do this. This is something and artist like me cannot explain entirely. Maybe experience or the spatial perception that is more developed? I don’t know.
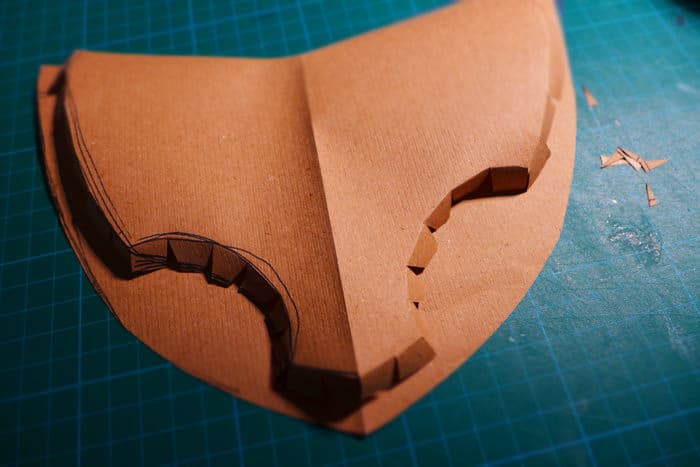
That’s how a pattern can look like before I turn it into foam and get it covered in Worbla. Eyeballing it here.

And the craft foam version of it.


And here’s the attached crotch protection.
Placing the cutout craft foam to check if it fits.
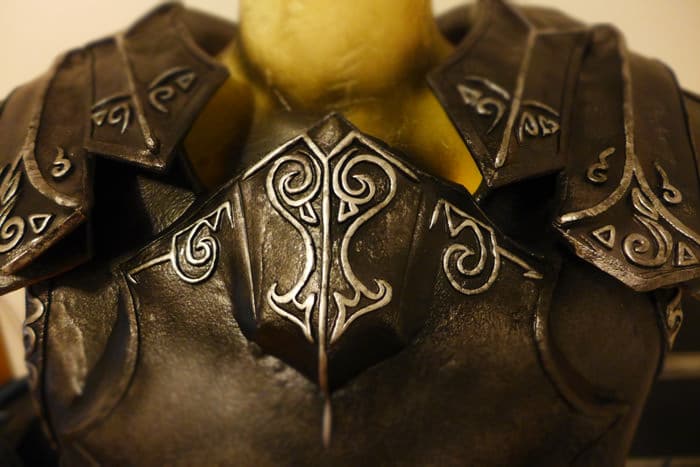
Sculpting the swirly bits with Apoxie Sculpt.

Doing that here with the pauldrons, too.
I can detach the shoulder piece and the pauldrons. Easier for transport and easier to put that thing on.
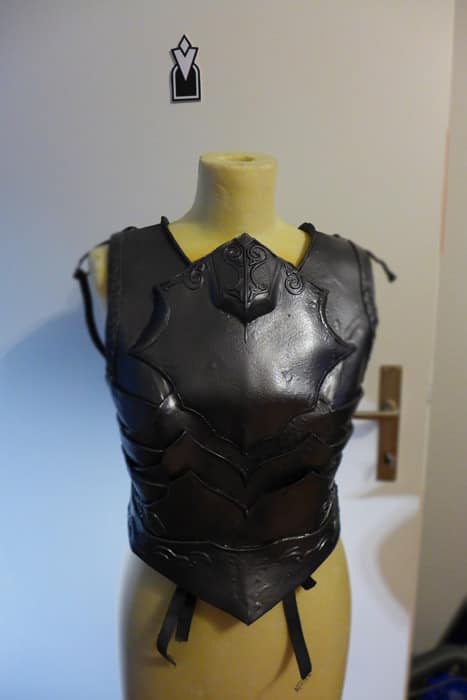


Weathering the armor here.
For the weathering I merely used primer, black paint, some dark grey metallic and silver paint for the highlights. Used a cloth to remove excessive paint. Got a nice texture like this.


Doing a bit of a change and working on the few fabric parts the armor offers. I used black leather here.

Starting with the build of the tassets.


And here they are done. Only need primer and paint and that’s it.
Next step was to craft the Ebony Gauntlets. Wasn’t that easy at first…


The gauntlets were constructed to be opened and closed without any snaps, or belts or similar things. In game I couldn’t figure out any opening/closing system, and then I decided to build them the same way. Without people figuring out the system too easy.

What the armor looked like until then. I just had to craft the boots and helmets and I was done. Read further.


The most important part was to get the chain parts working.
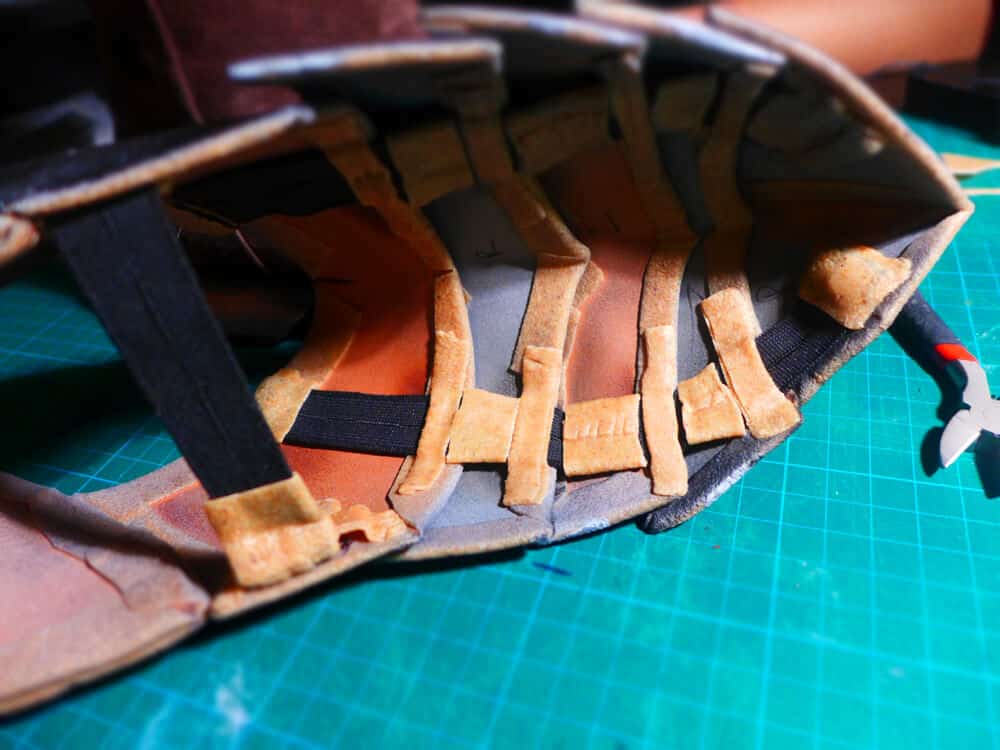
I worked with elastic bands all the time.


After beeing panted and all, they’re almost done, the Ebony Boots.


I guess I missed to photograph a few steps for the helmet… oh well.
But it’s done now.