
First I needed lots of screenshotsfrom all angles.Therefor I just took them right from the screen.Then I looked for the biggest picture on the internet I could find to print out the dagger in its original size.

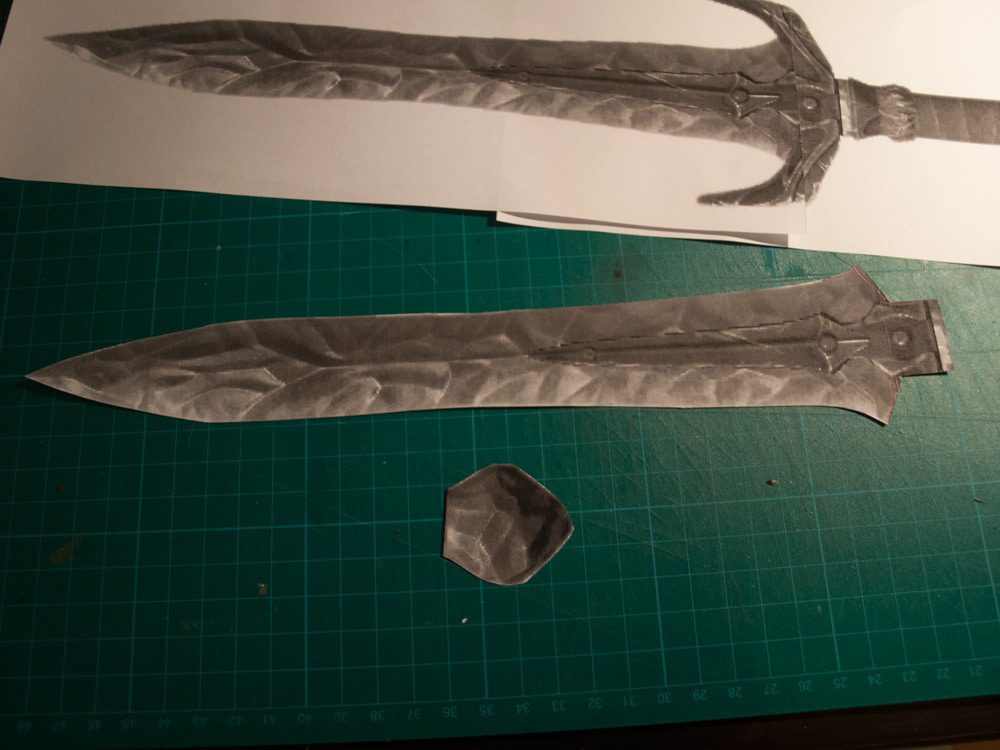

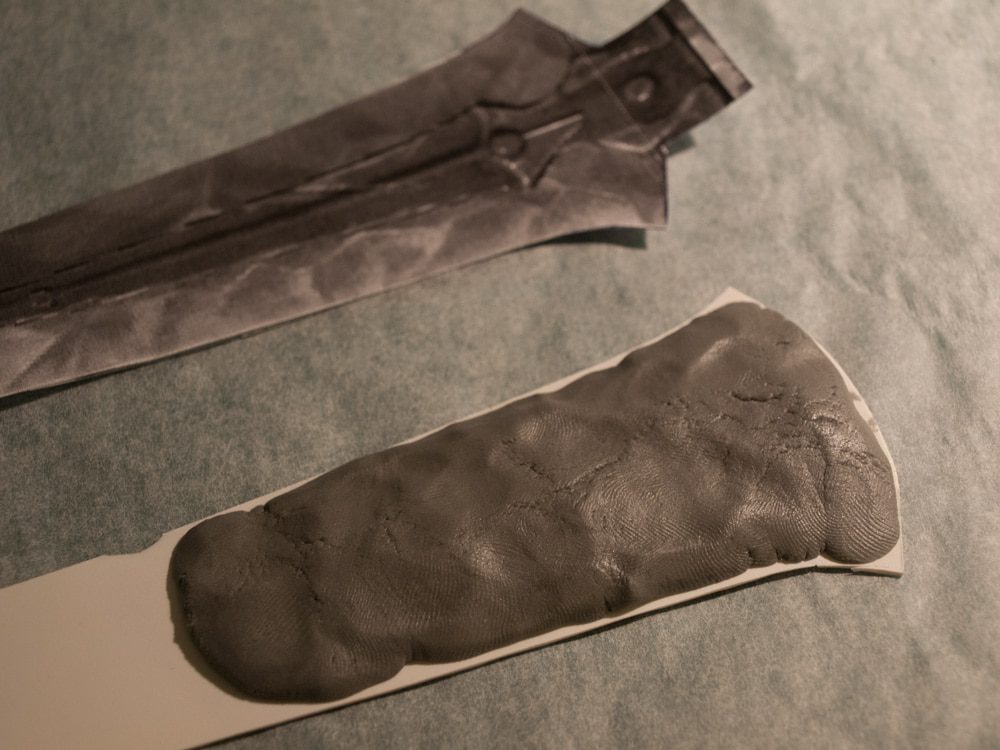
 Glued the print out onto polystyrene sheets and cut all the parts out.Sculpted then with Apoxie Sculpt right on top of the polystyrene sheets.


 The pommel had the same procedure, sculpting right on the polystyrene sheets.

 Now onto molding the first parts. Used a plastic cup for the silicone mold.When the mold is cured, I mixed clear resin with acryl pearl powder and blue powder until I got the Stalhrim look.Poured the resin and and let it cure for a couple of hours.


 OK, and this time with a screw inserted…Totally forgot about that.
 And this is the final piece. This one\’s without the screw, though.
 Now working on the guard. Every single piece needs to fit when assembled.

 Checking the size is important, so I often checked if everything still is in place.If not, sanding is a crucial thing.
 Working now on the guard and drawing the pattern.
 With a dremel the work is quite easy.
 After the dremel work is done, I sculpt a few of the patterns, so the guard gets a bit of a depth.

 The handle itself is actually an empty black marker I covered with Apoxie Sculpt.So I could save a bit of Apoxie :)
 Between the handle and the guard there is a small piece of “Stalhrim” embedded.
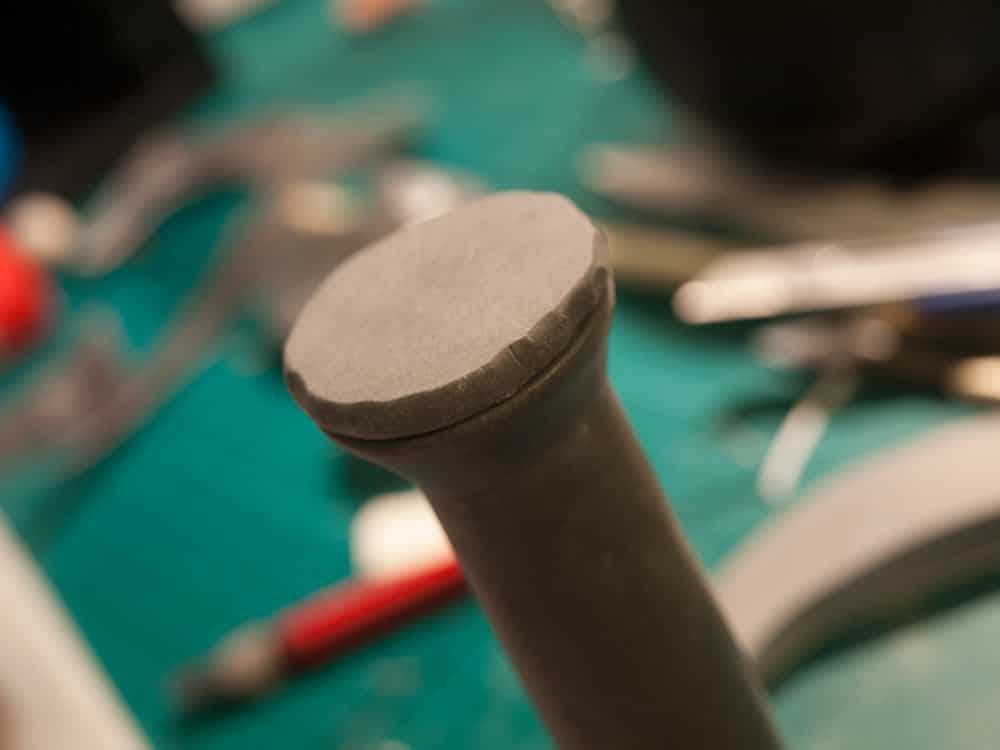
 The parts on the handle are nasty sometimes…


- The Stalhrim Dagger so far…

Now onto the molding. Preparing a box out of Lego… well it works for me ;)Then putting the master into a bed of clay, adding the canal, registration keys and we\’re done! Pouring the silicone here.
 Now it\’s time for the other side of the master. Preventing the silicone sticking to the frst silicon layer, I spray a release agent over the whole surface.
 Ready for casting!
 The color\’s too dark here. I was kinda blind while mixing the color…
 And here\’s the finished piece. Still has bubbles, need to perfect my skills first.Also added a long screw, so I can attach the guard and the blade to it.
And this is how the Pommel and that small Stalhrim part fits to the handle. A piece of leather and rabbit fur goes around the handle as seen in the ingame images.
 The rabbit fur is going to be cut short, because it covers too much of the “metal” parts.
 I cast the blade support as a last step, because before curing hard and solid I can bend the parts a bit and let it fit onto the blade.The rubber bands support everything until it\’s fully cured.
 And the last step is to put nails into the blade support on both sides.
 The very first blade compared to the new one on October 18th 2013.Almost a perfect blend for Stalhrim.
 And the Stalhrim Dagger finally is done!