
First I needed many shots of all possible angles from the Dagger.
Therefor I’ve just taken pictures right from the screen.
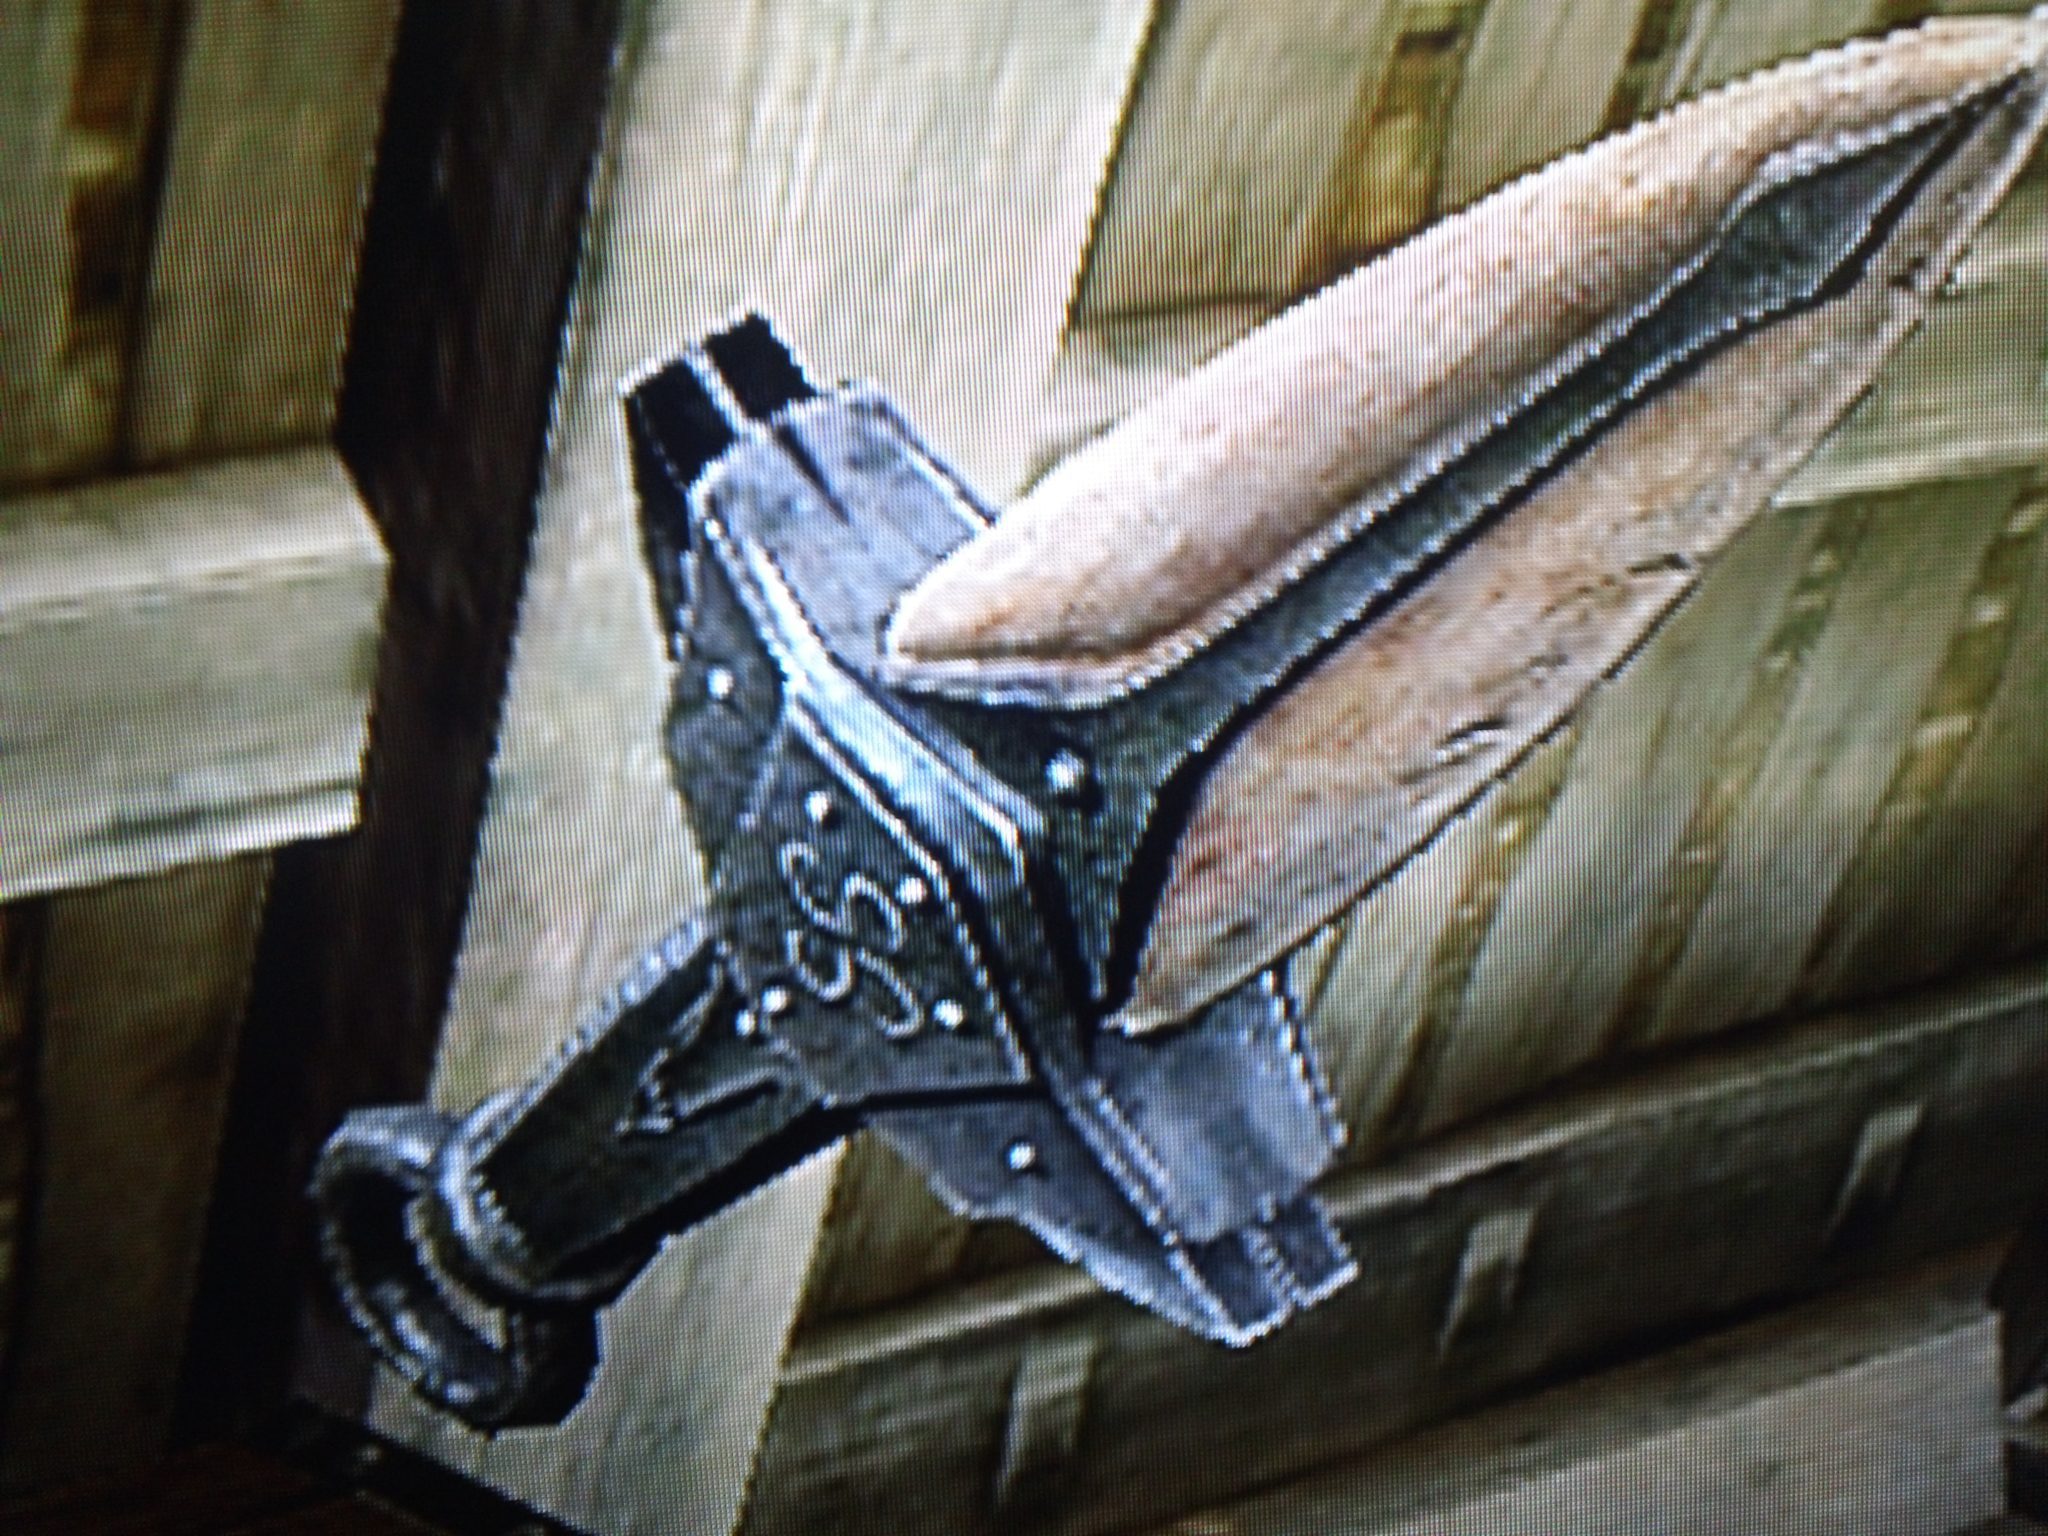
Then Looked for the biggest picture on the net I could find to print out the dagger in its original size.
Decided for a lenght of a more or less 46 cm in total.
Print out the whole dagger and cut it out.


Cut out PVC sheets with the same size and then sculpted on top of it.
The same process as seen from the making of the Stalhrim Dagger.
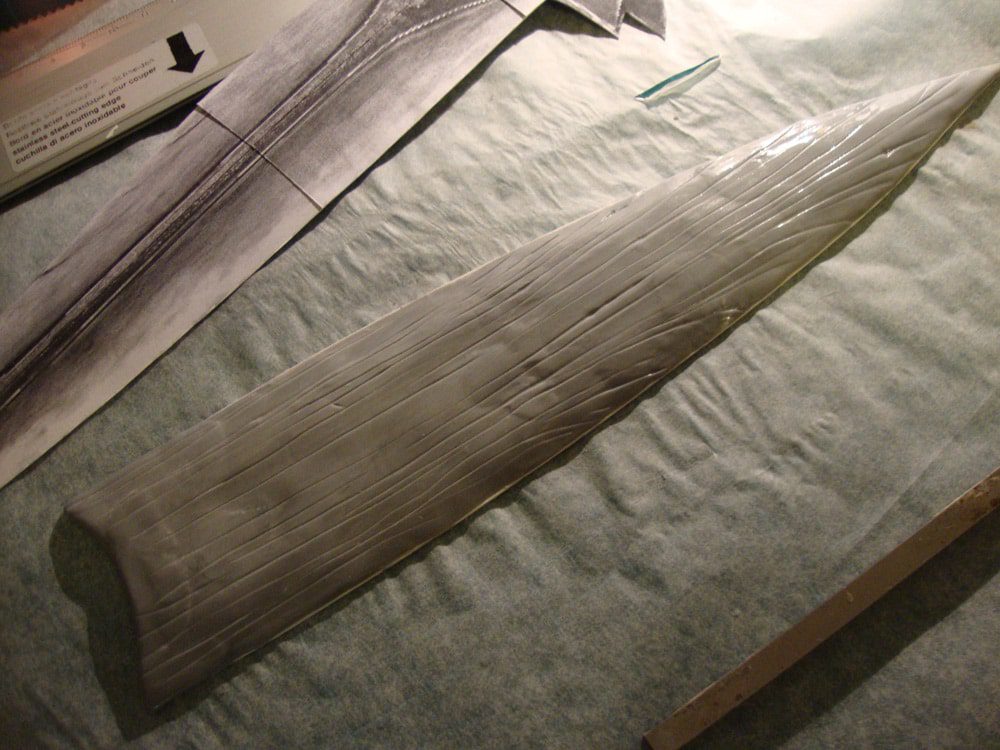
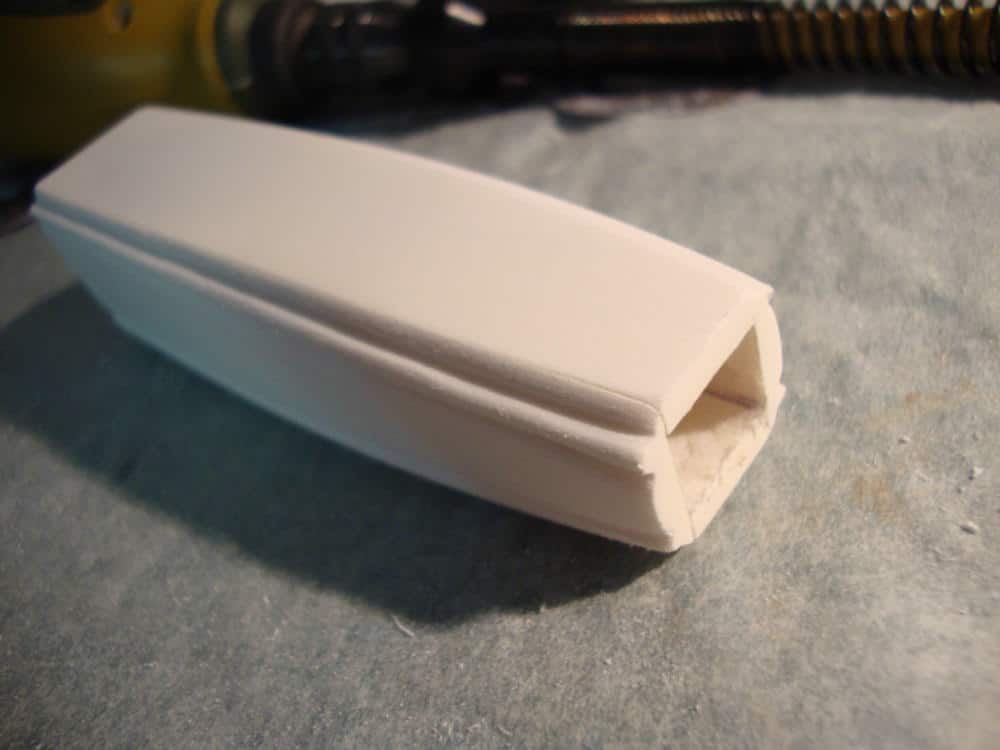
This needs a lot of sanding later.

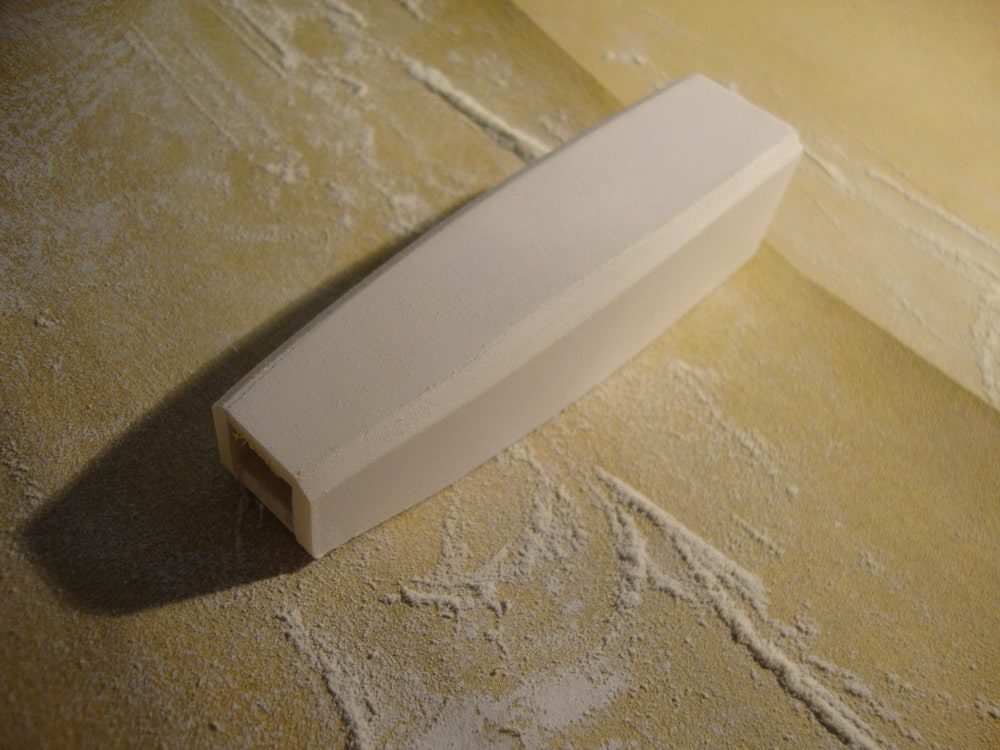
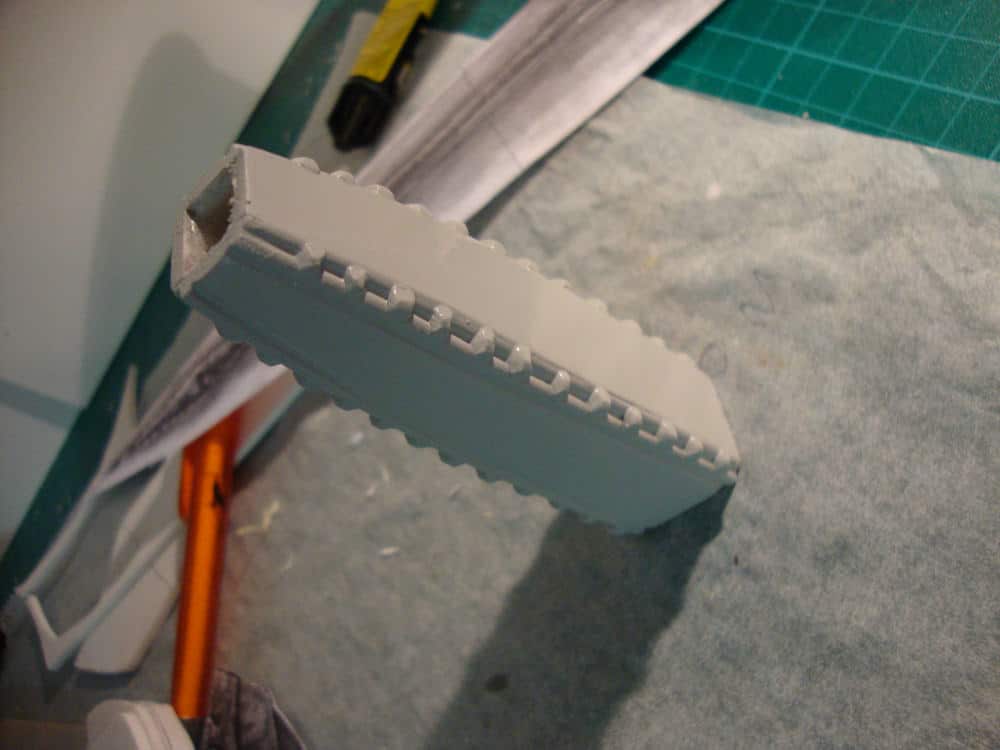
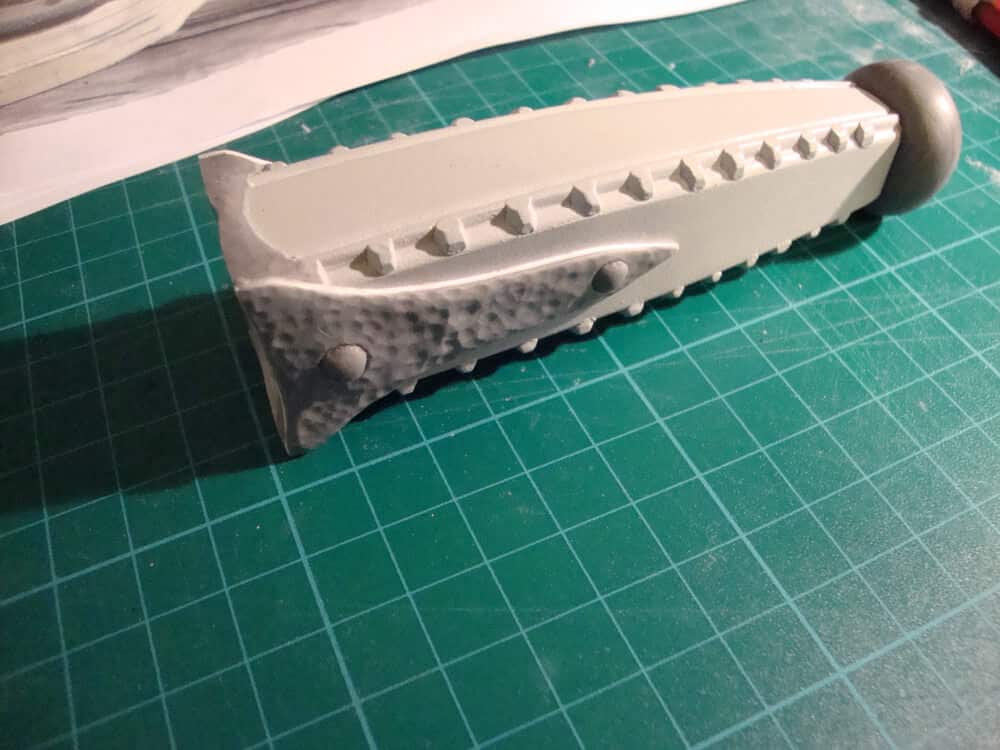
The base of the handle is made of 5 mm PVC sheets.
Glued everything in place and the used the dremel and sanding sponge to get notches.

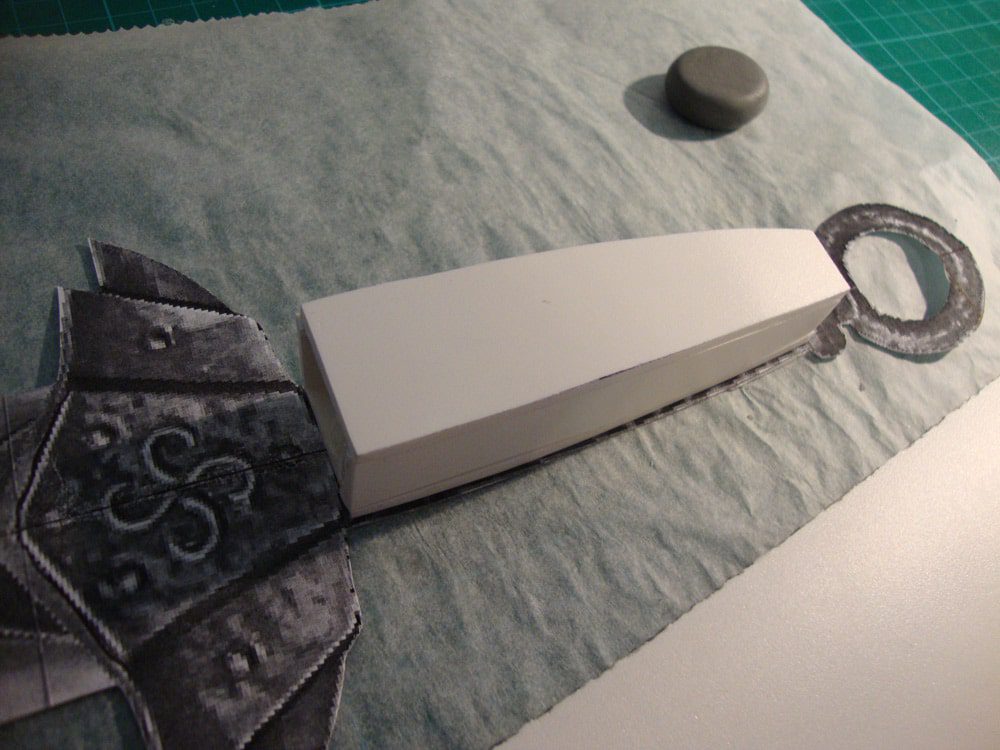
The small bits are added with Apoxie Sculpt. Was easier than cutting out PVC pieces. Later this gets sanded again.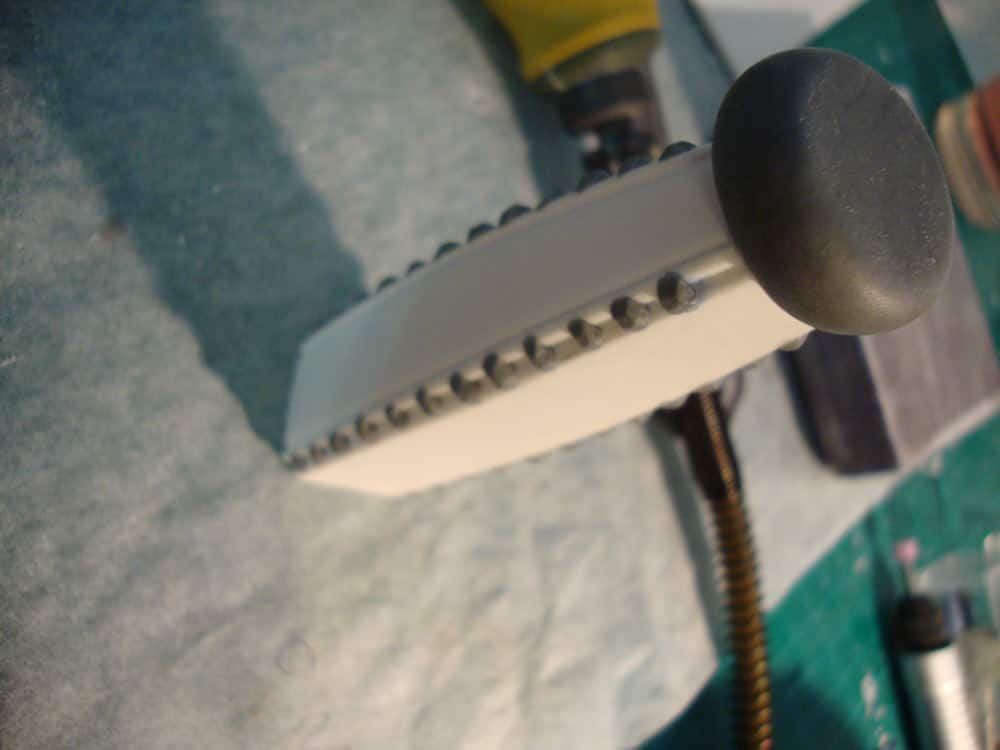
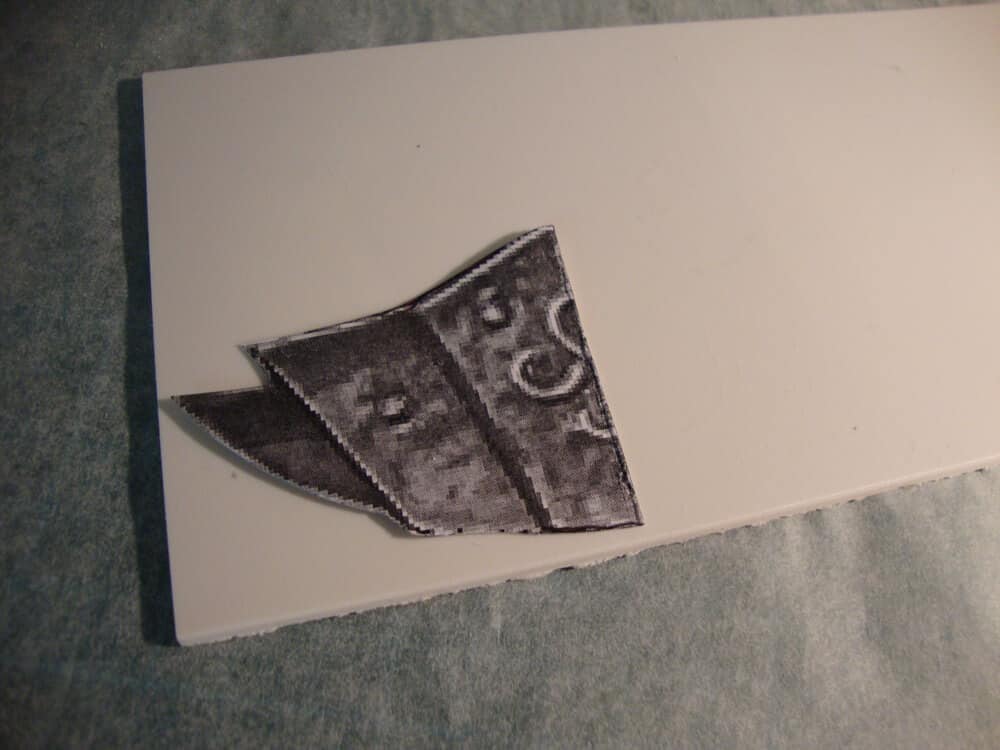
Now onto the guard piece.
The original idea was to sculpt one half of the guard, then cast it and put it together.
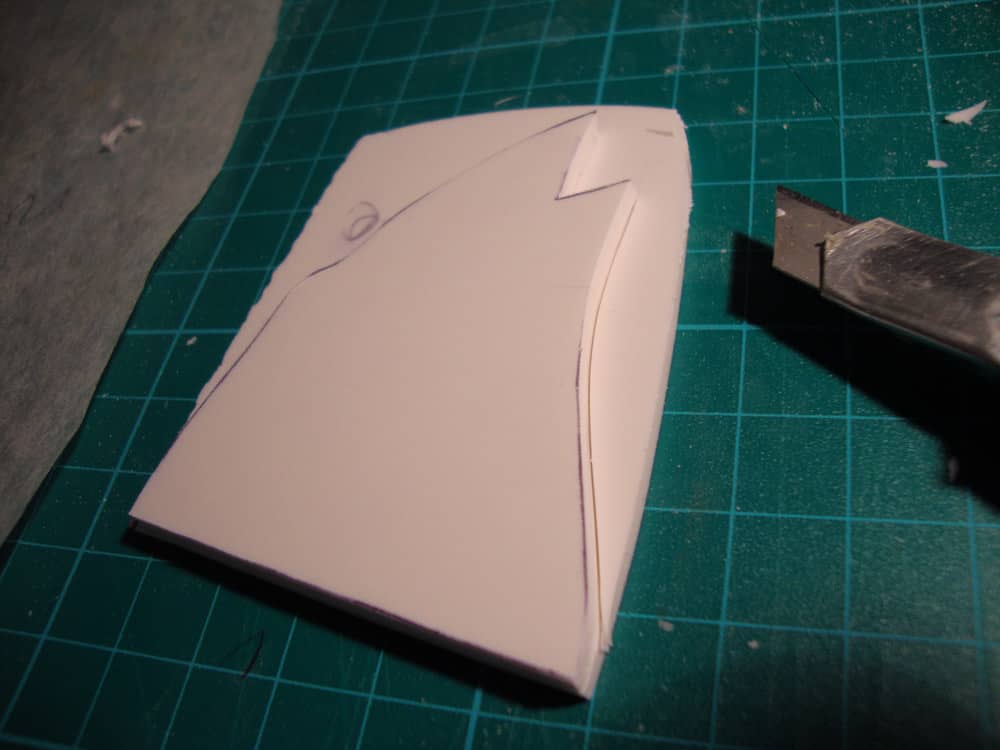
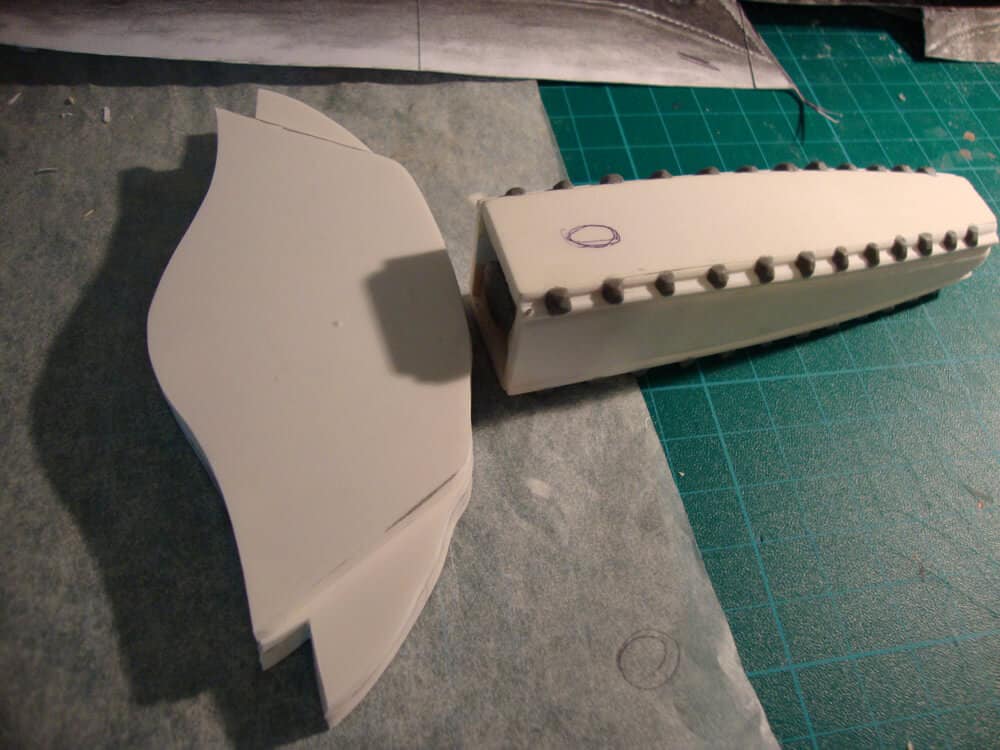
So here’s how I traced the first quarter of the guard.
Then cut it out, flipped it and traced the other quarter.
With this hopefully perfect mirrored pieces I can fit one half of the guard to the other. You’ll see what I mean.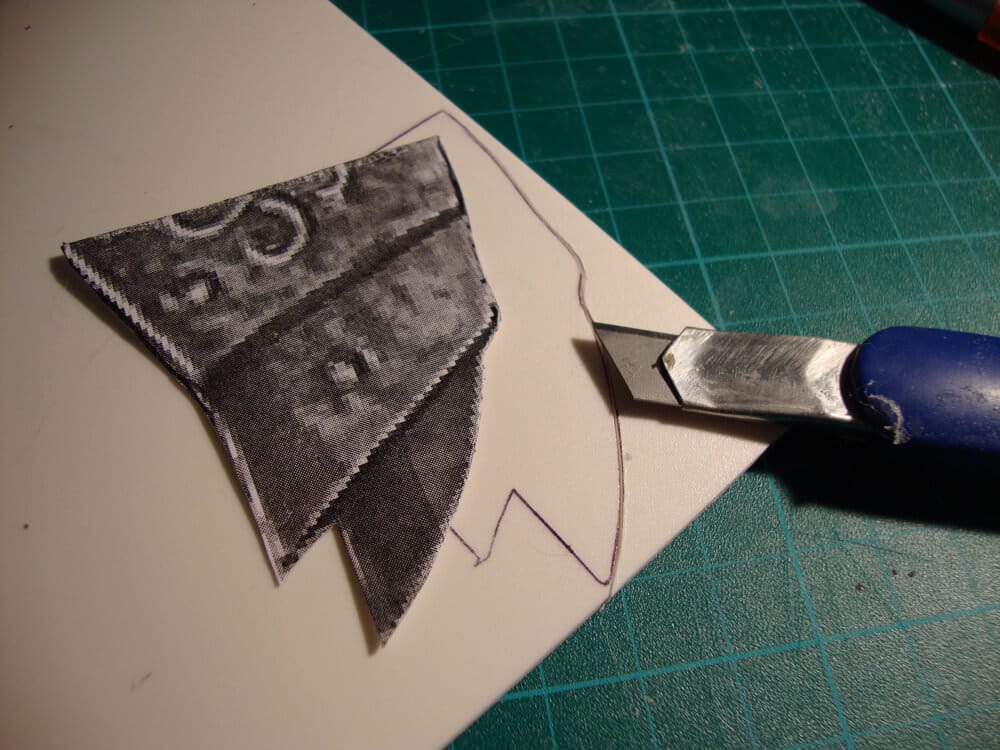
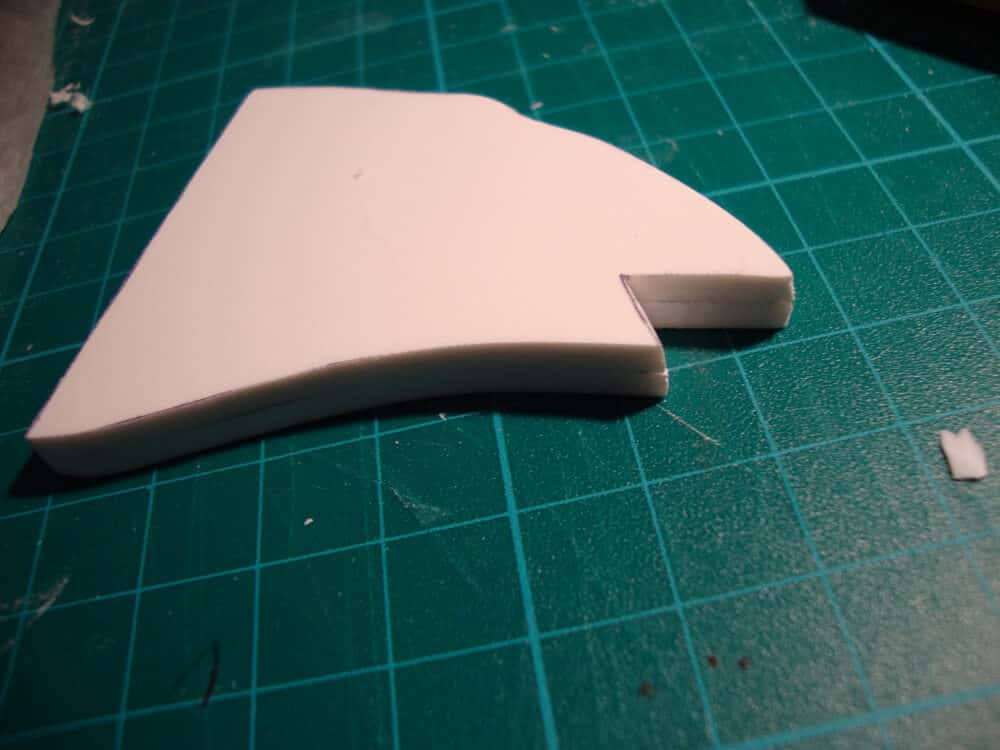
Hopefully perfect mirrored.
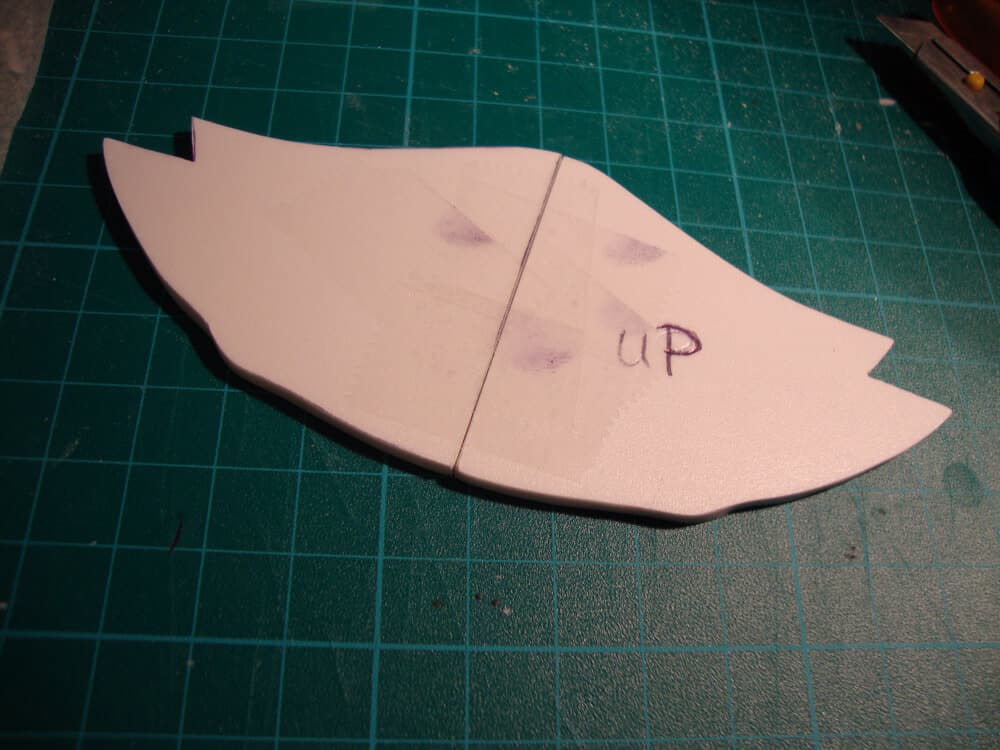
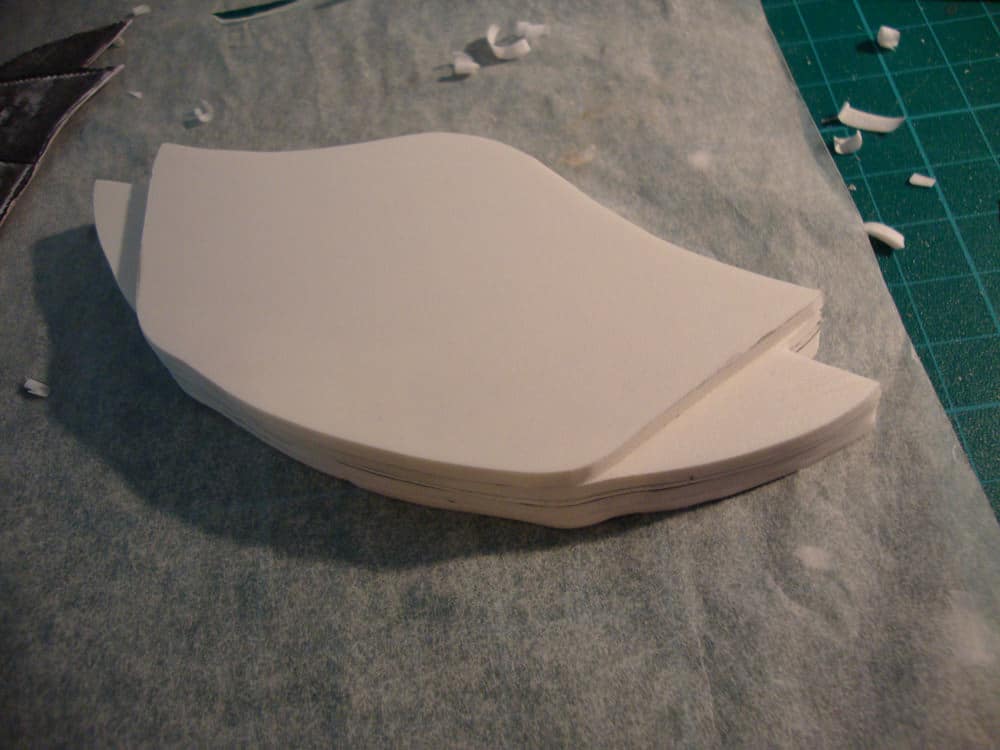
Sculpting and glueing PVC sheets on the ‘UP’ side of the guard base.
The bottom side is not to be cut or sanded.
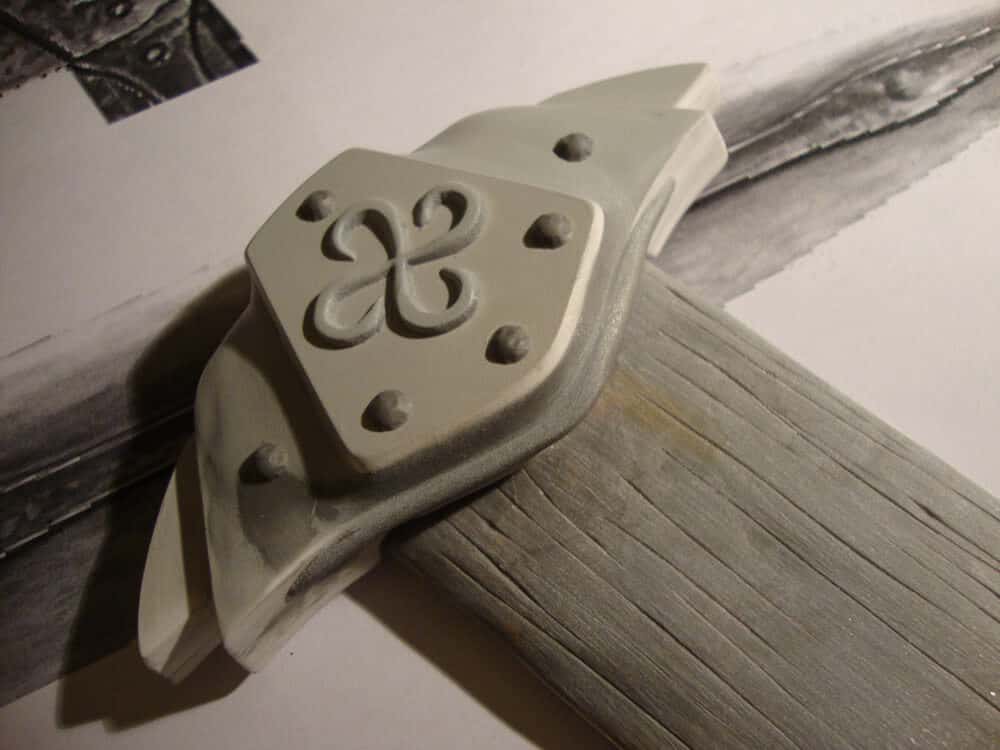
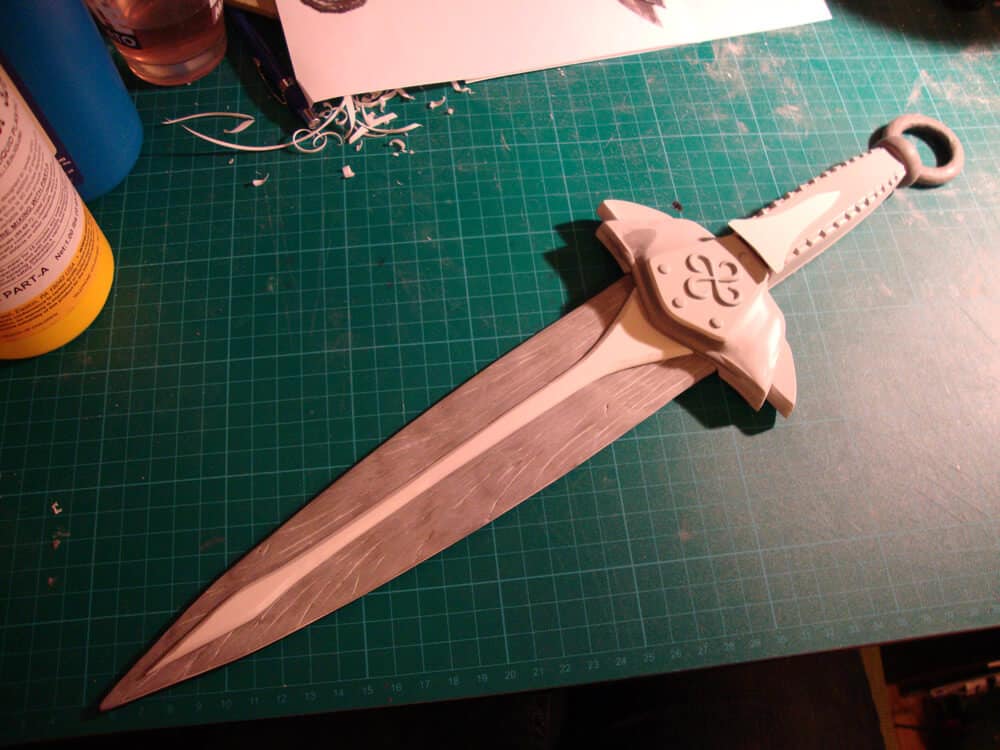
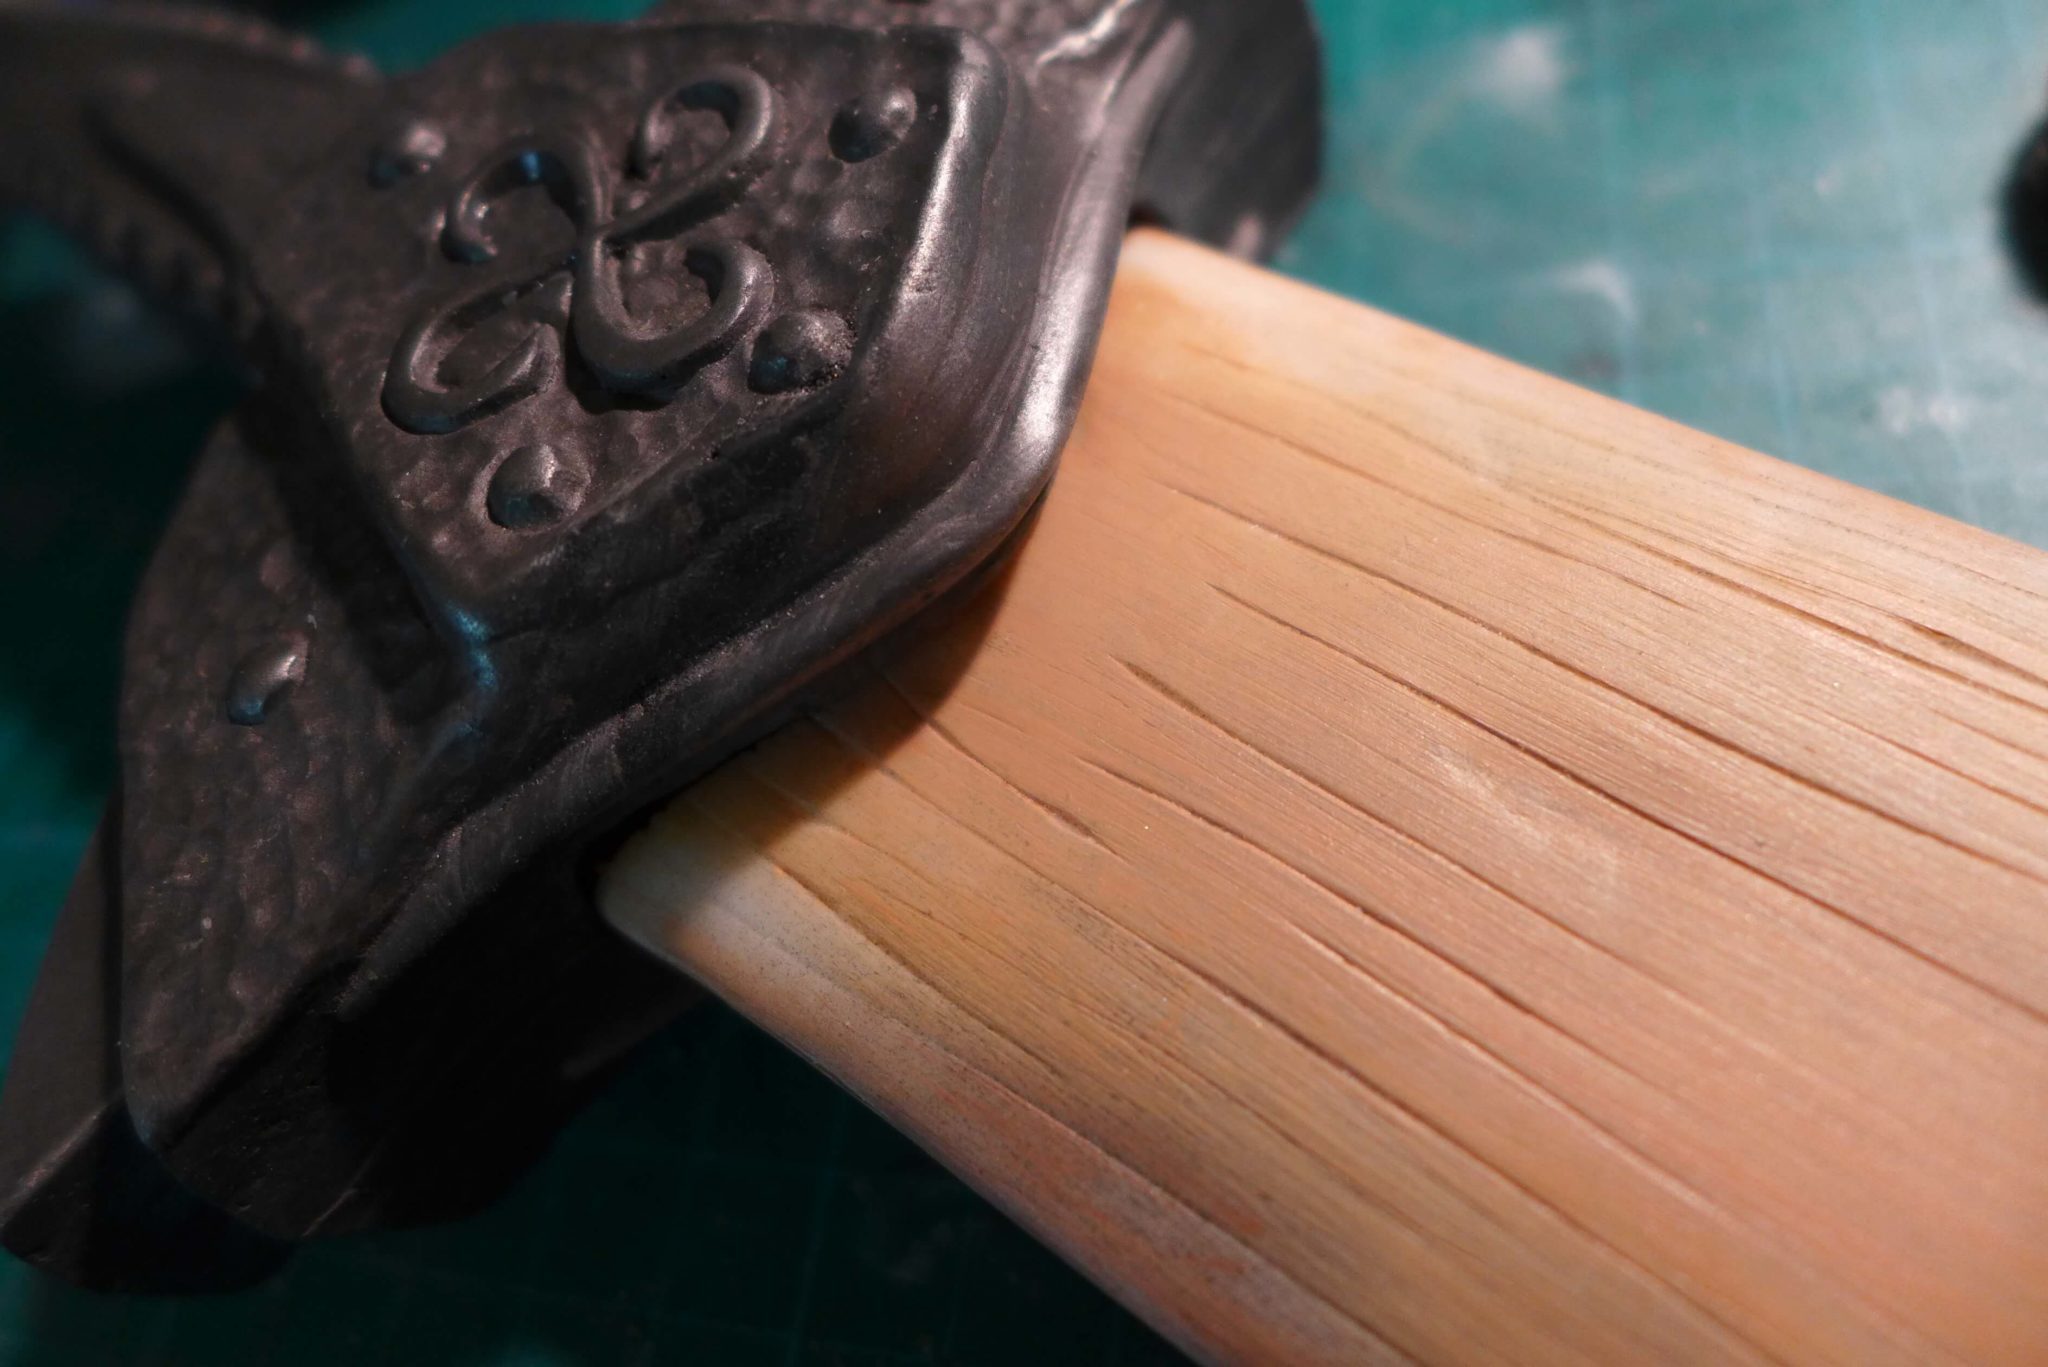
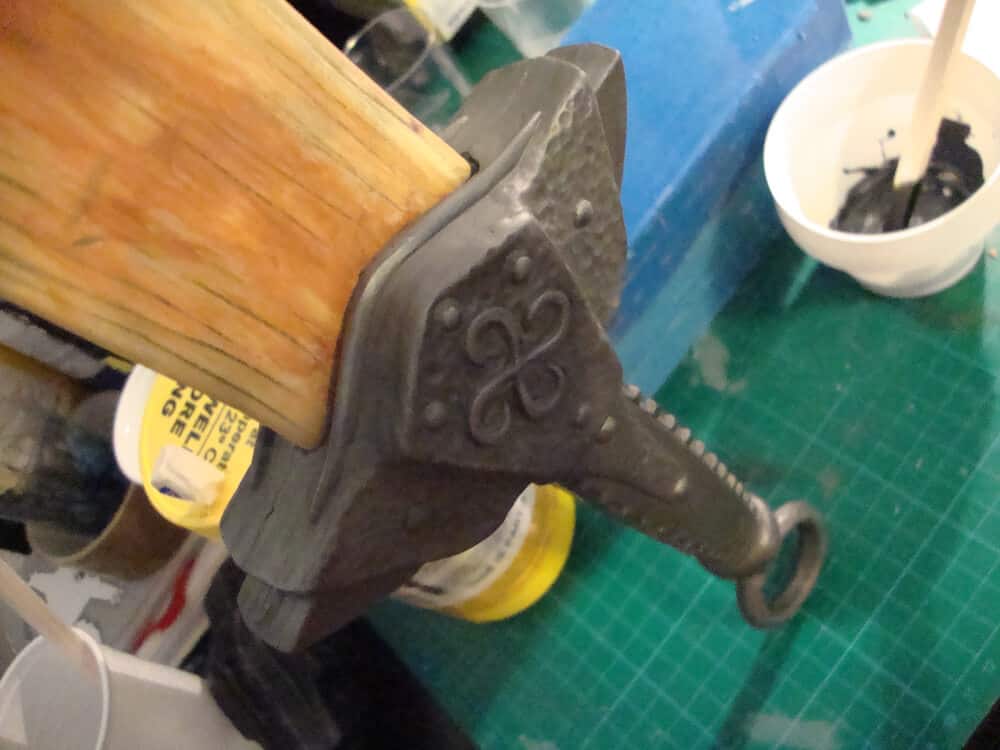
Checking if the guard and handle make sense together.
Looks like it.
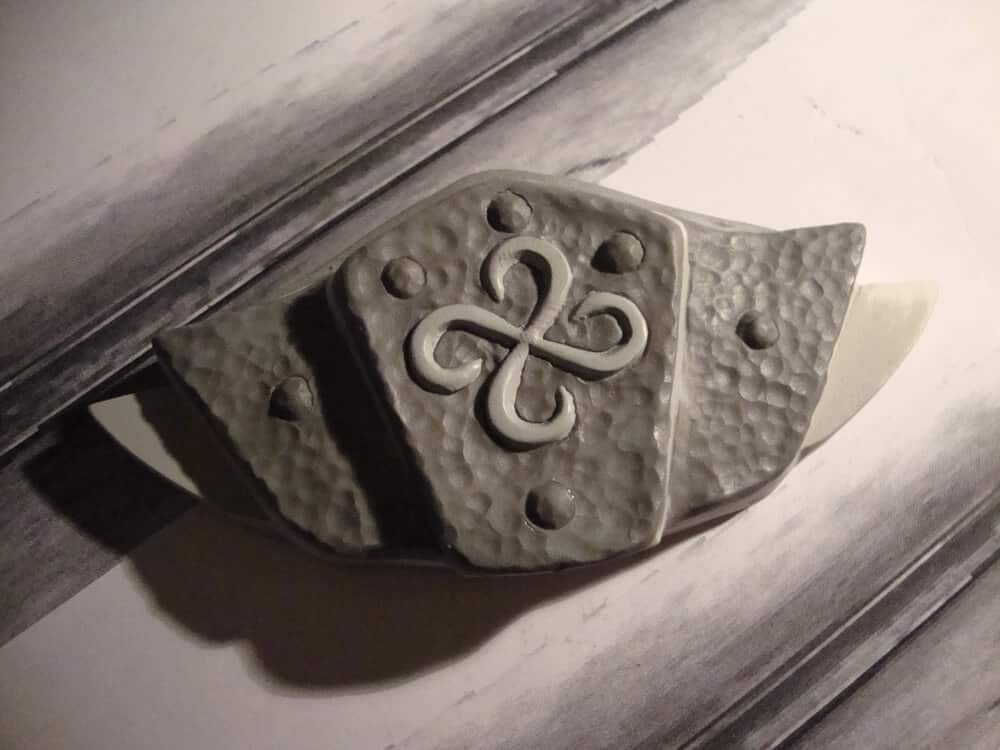
Once again, I get to experience the glory of primer and sanding sponge.
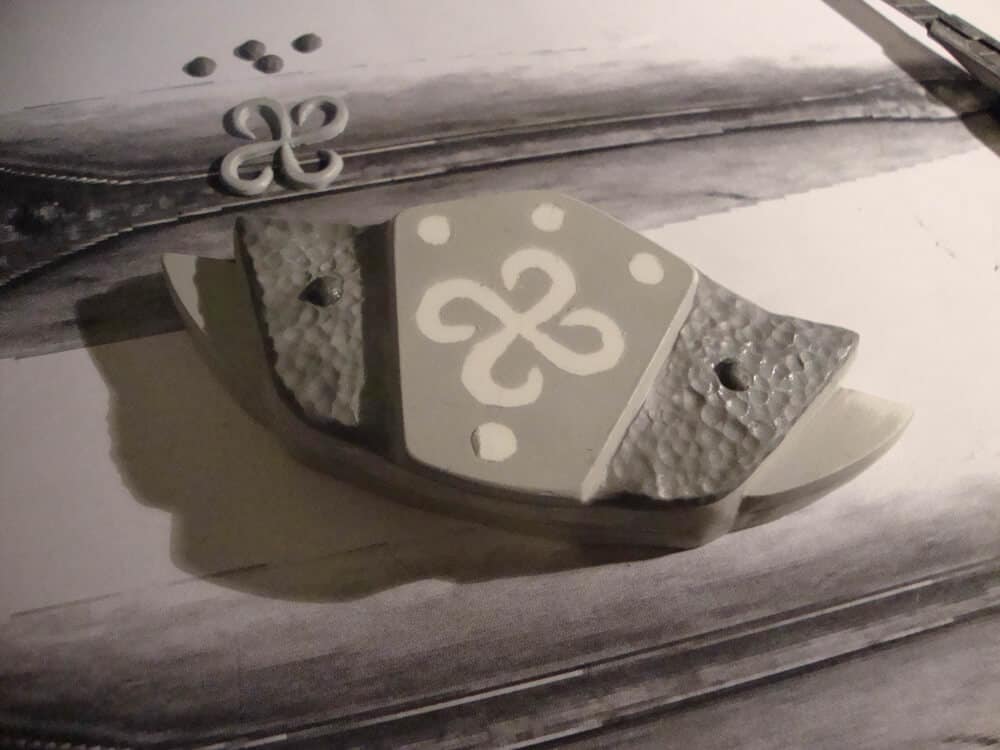
A few details. Apoxie Sculpt is heaven.
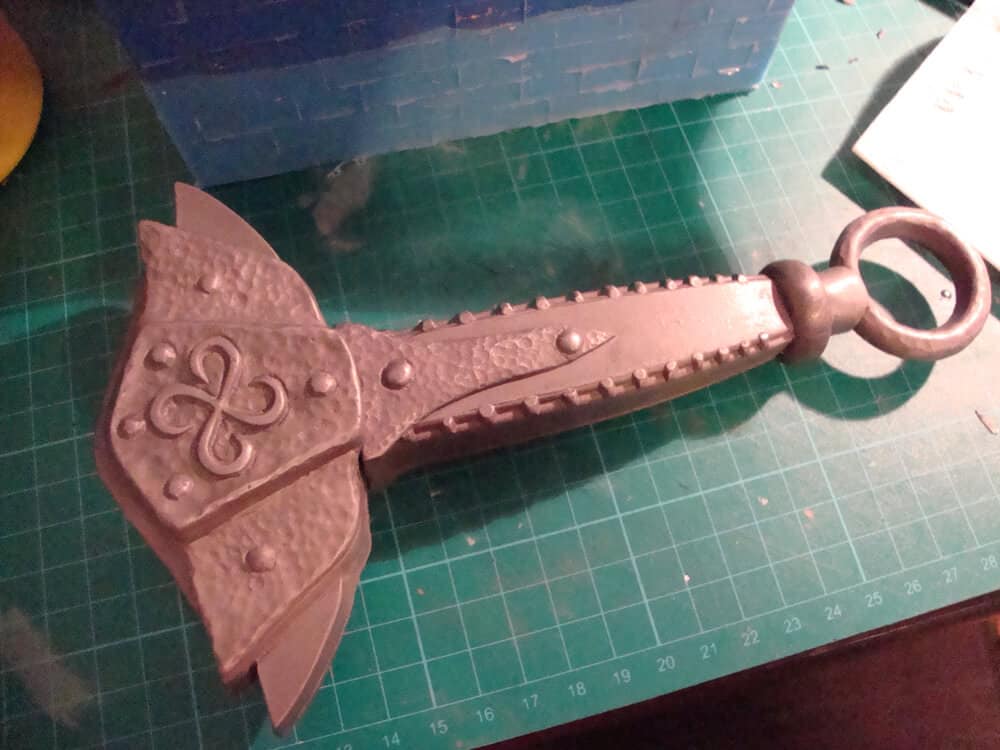
And this is the work so far.
Primered and sanded.
OK, that plain surface bothered me. I decided to put a bit Apoxie Sculpt on it to get the hammered look.
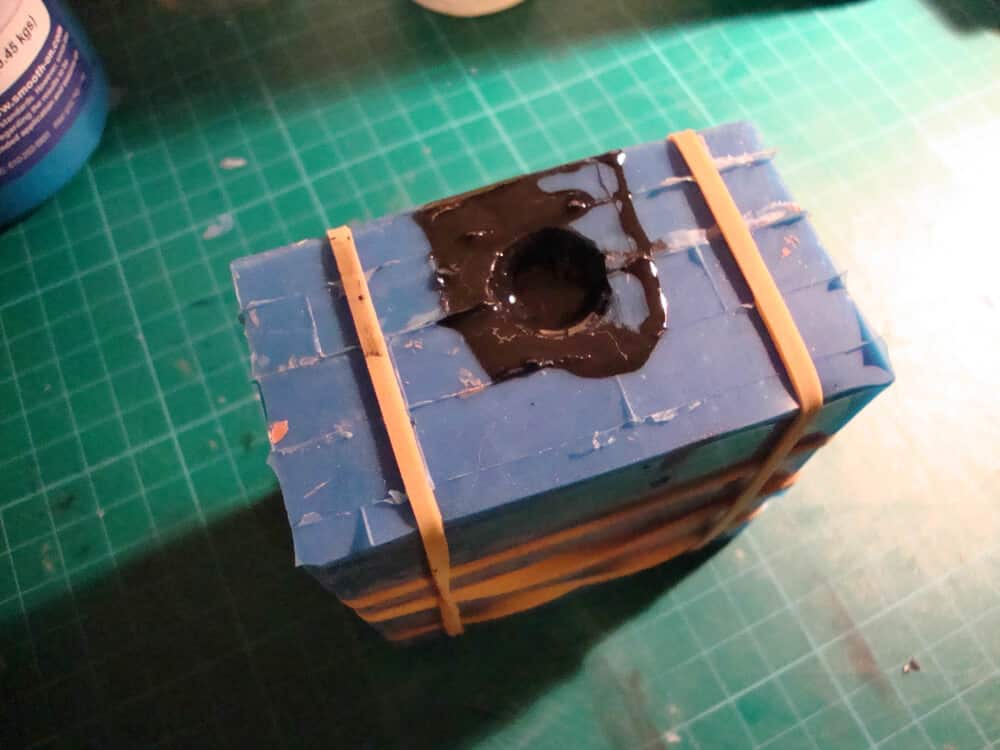
And here it comes. Making all the molds. Sometimes boring.
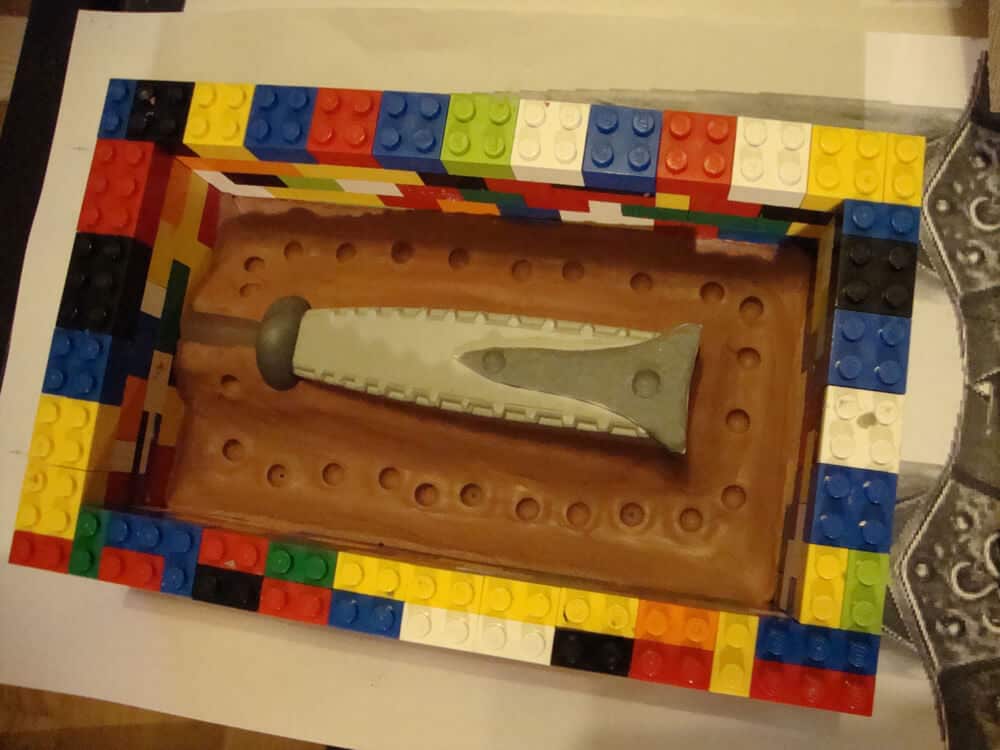
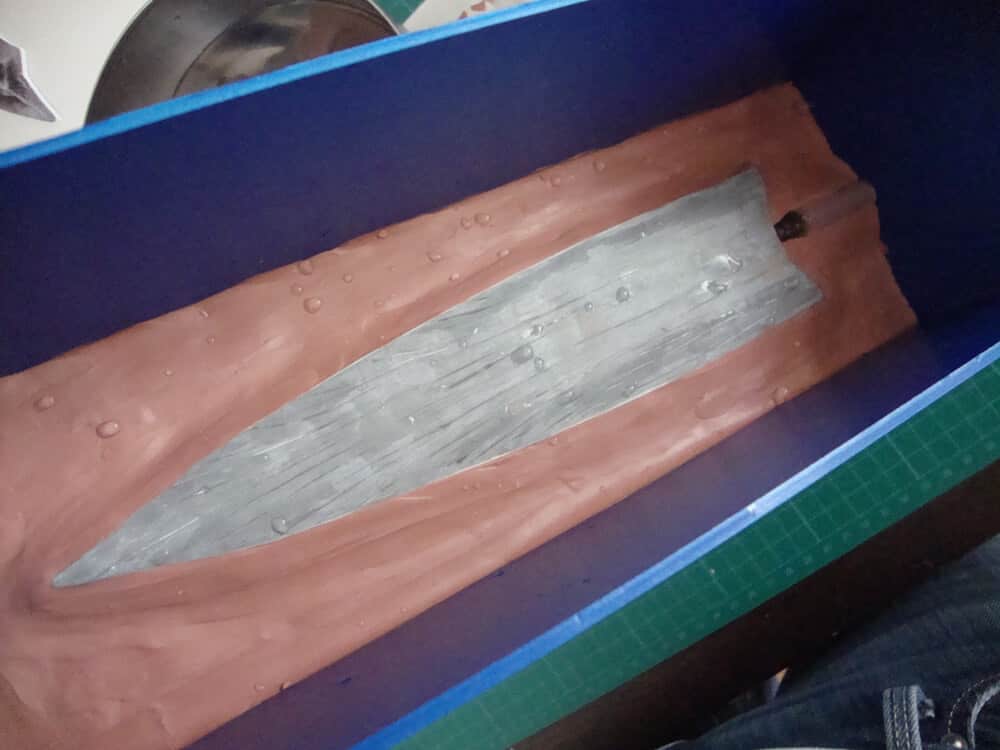
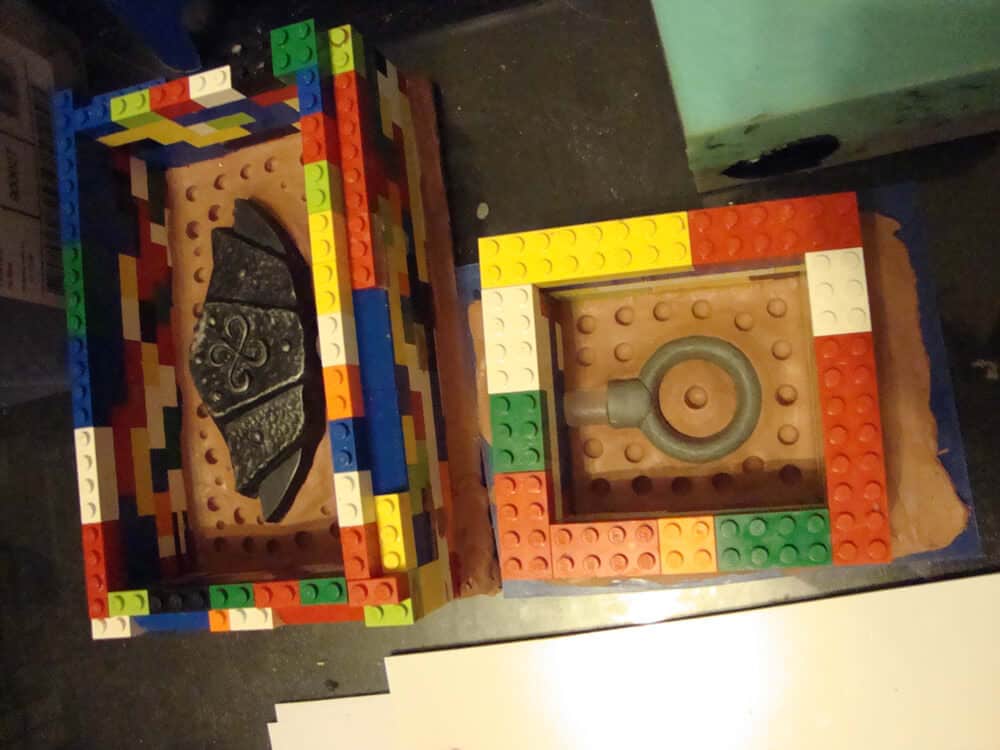
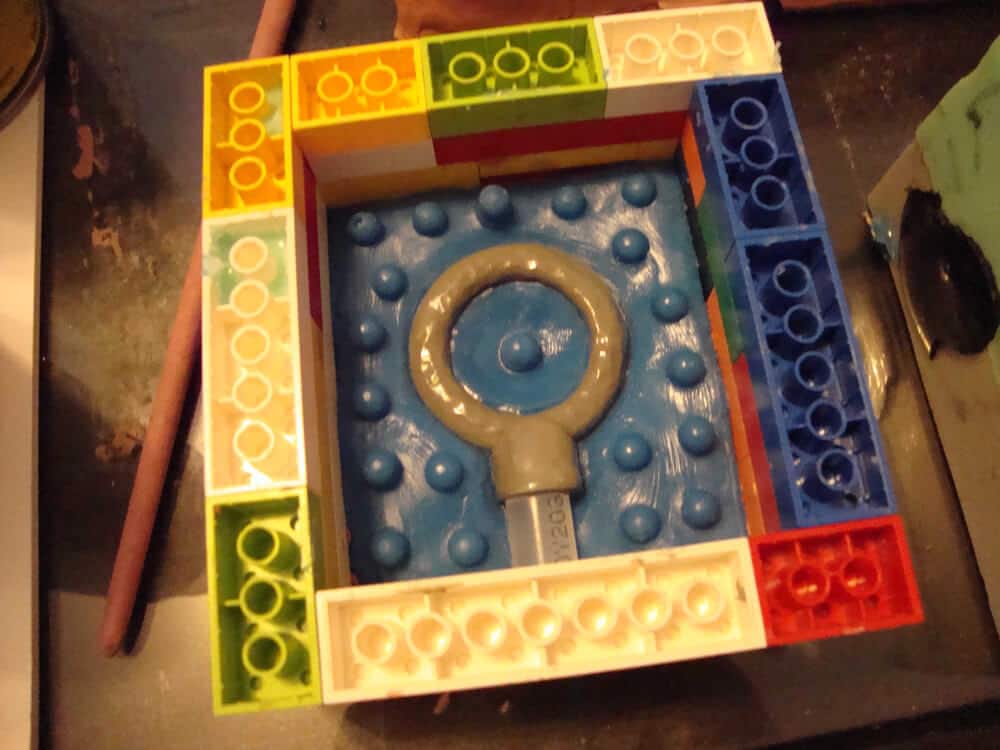

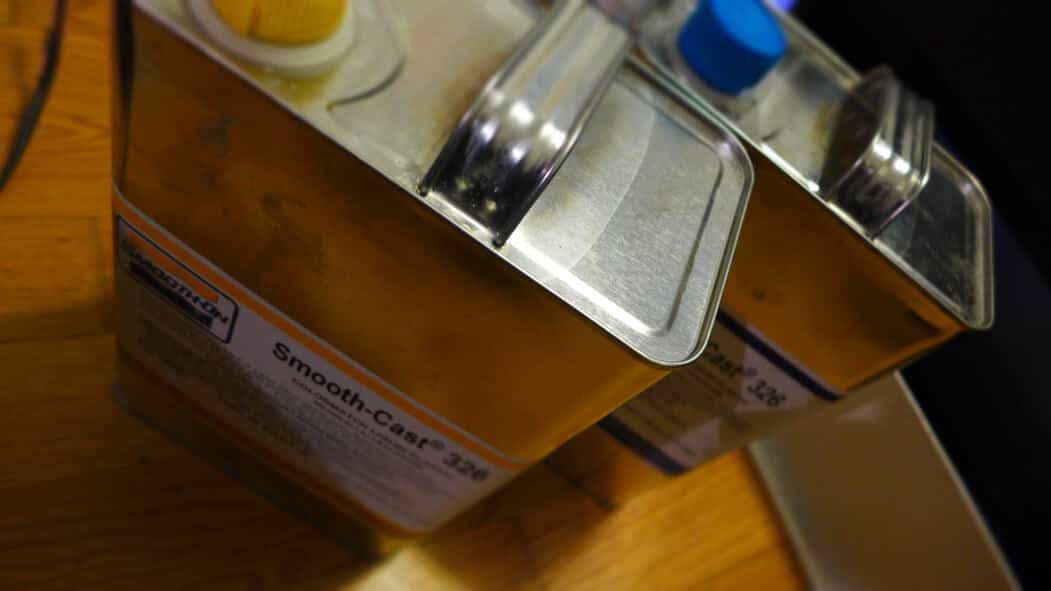
Pouring here.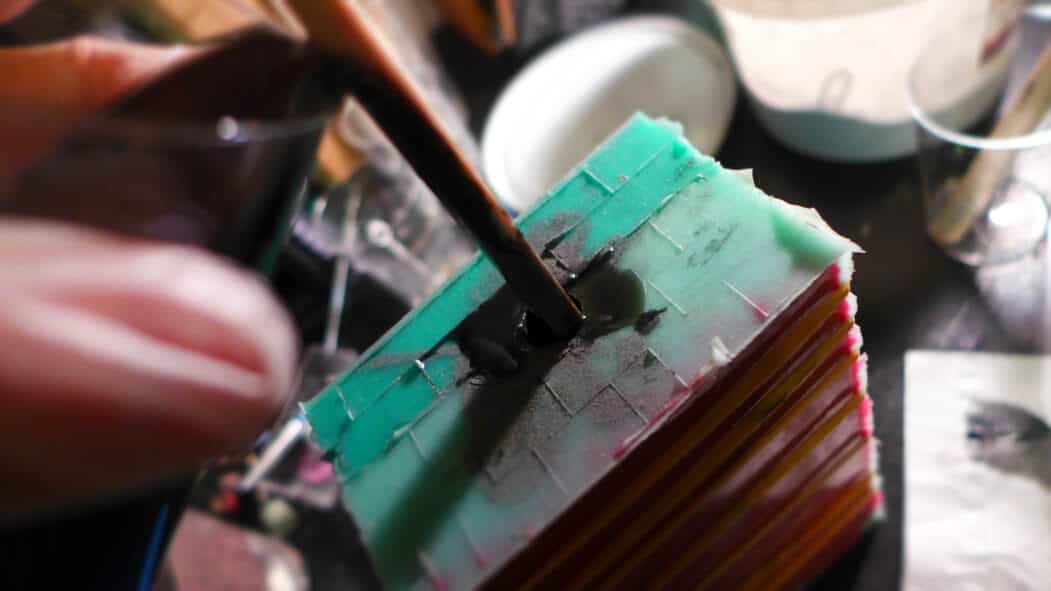
Something is curing here…
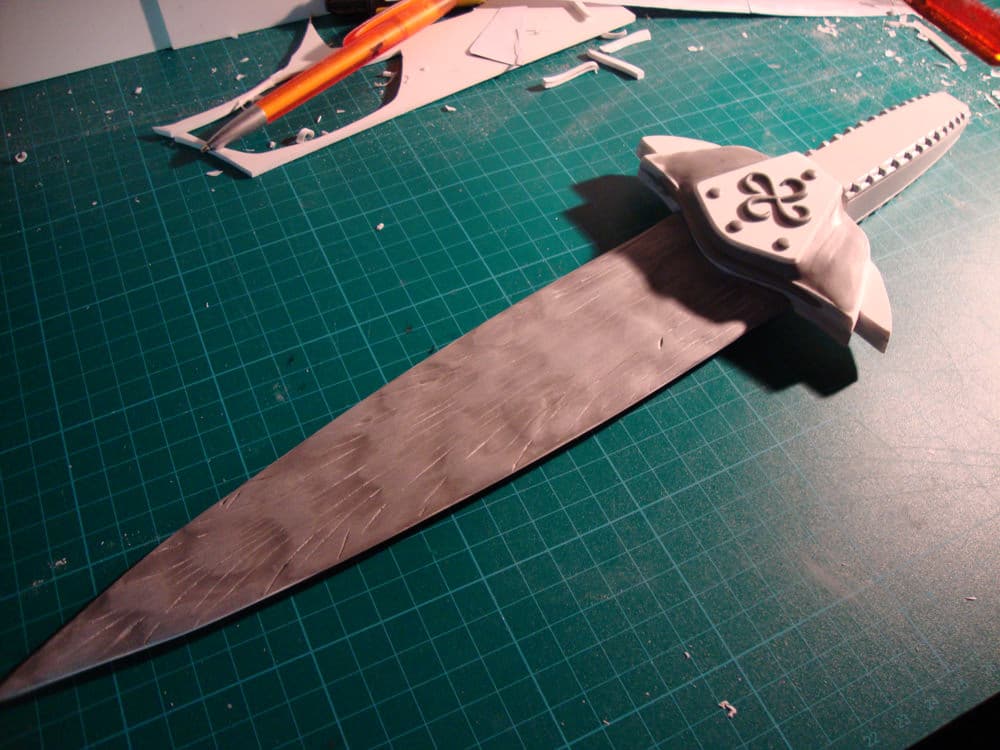
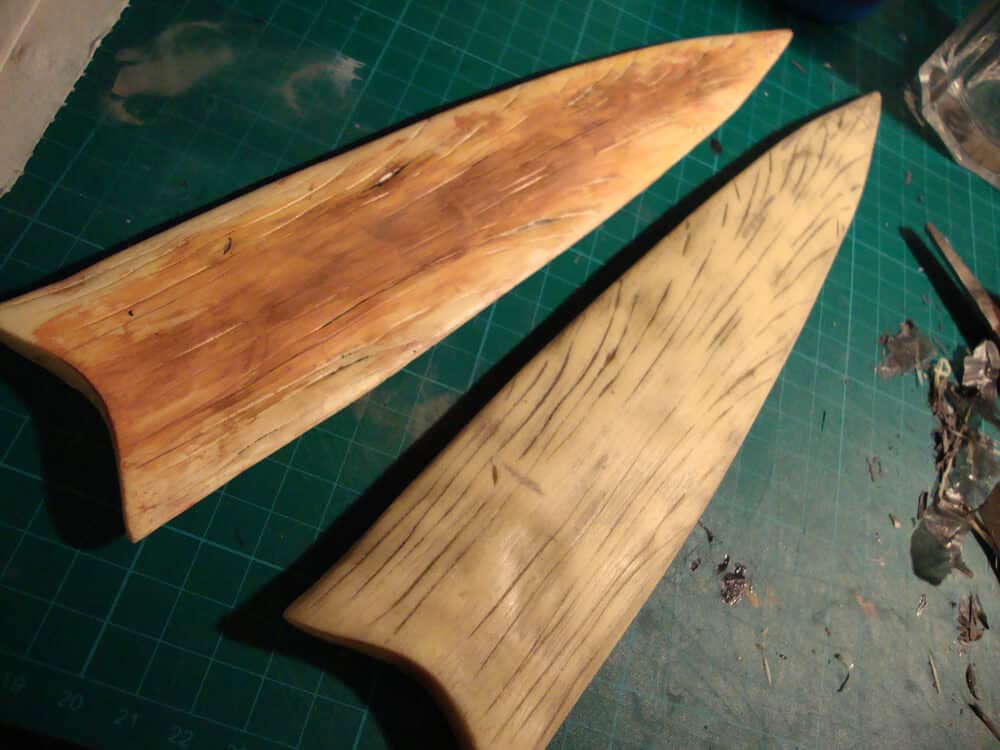
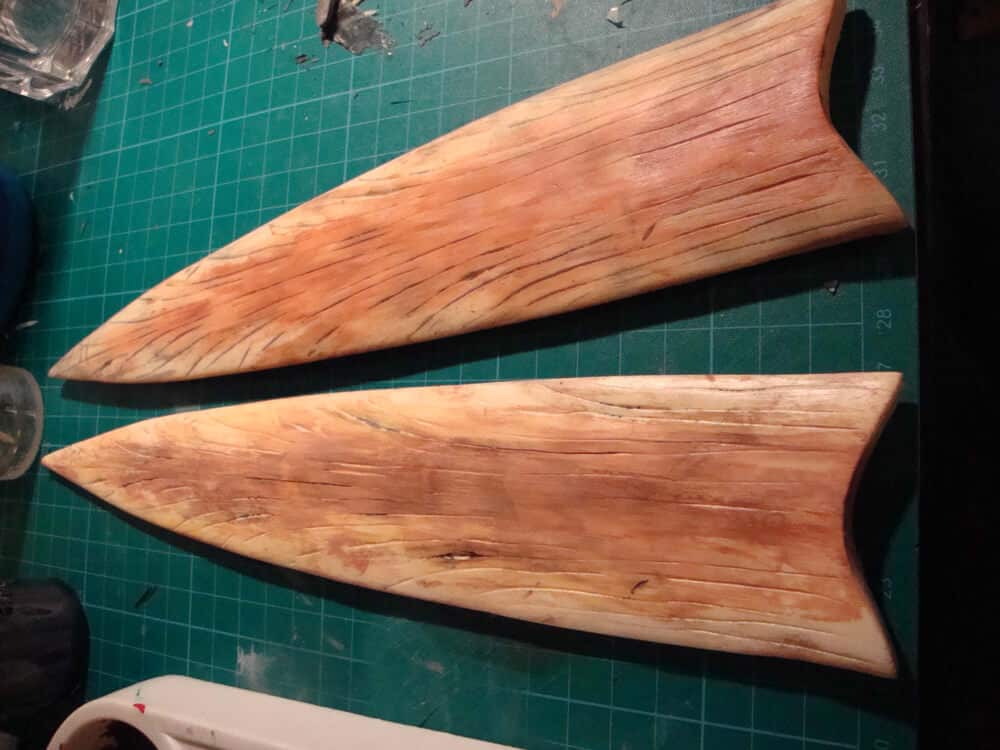
Painting the blade here with acyrlics.
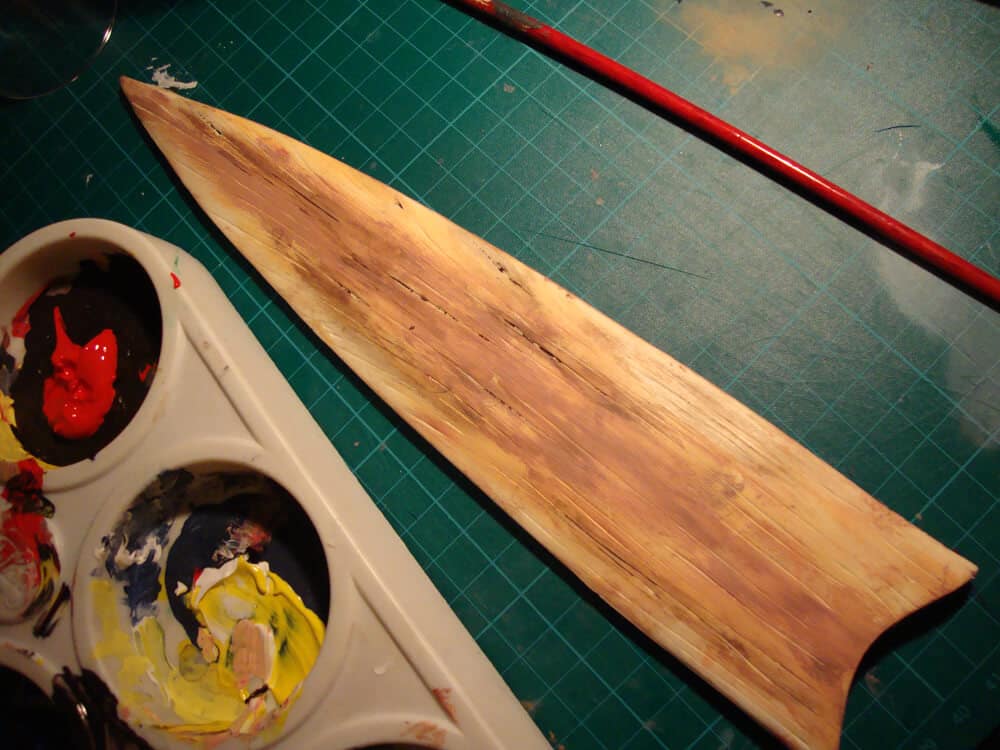
A second attempt with coloring.
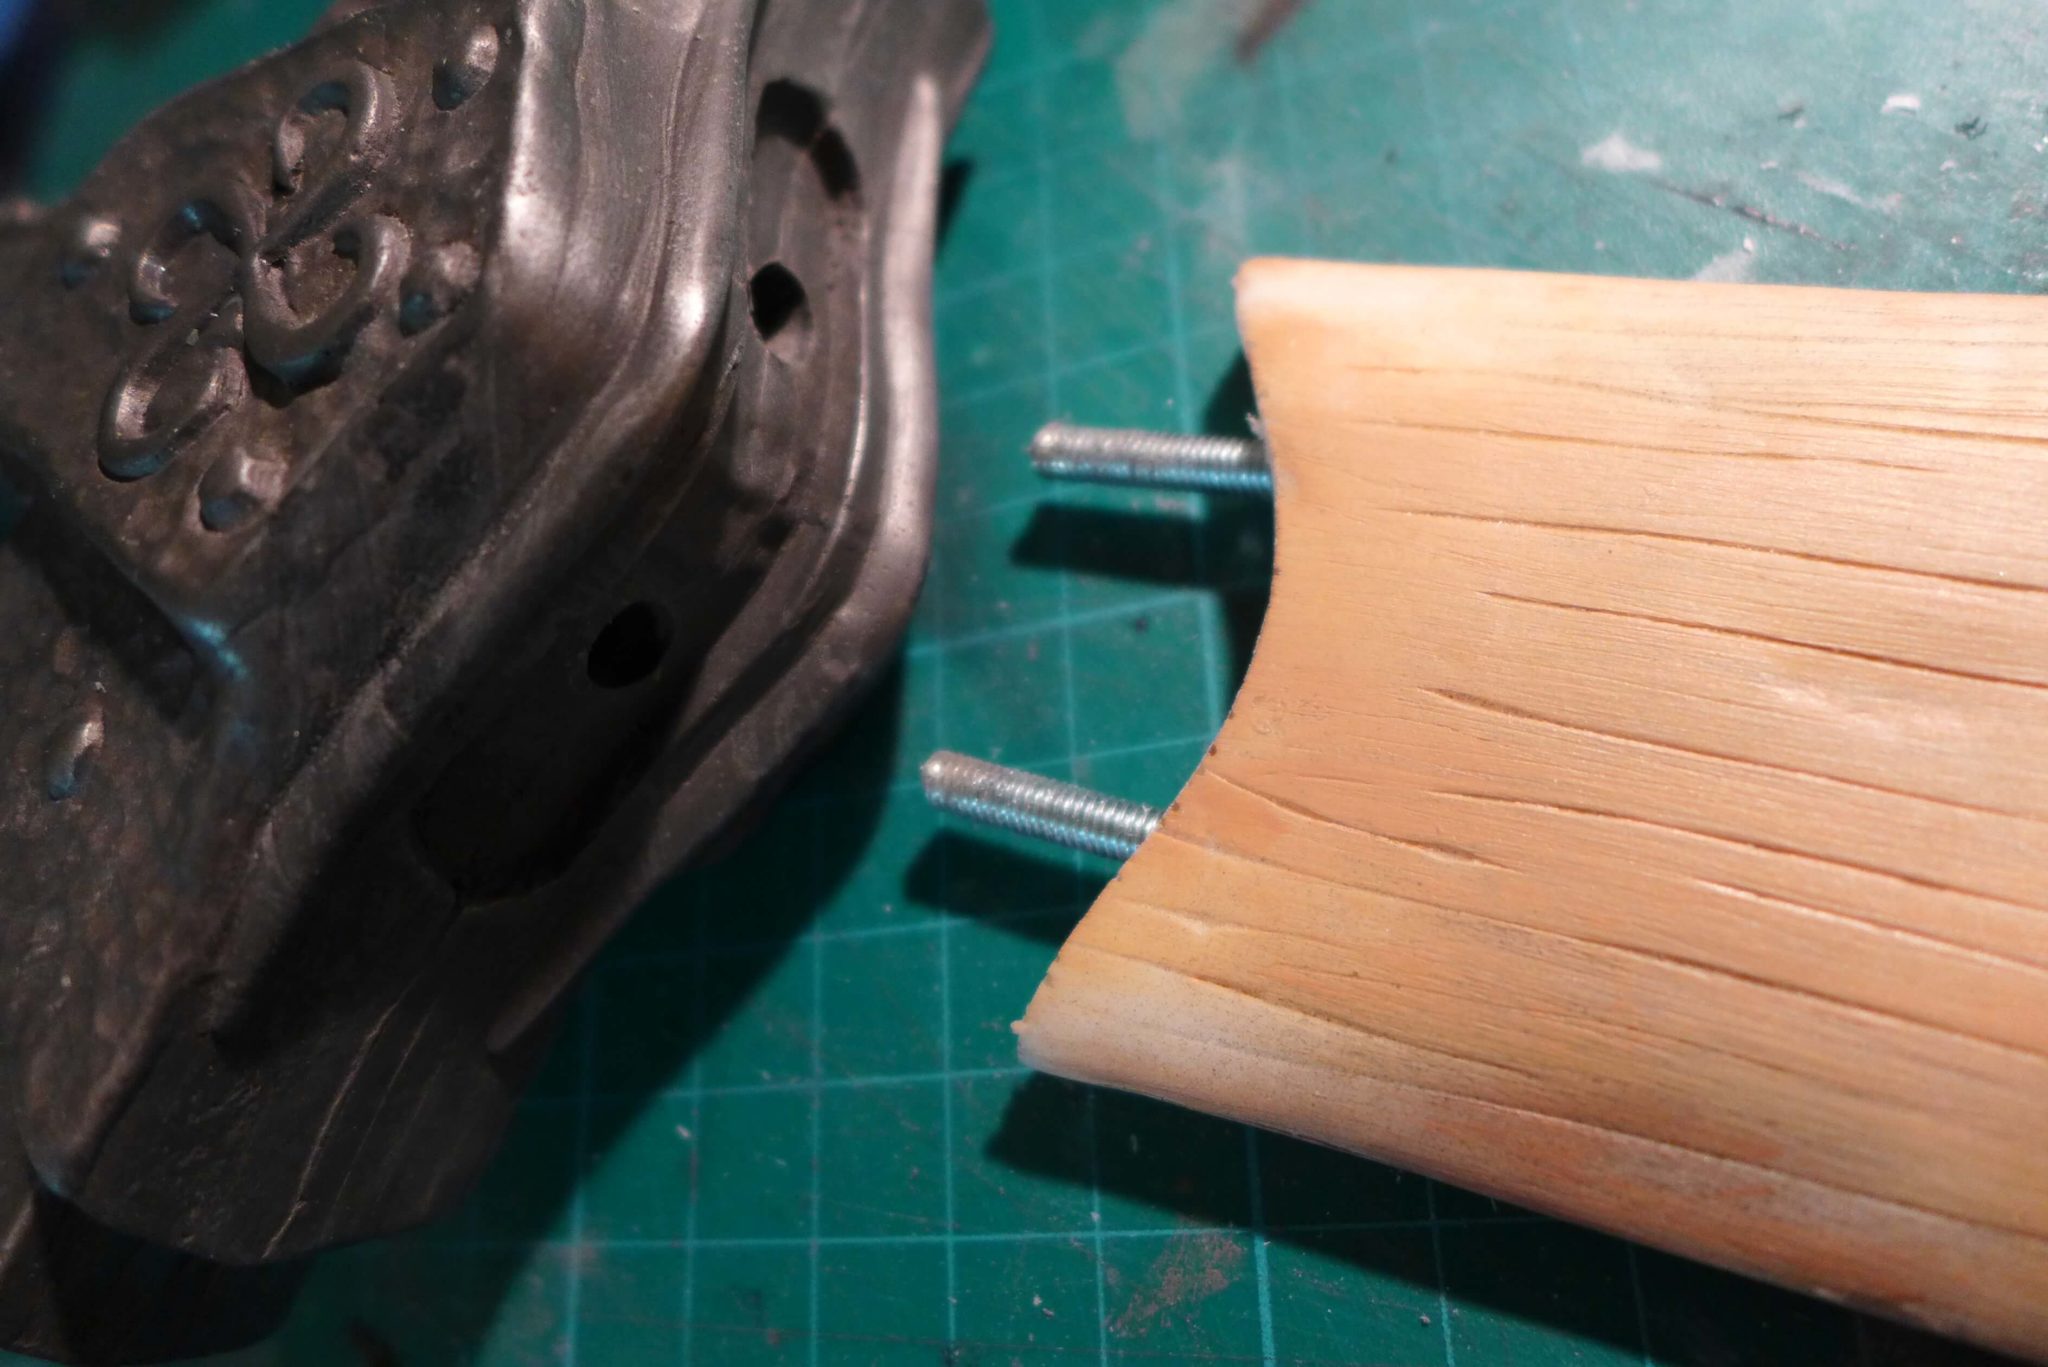
Assembling all the parts.

 And here the final Dragonbone Dagger


 For further information don’t hesitate to ask me!