
 I decided to start with the middle part first where the scroll paper will be put in later.Cut the tube open on one side and stuck it over the other part to get the same opening as seen in the original scroll. The rest was just covering up the surface with Apoxie Sculpt and sculpting the ornaments.

 I do a lot of things freehand. Like sketching onto the item itself.


 Cutting the Sintra pieces and fitting each of it into its place.Usually I sand all the edges and make the smooth.


 This one was a bit tricky at first, but I found some sort of adhesive sheets which where about 1mm thick. This was the perfect material to get the webbing done fast.
 After the webbing was done on both sides, I filled the gaps of the upper layer with Apoxie Sculpt.
 I run across the problem with a few pieces which had mirrored signs on it. In that case I had to do them twice. No problem, took me a sheet of Sintra, cut out some stamps, and then I could use both sides of them to achieve the mirrored effect.


 Primered all the finished parts with black spray paint. This coated the surface with an smooth finish.


 The 8 gems for the scroll and its place holder.

 Making more stamps.
 Working on the last parts of the scroll.
 Carving the decorative lines with a dremel.
And this is almost ready for molding!
Almost all parts are covered with a special brush-on silicone, which cures vertically.
Means you can plaster the silicone around the builds, without to make a mold for each one.

After one layer is cured in 45 minutes, the next one can be applied.
And this goes on, until the 5th or 6th layer is applied. The mold should be 1cm thick by now.
To get a thicker consistency of the silicone, I used Thi-Vex. Like this, the silicone is thick as cookie dough and cures a bit faster.
Ideal to start with Thi-Vex at the third layer.


When the layers are fully cured, the silicone molds need a jacket.
This ones allows you to pour your resin into the mold and the jacket kees the shape of the silicone mold. Plasti Paste II from Smooth-On does the trick very well.
First one side is applied to the mold and the second follows. Each jacket part needs to be sealed with a release agent, to prevent them from sticking to each other.
Tin foil is also a nice way to do the barrier between the two.
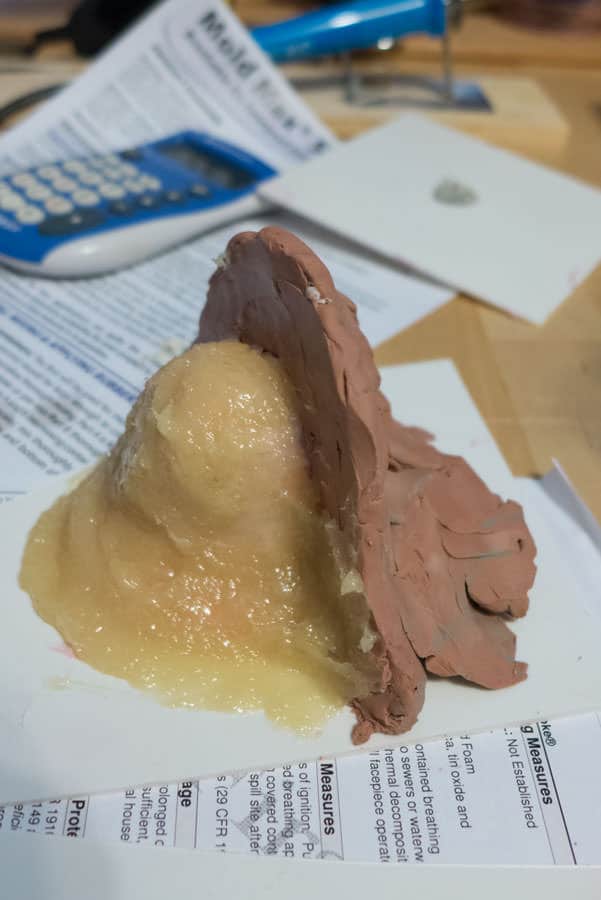


Pouring the first layers of resin into the mold of the scroll chamber.Rotocasting is always messy.
 After pulling out the scroll chamber, trimming the opening for the scroll paper is only possible when the tube is fully cured. Other wise it\\\\\\\’s a delicate and soft piece.
Testing the first pieces for their fitting.

Still not assembled, but this is the outcome of only 11 single pieces put together.The whole scroll will feature 21 pieces without the gems and their sockets.When all pieces used = 56 parts

When weathering the castings I ususally use black shoe polish mixed with acrylics.
Brush the mixture into all nooks and crannies and wipe it away at certain places.
After the mixture is dry I use the finest steel wool to get the metal effects to pop. A nice texture appears and the prop looks much more realistic.