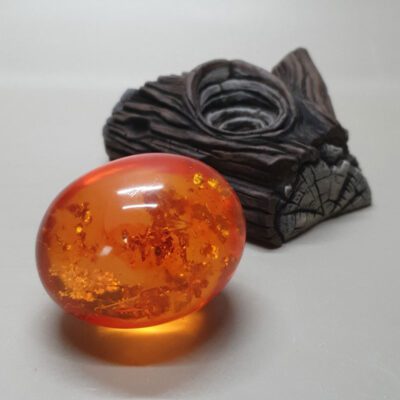
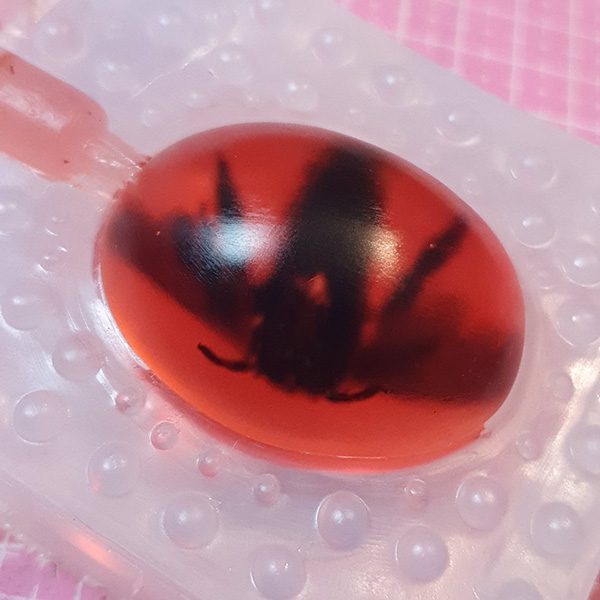
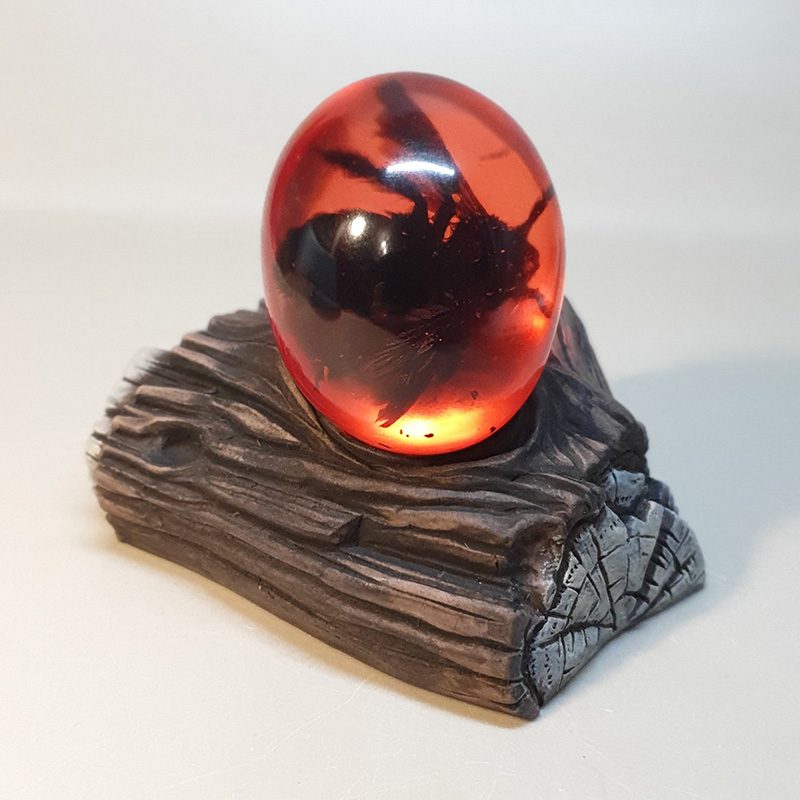
Amber egg with insect
Want to make something cool like these faux amber eggs? Check my tutorial below.
Want to make something cool like these faux amber eggs? Check my tutorial below.


1. Get a mold!
Make a mold of your sculpted or purchased master. The silicone that I recommend for this project is Sorta-Clear 40 from Smooth-On. It’s transparent and allows you full view when positioning your critter.
2. Ditch the old mold
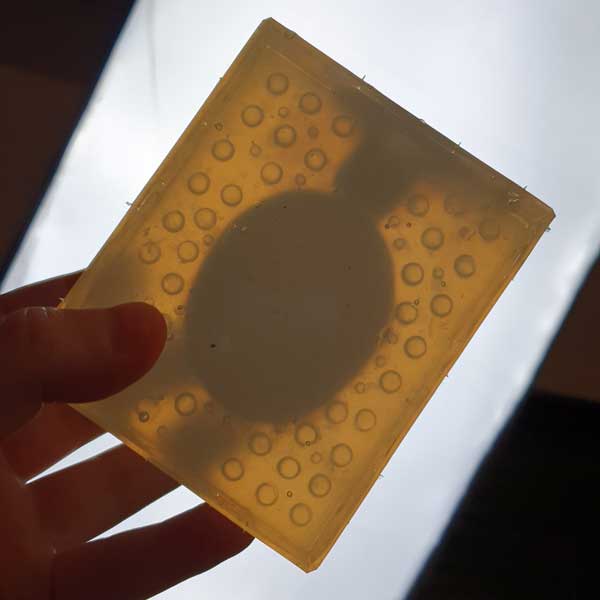
Important note: Sorta-Clear 40 molds tends to tarnish over time. It makes it impossible to see what’s inside once you’ve cast over a dozen of them. Ditch the mold and make or get a new one.
3. Prepare the insect
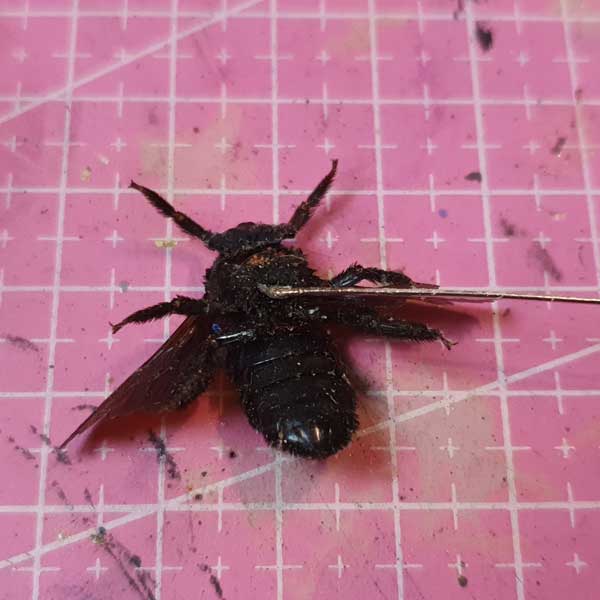
Choose an insect that fits into your mold easily. The smaller the critter the easier it is to adjust later. Get a thin wire and superglue the tip of it onto the insect’s torso. Favorably choose a sturdy area like the chest or back. Don’t glue it on one of the legs, because they will break off if you don’t handle carefully. Make sure that good part of the wire is able to stick out of the pour spout for later use.
4. mix your amber resin
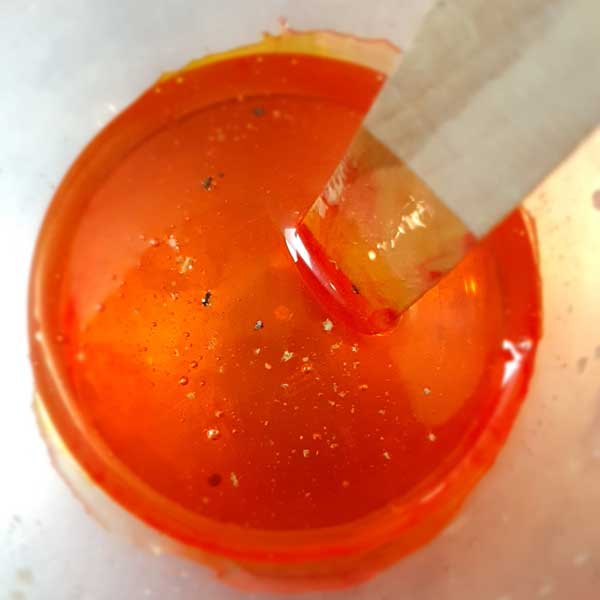
Use a resin that is transparent when cured. I like to use EpoxAcast 690 from Smooth-On. Mix the colors (orange, red, yellow) and some dried leaves or spices in it to get that amber look. Don’t use too heavy particles, because they might sink to the bottom of the mold. Dried chamomile is a good additive or any other dried parts from a tea bag. Don’t forget to degas the mixture before you pour it. A massive amount of small bubbles will let your amber look ugly.
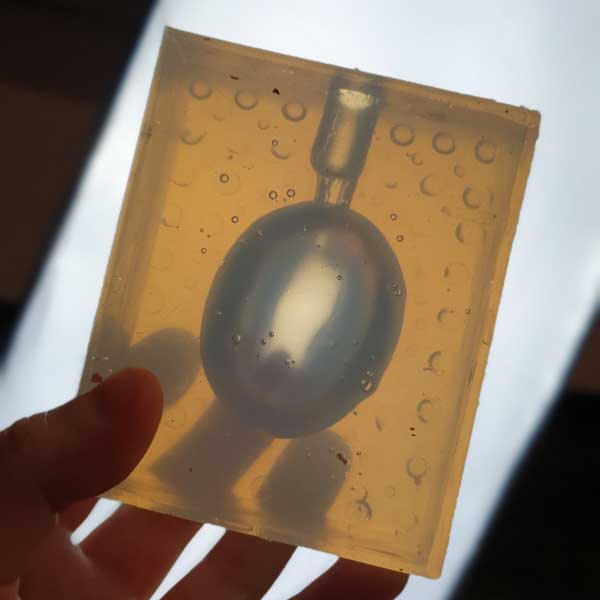
5. submerge the insect
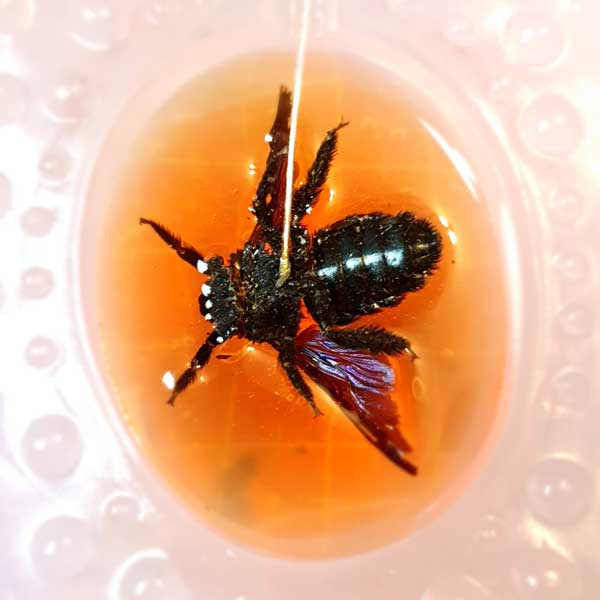
Place one half of the mold on your workspace and pour a small puddle of your mixed (and degassed) resin in it. Dip your insect carefully in the bath and make sure you don’t accidentally detach the wire. The resin will make your insect heavier so this happened to me once. Just a heads up!
Remove possible bubbles around the critter with a toothpick or tool of your choice.
6. put the mold together
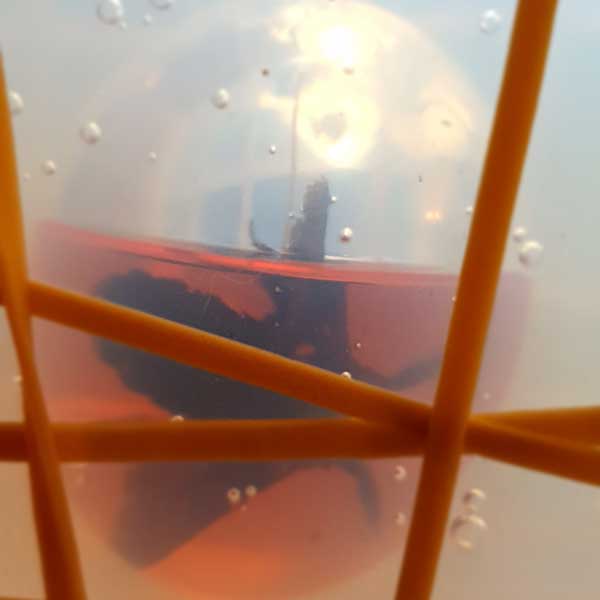
Once the insect is fully dipped and all bubbles around it are removed, close the mold with the other half and carefully secure it with rubber bands. Make sure to not touch the wire too much while you handle the rubber bands. Just let it move around on its own or it might break off.
7. Fill the rest of the resin
Once the rubber bands are all in place, fill the rest of the resin in the mold. Make sure no bubbles are trapped inside.
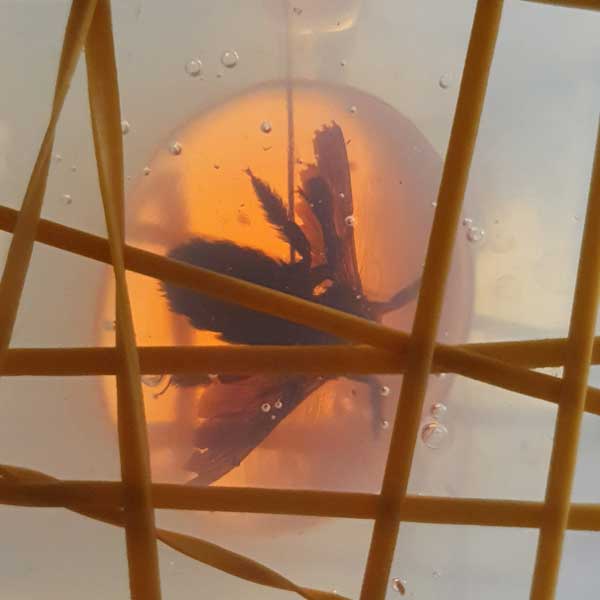
8. Helping hands
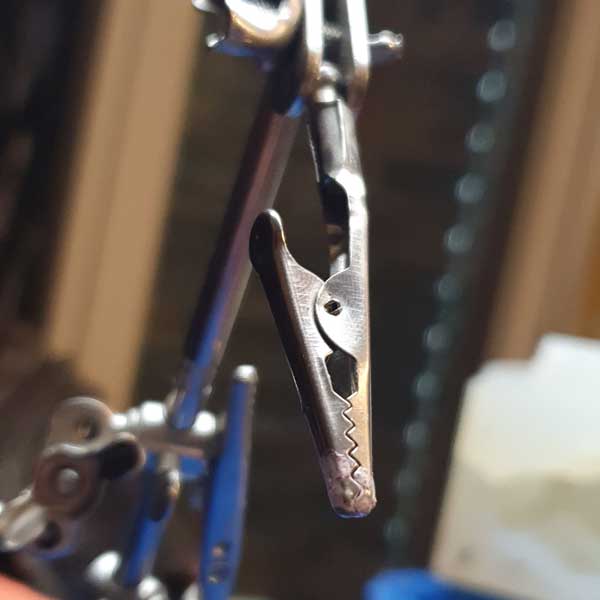
Get a helping hands tool and secure the top of the wire with the clamps. Now you can adjust the position of your critter inside the amber. It should be placed in the center of the amber. Check from all sides.
9. Set the timer!
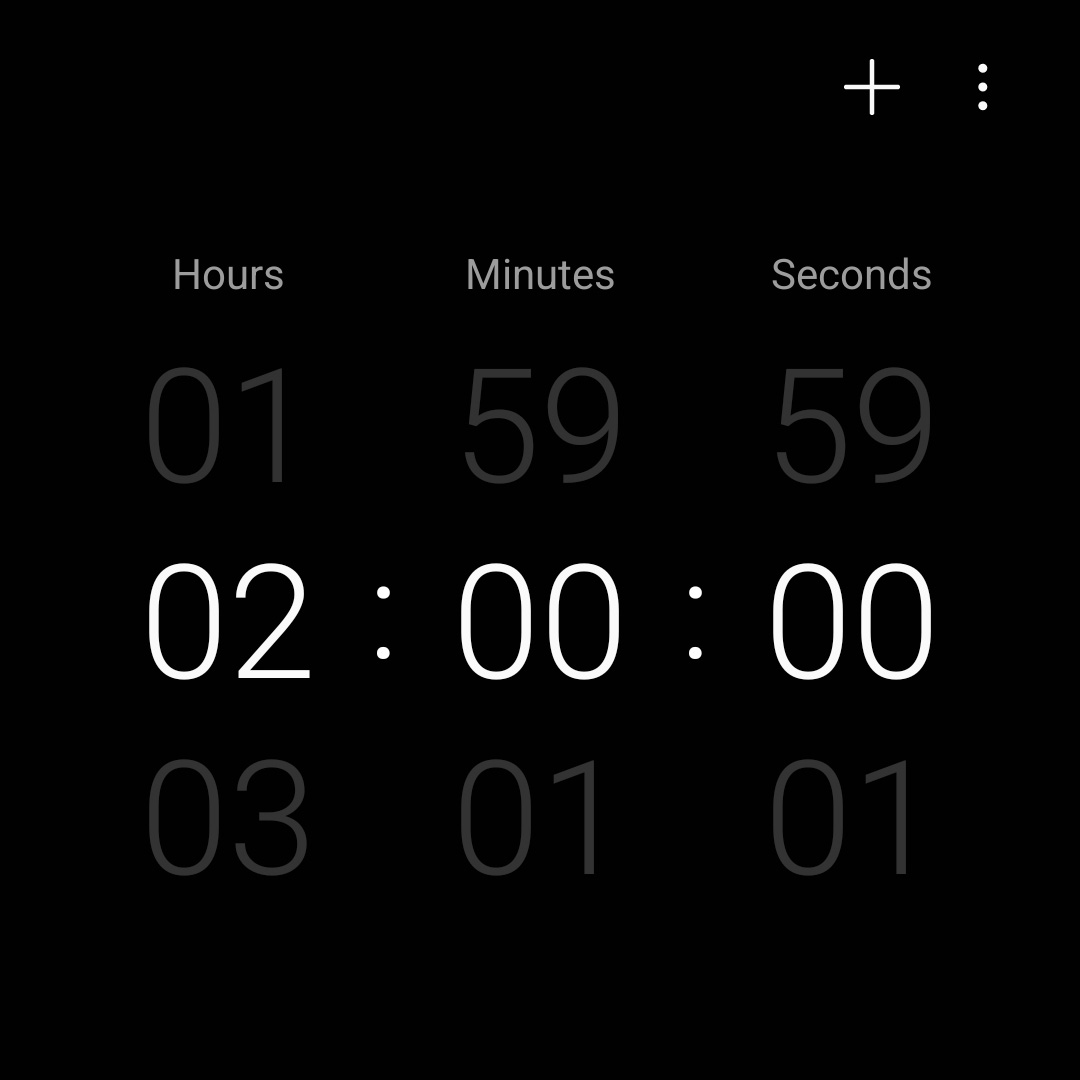
Once you’re happy with the position and look, set a timer to 2 hours. Check the curing process all 2 hours. You can also compare the resin in the leftovers of your mixing cup if you're not sure. Make sure you will be around for the next 8 hours to check on your project. Otherwise you might lose the amber if you don’t keep the curing process in your sights and make adjustments.
10. What's up with the time?
Why checking the clock all the time? You need to find that sweet spot to remove the wire and keep your critter in position. You see, some insects tend to float to the surface once they’re released from the wire. When you find that gooey tree sap-like timeframe, you can slowly remove the wire while rotating and pulling it out of the mold (like a screw). The void where the wire was will automatically fill with resin so there won’t be any wire trail visible if done right.
If the resin is still too liquid, this will cause a major problem. The critter will float to the surface and you’ll end up juggling the mold around to keep the critter in the center. There is a trick, but it's annoying and use up even more time. More info at the end of this tutorial.
11. Almost there
After you've successfully removed the wire and the critter stays in its position, let the amber cure for a day. Be patient and if you don’t know if it’s ready yet, just check your data sheet for the resin or inspect your mixing cup again. When the resin is fully cured, pull the amber out of the mold.
12. Out of the mold
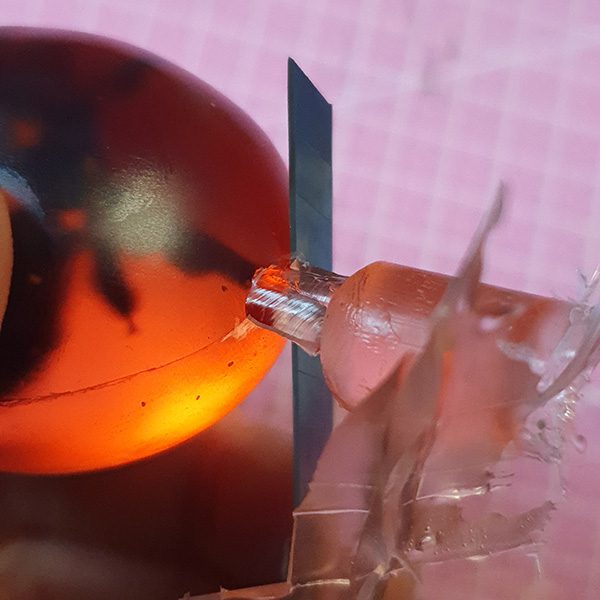
The amber will be dull and still a bit soft when you pull it out of the mold. Give it some time to cure properly so you can sand and polish it. As long as the resin is a bit soft, cut off the pour spout for easier sanding. Use a knife to remove it carefully.
13. Sanding!
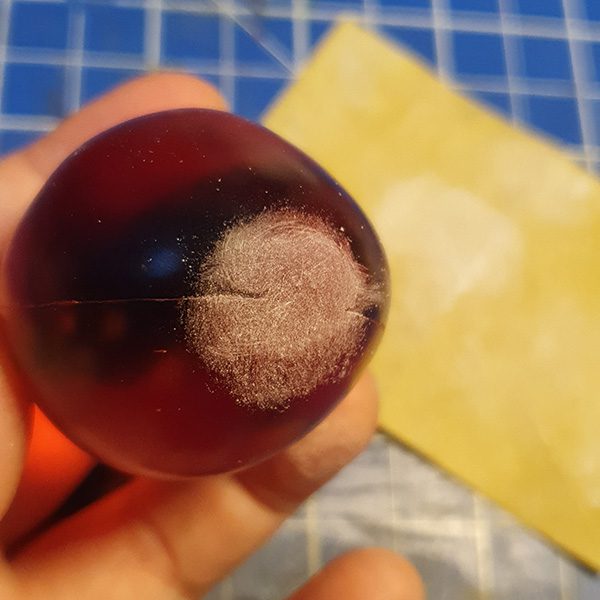
Sanding and polishing is fairly easy, but it takes time. Sand the pour spout area and remove the seams all around the amber. Don’t use a too abrasive sandpaper (you can start with a P400). Now work your way to finer grained sandpaper until it’s super smooth (but not polished).
14. Polishing!
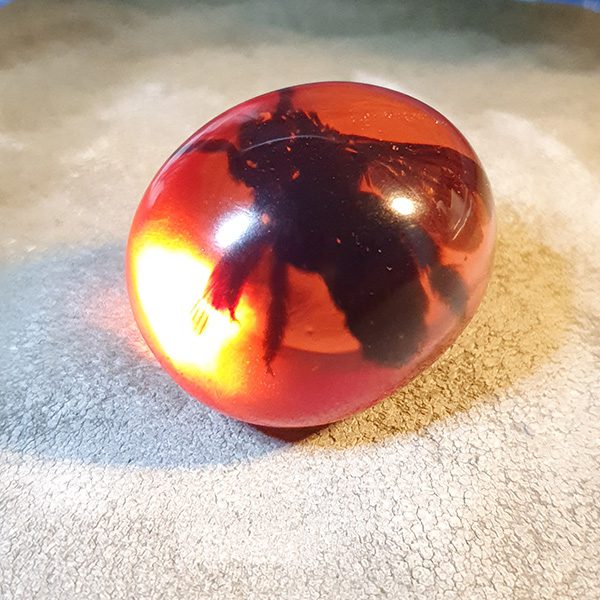
With a leather piece and some polishing paste you are able to get the faux amber as shiny as you want. Don’t forcefully press the piece on the leather surface while polishing. Be careful, gentle, and patient.
15. It's done!
Congratulations, you've done it! Your faux amber egg is done!
This project is rather advanced. If you’ve worked with resin and silicone molds before then you’ll have the basics covered. If you’re a beginner, you might want to check out easier projects first. Come back and try this one when you’re confident enough to do it.
If you’re used to working with other brands then I won’t stop you. Feel free to work with them. The resin and silicone in this project are just the materials that I prefer to use :)
Yes, this can happen. The best solution is to fill your pour spout with so much resin until it has a coin-size pool on top of the mold. Then cut a piece of sturdy plastic sheet and secure it right on top of the pool with rubber bands. You’ve removed the wire anyway, so just slap it on there and make sure to not cause bubbles.
Once the rubber bands are secured, you can turn the mold on its head. Do you see how the critter floats back to the “bottom” of the mold? Not turn this mold every 30–60 minutes like an hourglass, until you see the critter stop floating.
This is the only rescue mission.
A few big bubbles in your amber give it a natural look, so it’s not a goner. But at that stage, you can’t really get rid of the bubbles anymore. The mistake was made while securing the plastic board to the resin pool. If you trapped a bit of air, then this bubble will rise back into your mold once you flip it. It’s not bad, just try to keep the big bubbles in the middle of the mold by flipping.
Message me and I’ll make sure to help you with it.